Christmas in July 4
Hello, it’s Deborah here with you today and it’s my last Christmas in July post. This week I have three cards made using products from Lawn Fawn. Here’s the first:
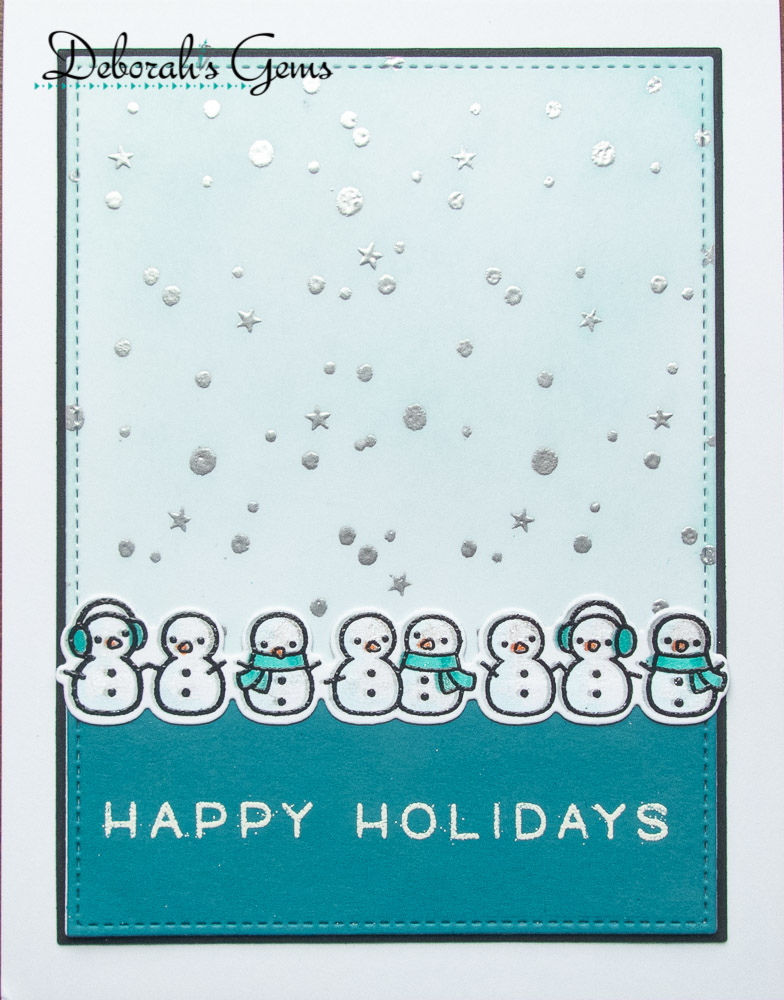
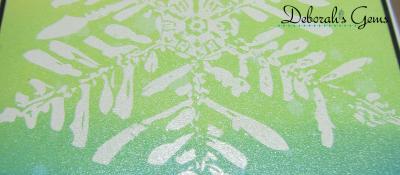
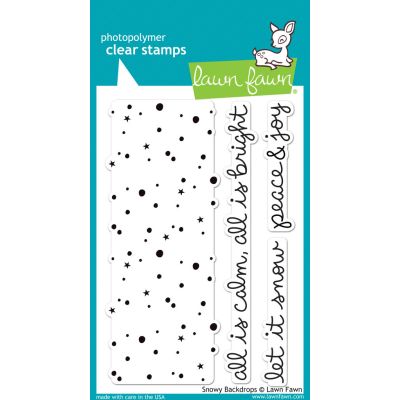
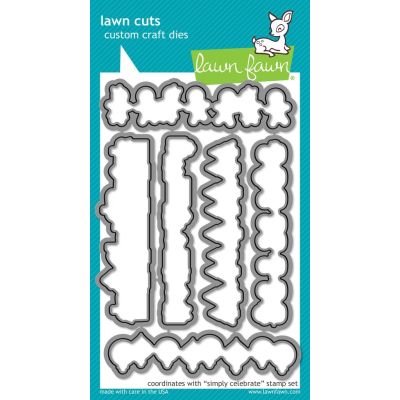
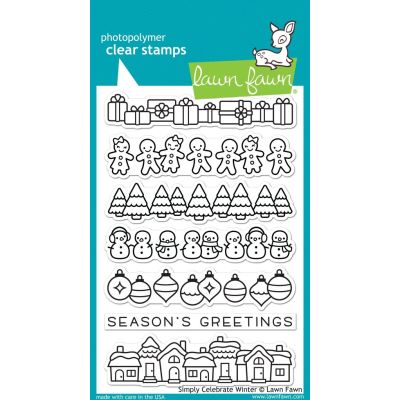
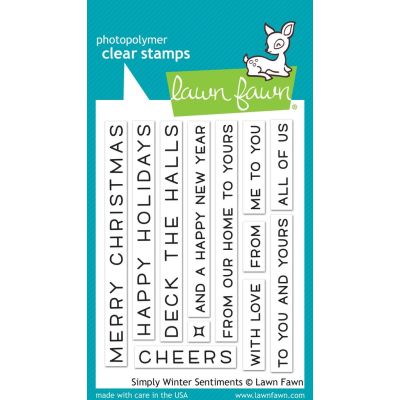
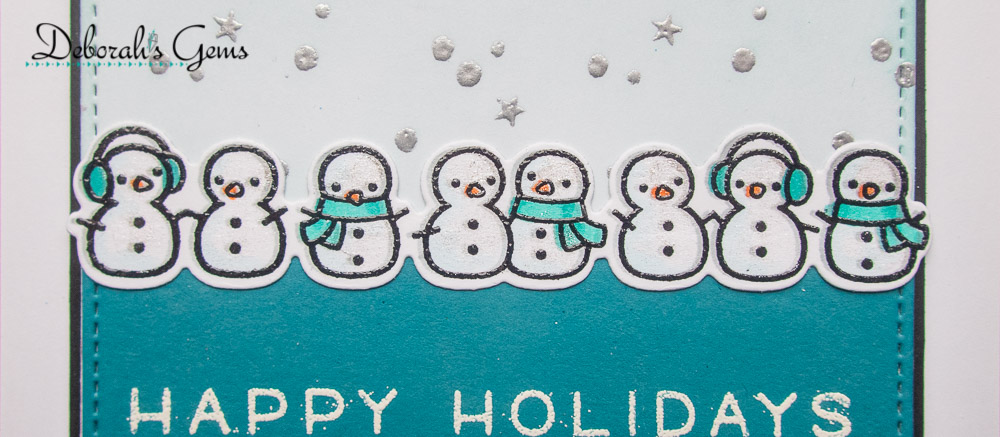
This is a top folding A2 (US size) white note card. I used a stitch edged die to cut out a panel of white card onto which I stamped Lawn Fawn’s Snowy Backdrops in Versamark ink and heat embossed it with silver powder. I then blended pale aqua and soft grey inks to make the sky. I cut a piece of dark aqua card with the same die and adhered it to the bottom of the panel. I stamped the bold, crisp Happy Holidays sentiment from Lawn Fawn’s Simply Winter Sentiments in white ink and heat embossed with white powder. I adhered the panel to black card and glued it to the card. I finished the front by adding the row of cute snowmen from Lawn Fawn’s Simply Celebrate Winter. I stamped the snowmen on white card, coloured them with Copic markers, returned them to my stamp positioner and restamped with Versafine black ink. I heat embossed with clear powder and used the matching Simply Celebrate Winter die to cut out the snowmen. I adhered them with dimensional pads and added some shimmer with a clear aqua shimmer brush.
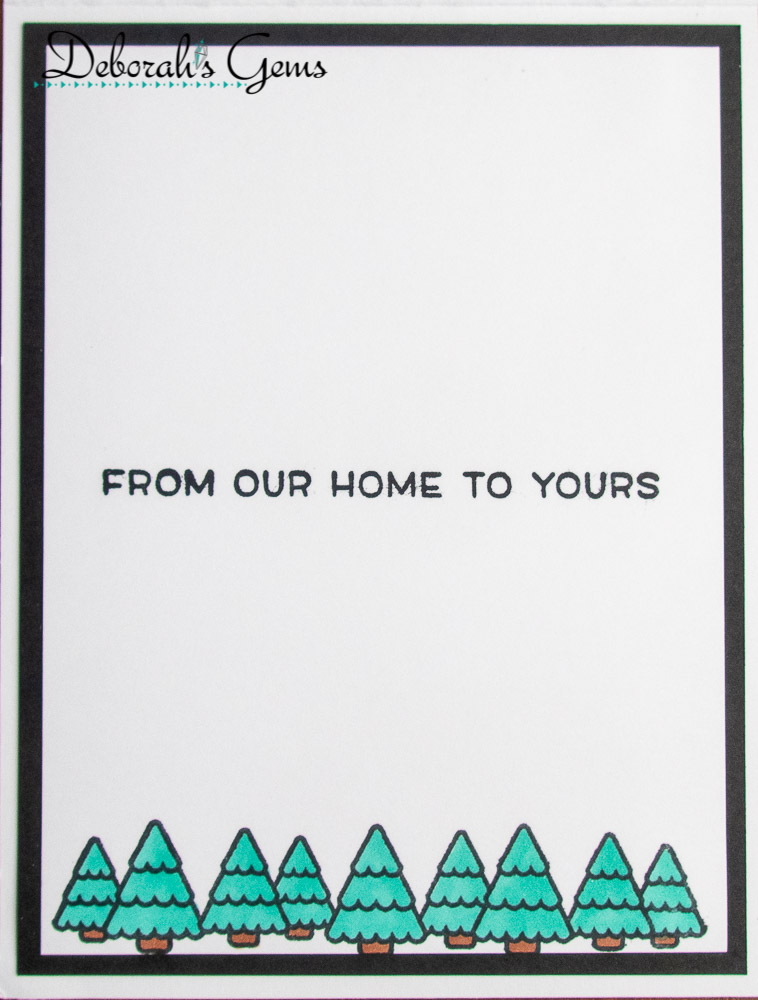
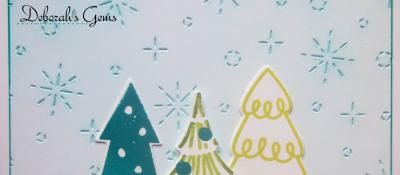
Inside the card, I cut a mat layer of black card. On the white panel I stamped the Christmas trees from Simply Celebrate Winter and coloured them with Copic markers. The sentiment is from Lawn Fawn’s Simply Winter Sentiments.
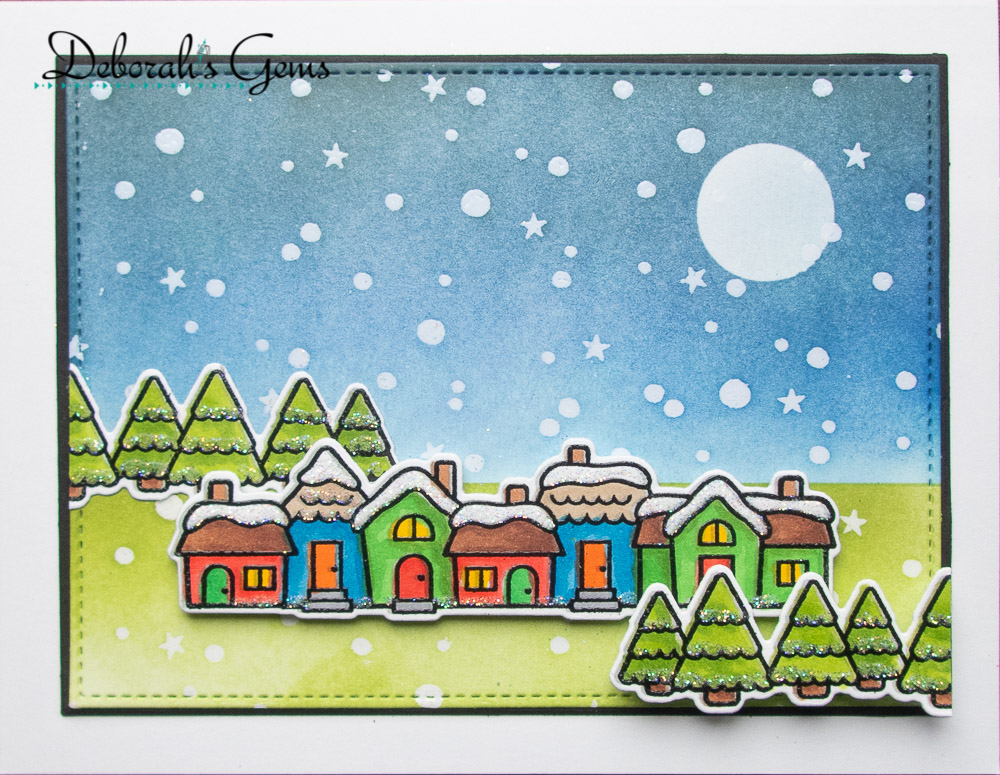
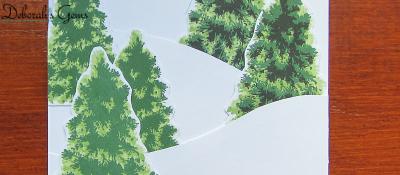
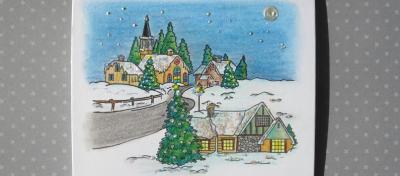
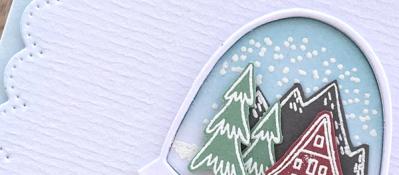
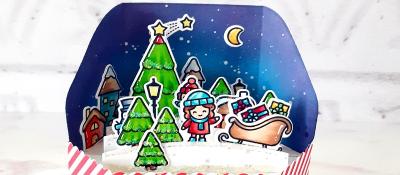
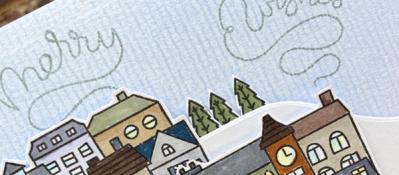
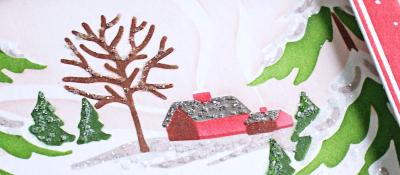
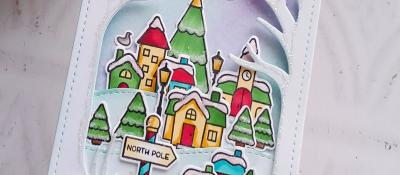
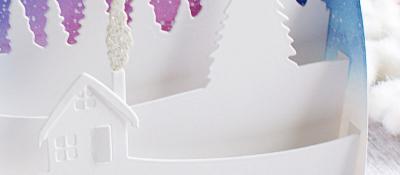
Next, I created a Christmas scene using Lawn Fawn’s Simply Celebrate Winter and Snowy Backdrops. I started by cutting out the panel of white card with a stitch edged die. I masked off a section at the bottom, I used a post-it note and circle die to mask the moon and then blended several inks to create a night sky. I moved the mask and blended shades of green for the ground. I stamped the Christmas trees and houses from Lawn Fawn’s Simply Celebrate Winter, and used the same technique as above to stamp, colour and die cut the images. I cut the trees in half and glued one half flat to the panel on the left. I used dimensional pads to add the houses, and double pads to add the other half of the trees on the right of the panel. I adhered the whole lot to a black mat layer and then added that to the front of my notecard. I decided to skip a greeting on the front, but I did add some glitter to the snow on the roof tops and along the tree edges.
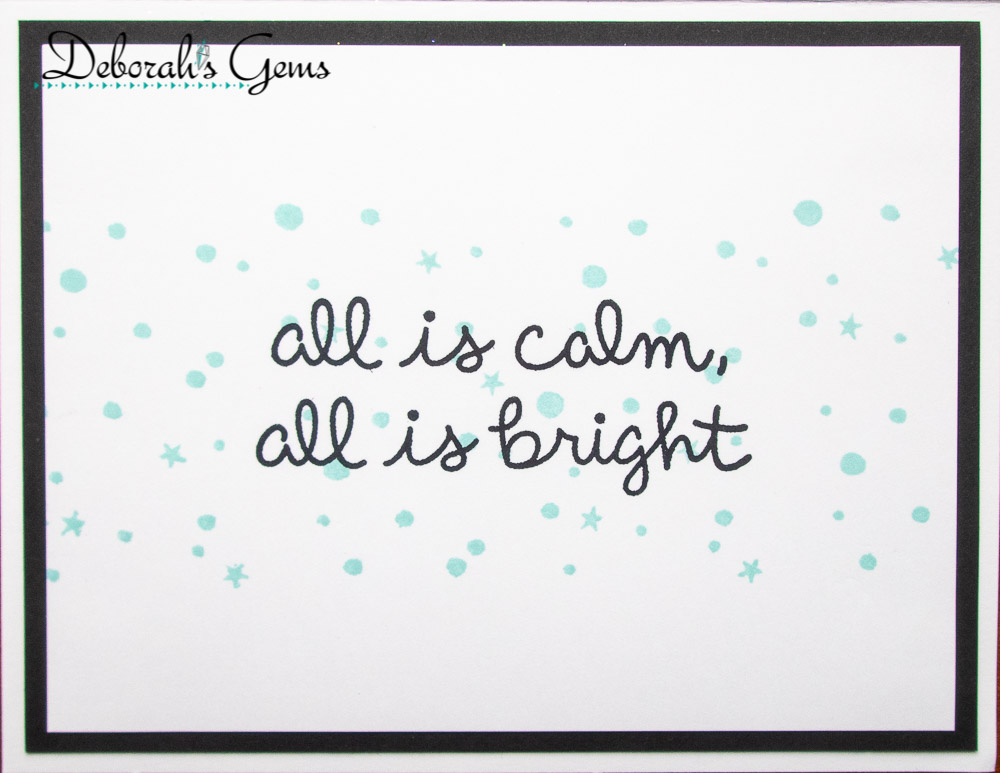
Inside, I cut a mat layer of black card. On the white panel, I stamped the Snowy Backdrop across the centre of the panel in pale aqua ink. I finished by adding the large sentiment from Snowy Backdrops – I cut it in half to make it fit.
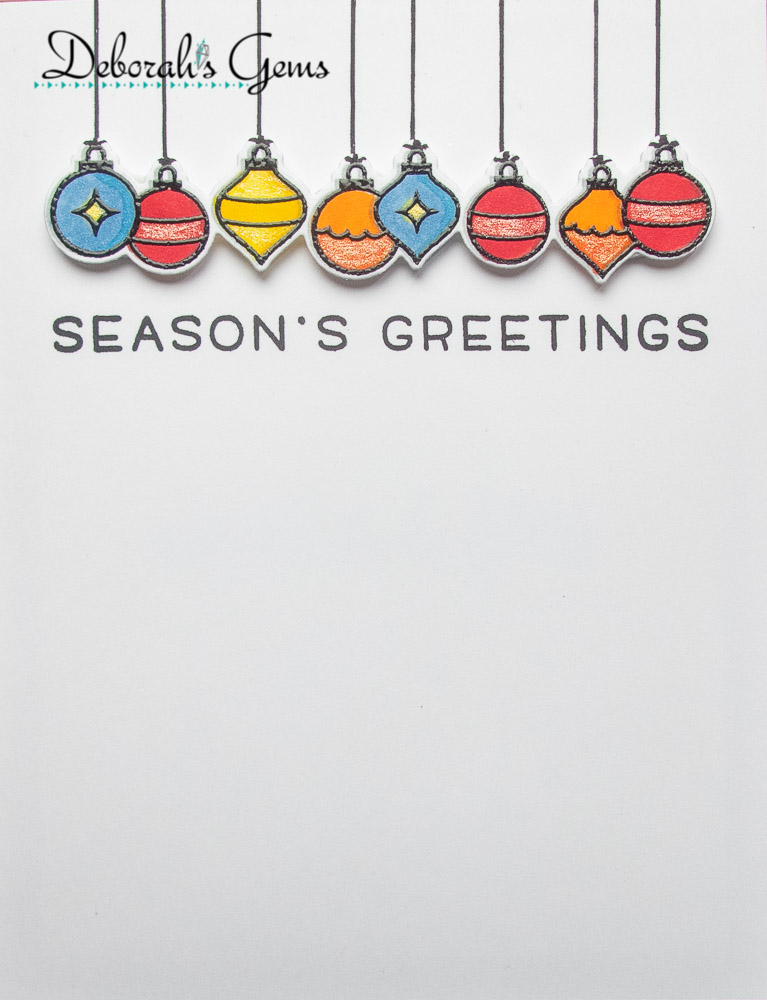
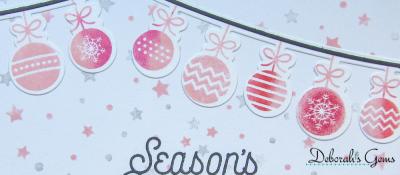
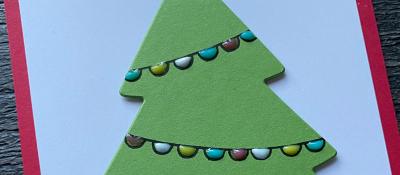
My last card is very clean and simple. Using the technique outline above I stamped the Christmas baubles from Lawn Fawn’s Simply Celebrate Winter and used the matching die to cut it out. I coloured the image with Copic markers and used some glitter pens to add sparkle to the baubles. I finished the front by drawing in the strings to hold up the baubles and added a simple sentiment, also from Simply Celebrate Winter.
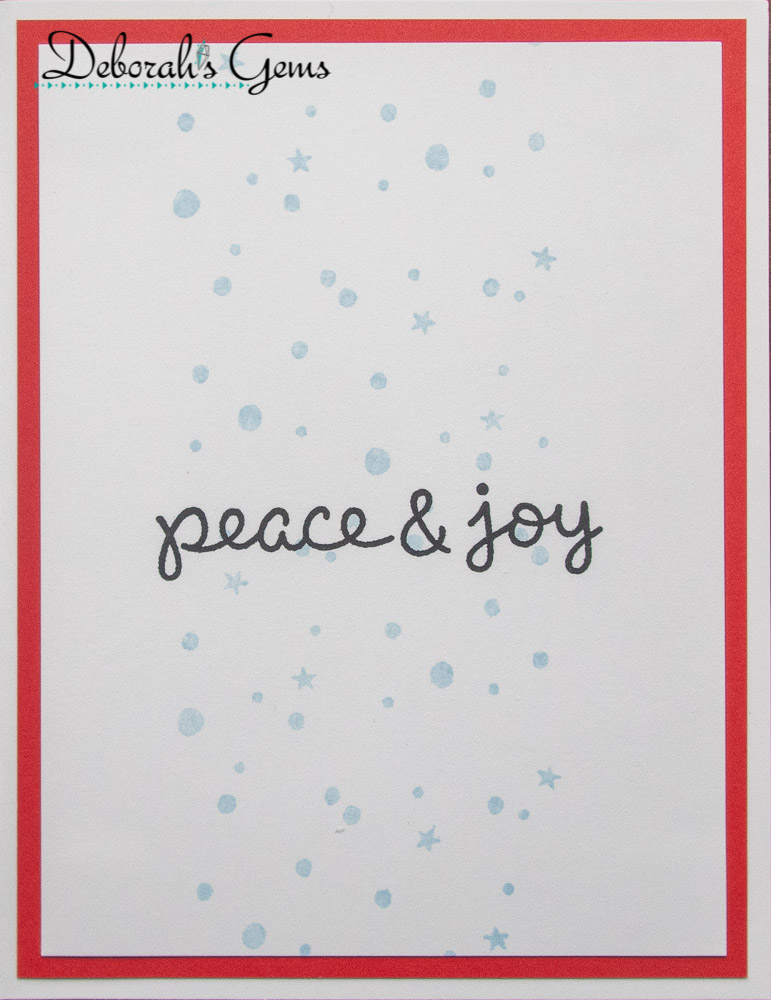
Inside, I cut a mat layer from red card. On the white panel I stamped the Snowy Backdrop in pale blue ink down the centre of the panel and added a greeting, from Snowy Backdrop, in black. I adhered the finished panel inside my card.
That’s it – I made a total of 12 Christmas cards for my stash during the month. It feels great to get ahead with Christmas cards – no rush later this year!!
Thanks for staying with me. See you next week.
Deborah, x
28/07/2021
|
View: 272
|
Categories: Copic Colouring, Die Cutting, Ink Blending, Card Making, Heat Embossing, Stamping
|
Tags: Lawn Fawn
Share this post
Related Posts
Shine Like a Diamond
17/06/2020| Posted in Copic Colouring, Die Cutting, Card Making, Stamp Layering, Stamped Background, Heat Embossing| 329
Retro Christmas
01/07/2020| Posted in Copic Colouring, Die Cutting, Card Making, Stamped Background, Heat Embossing| 252
Xmas in July: Hey Winter
03/07/2020| Posted in Copic Colouring, Card Making| 419
Snowflake Flurry
15/07/2020| Posted in Card Making| 285
Christmas Cards
20/08/2020| Posted in Copic Colouring, Die Cutting, Card Making, Stamped Background, Heat Embossing| 230
Merry, Bright & Joyful!
19/08/2020| Posted in Card Making| 288
Birthday Shakers
26/08/2020| Posted in Die Cutting, Stamping Techniques, Card Making, Stamped Background, Fussy Cutting, Heat Embossing, turnabouts, Repeat Pattern Building, Stamping on non paper surfaces| 411
A Baubling Merry Christmas
07/09/2020| Posted in Die Cutting, Heat Embossing| 576
Holly, but no ivy ..
09/09/2020| Posted in Colouring Stamped Images, Copic Colouring, Water Colouring, Paper Piecing, Card Making| 1| 475
Lawn Fawn is Live!
10/09/2020| Posted in Pencil Colouring| 653
Let it Snow!
11/09/2020| Posted in Die Cutting, Card Making| 330
Merry Drink To Forgetmas
13/09/2020| Posted in Die Cutting| 2| 1450
Little Framing Tricks
20/09/2020| Posted in Pencil Colouring, Die Cutting| 506
Christmas Joy
25/09/2020| Posted in Die Cutting| 625
Sweet Christmas Wishes
01/10/2020| Posted in Colouring Stamped Images, Copic Colouring, Card Making, Stamped Background, Fussy Cutting| 1| 322
Merry Christmas
07/10/2020| Posted in Die Cutting, Card Making| 425
Merry Kissmas!
12/10/2020| Posted in Die Cutting, Card Making| 352
Iconic Christmas and More!
14/10/2020| Posted in Copic Colouring, Die Cutting, Card Making, Stamped Background, Heat Embossing, turnabouts| 318
Cozy Friends
19/10/2020| Posted in Die Cutting, Card Making| 473
Cool Christmas Wishes
20/10/2020| Posted in Colouring Stamped Images, Copic Colouring, Die Cutting, Ink Blending, Card Making| 260
BIG Snow Flurry
22/10/2020| Posted in Die Cutting, Ink Blending, Card Making, Stamped Background, turnabouts, Masking| 280
Blossoms and Berries
02/11/2020| Posted in Stamping Techniques, Card Making| 2| 540
Quick One-Layer Cards
04/11/2020| Posted in Stamping Techniques, Card Making| 1| 326
O' Christmas Tree
05/11/2020| Posted in Card Making, Stamped Background| 231
'Tis the Season
10/11/2020| Posted in Colouring Stamped Images, Pencil Colouring| 3| 287
Friends and Christmas
18/11/2020| Posted in Stamping Techniques, Card Making, Stamp Layering, Stamped Background, Masking| 1| 370
Reindeer, plaid and stars
15/11/2020| Posted in Copic Colouring, Die Cutting| 2| 277
Even the Mice Were Stirring
22/11/2020| Posted in Copic Colouring| 2| 477
A Winter Scene
23/11/2020| Posted in Colouring Stamped Images, Copic Colouring, Card Making, Interactive Cards, Shaped Cards| 2| 379
Christmas Trees Galore!!
25/11/2020| Posted in Die Cutting, Card Making, Stamp Layering, Special Effects, Shaped Cards, Heat Embossing| 1| 559
'Tis the Season to Be Jolly
27/11/2020| Posted in Copic Colouring, Card Making| 3| 448
Jingle All the Way
04/12/2020| Posted in Copic Colouring, Card Making| 2| 440
A modern twist on the Christmas Tree
01/12/2020| Posted in Stamping Techniques, Card Making| 2| 363
Trimming the Christmas Tree!
03/12/2020| Posted in Die Cutting, Card Making| 1| 315
Festive Decorations
06/12/2020| Posted in Die Cutting, Off The Page Projects, Stamped Background, Heat Embossing| 1| 360
Choosing a Tree!
07/12/2020| Posted in Colouring Stamped Images, Partial Die Cutting, Fussy Cutting, Shaped Cards| 2| 293
Tartan Christmas Wishes
08/12/2020| Posted in Stamping Techniques, Card Making, Heat Embossing, Repeat Pattern Building| 2| 228
The Classic Christmas Half Tree
11/12/2020| Posted in Die Cutting| 1| 344
Festive Gift Tags
12/12/2020| Posted in Colouring Stamped Images, Die Cutting, Stamping Techniques, Card Making, Heat Embossing| 3| 501
5 Minute Christmas make
15/12/2020| Posted in Heat Embossing| 3| 475
Oh Penguin Tree
18/12/2020| Posted in Copic Colouring, Card Making| 1| 779
Merry Christmas
19/12/2020| Posted in Colouring Stamped Images, Pencil Colouring, Water Colouring, Die Cutting, Card Making| 1| 441
Last Minute Die Cuts
20/12/2020| Posted in Die Cutting| 3| 611
A Topping Christmas
23/12/2020| Posted in Copic Colouring, Card Making, Stamped Background, Fussy Cutting, turnabouts| 436
Happy New Year!
03/01/2021| Posted in Pencil Colouring, Water Colouring| 2| 640
Here Comes Santa Jaws
05/03/2021| Posted in Copic Colouring, Card Making| 2| 434
Lovely Christmas Legs
07/04/2021| Posted in Water Colouring, Card Making| 1| 303
Christmas Cards in the Sun
04/06/2021| Posted in Die Cutting| 209
Christmas in July - 2
14/07/2021| Posted in Copic Colouring, Die Cutting, Card Making, Stamped Background, Heat Embossing, Stamping| 252
Wonderful Christmas
31/07/2021| Posted in Die Cutting, Stamping| 247
Here Comes Santa Jaws
21/08/2021| Posted in Copic Colouring, Fussy Cutting| 406
A Wreath for All Seasons
01/09/2021| Posted in Copic Colouring, Die Cutting, Card Making, Stamped Background, Fussy Cutting, Heat Embossing, turnabouts, Stamping| 453
Gone But Not Forgotten
08/09/2021| Posted in Copic Colouring, Die Cutting, Card Making, Stamped Background, Repeat Pattern Building, Stamping| 492
Festive One Layer
09/09/2021| Posted in Colouring Stamped Images, Copic Colouring, Stamping Techniques, Card Making, Masking, Stamping| 245
Nordic Inspired Poinsettias
25/09/2021| Posted in Die Cutting, Ink Blending| 223
Playing With Paste
26/09/2021| Posted in Die Cutting, Stencilling with embossing paste| 321
Christmas Time
28/09/2021| Posted in Copic Colouring, Water Colouring, Die Cutting, Ink Blending, Card Making, Stamped Background, Stamping| 374
Clean & Simple Christmas
09/10/2021| Posted in Copic Colouring| 276
Classic Christmas Scene
10/10/2021| Posted in Pencil Colouring, Masking| 290
Bright Florals
25/10/2021| Posted in Card Making, Stamped Background| 230
Let It Snow
30/10/2021| Posted in Die Cutting, Die Embossing| 279
Santa Duo
06/11/2021| Posted in Copic Colouring, Card Making, Fussy Cutting, Patterned Papers, Stamping, Clean & Simple| 541
What's in a snowflake?
07/11/2021| Posted in Pencil Colouring, Die Cutting| 764
Vintage Christmas
09/11/2021| Posted in Stamp Layering| 243
From All Of Us
13/11/2021| Posted in Copic Colouring| 330
Snowy Friends
19/11/2021| Posted in Pencil Colouring, No Line Colouring| 365
All Stacked Up
27/11/2021| Posted in Copic Colouring, Card Making, Interactive Cards, Fussy Cutting, Patterned Papers, Stamping, Clean & Simple| 333
Destination North Pole
28/11/2021| Posted in Die Cutting, Stamping Techniques| 1| 274
Tree-mendous Christmas!
03/12/2021| Posted in Copic Colouring, No Line Colouring| 336
December Calendar
01/12/2021| Posted in Stamped Background, Layering Stencils| 291
Merry Everything
07/12/2021| Posted in Die Cutting, Card Making| 249
City Christmas
10/12/2021| Posted in Die Cutting| 1| 235
Rustic Christmas
11/12/2021| Posted in Stencilling, Layering Stencils| 281
Winter Wreath
13/12/2021| Posted in Pencil Colouring, Card Making| 360
Tangled With You
12/12/2021| Posted in Pencil Colouring, Masking| 368
Mice on Ice
14/12/2021| Posted in Colouring Stamped Images, Die Cutting, Ink Blending, Card Making, Stencilling| 394
Fall Foliage All Year Round - Part 2
16/12/2021| Posted in Stamping Techniques, Card Making, Fussy Cutting, Stamping, Clean & Simple| 1| 275
Beastly Christmas
17/12/2021| Posted in Pencil Colouring, No Line Colouring| 3| 570
Twinkle Twinkle
18/12/2021| Posted in Copic Colouring, Off The Page Projects| 1| 927
Let there be Peas on Earth
21/12/2021| Posted in Colouring Stamped Images, Die Cutting| 628
Under The Mistletoe
23/12/2021| Posted in Colouring Stamped Images, Copic Colouring, Card Making, Stamping, Clean & Simple| 361
Christmas in May
18/05/2022| Posted in Die Cutting, Stamping Techniques, Card Making, Stamped Background, turnabouts| 360
Last Years Christmas Stocking
16/07/2022| Posted in Copic Colouring, Card Making, Fussy Cutting, Patterned Papers, Stamping, Clean & Simple, Clean and Simple (CAS)| 286
Christmas in July
22/07/2022| Posted in Stamped Background| 395
More Christmas in July
24/07/2022| Posted in No Line Colouring| 288
Striped Sentiments
27/07/2022| Posted in Ink Blending, sentiment Focal Points| 336
Not Exactly Sweater Weather
10/08/2022| Posted in Pencil Colouring, Water Colouring, Die Cutting, Stencilling, Stencilled backgrounds| 240
Controversial Santas
28/08/2022| Posted in Copic Colouring, Pencil Colouring, Die Cutting, Stencilling, Heat Embossing| 5256
Holiday Greetings
29/08/2022| Posted in Colouring Stamped Images, Die Cutting, Ink Blending, Card Making, Interactive Cards, Heat Embossing| 338
Ugly Sweaters
06/09/2022| Posted in Colouring Stamped Images, Copic Colouring, Die Cutting, Card Making, Interactive Cards, Heat Embossing| 220
Tipsy Santa
07/09/2022| Posted in Copic Colouring, Die Cutting| 189
All Is Bright
01/10/2022| Posted in Copic Colouring, Card Making, Off The Page Projects, Stamped Background, Patterned Papers, Stamping, Clean & Simple, Clean and Simple (CAS)| 274
Bright Christmas
07/10/2022| Posted in Die Cutting, Card Making| 255
Cool Christmas
14/10/2022| Posted in Die Cutting, Card Making| 424
Bloom in Winter
08/10/2022| Posted in Copic Colouring| 200
Aurora Penguin
09/10/2022| Posted in Water Colouring| 339
Curio Attic Ornaments
12/10/2022| Posted in Die Cutting| 338
O' Christmas Tree
24/10/2022| Posted in Die Cutting, Stencilling with embossing paste| 449
Coffee Lovers Blog Hop Fall 22
11/11/2022| Posted in Stamp Layering| 19| 380
Snowy Day Fun
25/10/2022| Posted in Colouring Stamped Images, Die Cutting, Ink Blending, Card Making, Interactive Cards| 184
Santa Chimney Pop Up
26/10/2022| Posted in Die Cutting, Interactive Cards| 318
Krafty Noel
06/11/2022| Posted in Die Cutting| 2| 387
Meowy Christmas
12/11/2022| Posted in Copic Colouring| 246
Christmas Garnish
14/11/2022| Posted in Die Cutting, Clean & Simple| 374
Christmas Snowflake
18/11/2022| Posted in Card Making, Stamping| 1| 312
Polar Opposites
19/11/2022| Posted in Water Colouring, Card Making, Heat Embossing, Stamping, Clean & Simple, Clean and Simple (CAS)| 334
Bella's Tangled Kitty
23/11/2022| Posted in Copic Colouring| 225
Star Gazing
26/11/2022| Posted in Copic Colouring, Fussy Cutting| 251
Winter Pine
05/12/2022| Posted in Colouring Stamped Images, Stamping| 262
Month By Month - Part 1
01/12/2022| Posted in Colouring Stamped Images, Copic Colouring, Die Cutting, Stencilling, Stamped Background, Gift Making| 272
Christmas with Friends
10/12/2022| Posted in Copic Colouring, Die Cutting, Stamping Techniques, Partial Die Cutting, Fussy Cutting| 228
Polar Pals
17/12/2022| Posted in Copic Colouring, Die Embossing| 328
A whole lot of baubles going on......
19/12/2022| Posted in Die Cutting| 462
Last minute Robins
21/12/2022| Posted in Pencil Colouring| 355
Peaceful Olive Two Ways
26/04/2023| Posted in Die Cutting, Card Making, Stamp Layering, Stamped Background, Stamping, Layering Stencils, Clean & Simple, Stencilled backgrounds, Inlaid Die Cutting, Clean and Simple (CAS)| 248
Tips and Tricks for Easy Paper Piecing with Large Dies
09/07/2023| Posted in Die Cutting, Paper Piecing| 204
Holly Jolly Sparkly Christmas!
27/07/2023| Posted in Die Cutting, Stencilling| 270
Santa Tagging
04/08/2023| Posted in Die Cutting| 172
Peaceful Fox
12/08/2023| Posted in Copic Colouring, Card Making, Stamping, Clean & Simple, Clean and Simple (CAS)| 286
'Tis the Season...
30/08/2023| Posted in Die Cutting, Card Making| 281
Folk Art Reindeer
10/09/2023| Posted in Die Cutting| 206
Very Merry
16/09/2023| Posted in Die Cutting, Inky Backsides| 1| 200
Hang a Stocking
20/09/2023| Posted in Die Cutting, Card Making, Stitching/Embroidery, Layering Stencils, Stencilled backgrounds| 234
Let's Be Merry
21/09/2023| Posted in Die Cutting, Stamping Techniques, Card Making, Heat Embossing, Shaker Cards| 176
'Tis the Season
28/09/2023| Posted in Die Cutting, Card Making| 254
Light Up Your Christmas
01/10/2023| Posted in Die Cutting, Homeware/Decorations| 1| 278
Tiny Houses
04/10/2023| Posted in Die Cutting, Card Making| 261
Gift Exchange
14/10/2023| Posted in Copic Colouring| 155
All aboard the Cheer Mobile!
18/10/2023| Posted in Die Cutting, Card Making, Stencilling, Stamping, Layering Stencils, Stencilled backgrounds| 207
Introducing Flashback Friday Bargains
20/10/2023| Posted in Copic Colouring| 1| 994
Christmas Cloche
25/10/2023| Posted in Die Cutting, Card Making| 202
Big Beautiful Bow
01/11/2023| Posted in Die Cutting, Card Making| 483
Pretty CAS Gift
02/11/2023| Posted in Die Cutting, Ink Blending, Card Making, Clean & Simple, Clean and Simple (CAS)| 258
Figgy Pudding
08/11/2023| Posted in Die Cutting, Card Making, Stencilling, Layering Stencils, Stencilled backgrounds| 211
Hot Cocoa Anyone?
06/11/2023| Posted in Copic Colouring, Die Cutting, Card Making, Stamping, Clean & Simple, Clean and Simple (CAS), sales and giveaways, Flashback Friday Bargains| 206
Ta-Da! Seasons Tweetings.
07/11/2023| Posted in Colouring Stamped Images, Copic Colouring, Die Cutting, Card Making, Interactive Cards| 169
Joyful Christmas Sampler
15/11/2023| Posted in Card Making, Stencilling, Stencilling with embossing paste, Stencilled backgrounds| 204
Mini Christmas Gift Notebook & Co-Ordinating Card
13/11/2023| Posted in Die Cutting, Card Making, Gift Making, Stamping, Flashback Friday Bargains| 2| 205
Over the Rooftops
22/11/2023| Posted in Die Cutting, Card Making| 2| 253
Lil' Tags A Plenty and Store News
19/11/2023| Posted in Water Colouring| 241
Dashing Through the Snow
25/11/2023| Posted in Copic Colouring, Stencilling, Stencilling with embossing paste, Fussy Cutting| 177
Glitter & Snowflakes
30/11/2023| Posted in Die Cutting, Card Making, Stencilling, Stencilling with embossing paste, Clean and Simple (CAS)| 144
Flashback Friday Bargains - Concord and 9th
01/12/2023| Posted in Flashback Friday Bargains| 436
Simple 'Poinsettia' Card
04/12/2023| Posted in Copic Colouring, Pencil Colouring, Die Cutting, Stamping Techniques, Card Making, Stencilling with embossing paste| 117
Bulk Making Christmas Cards
03/12/2023| Posted in Die Cutting, Heat Embossing| 1| 246
Snow Much Love
05/12/2023| Posted in Die Cutting, Stamping Techniques, Card Making, Heat Embossing, Clean & Simple| 127
12 Days of Anita Jerams Christmas Part 3
09/12/2023| Posted in Copic Colouring| 157
Banner & Bough
13/12/2023| Posted in Die Cutting, Ink Blending, Card Making, Stamp Layering, Stamping, Stencilled backgrounds| 159
Last Minute Christmas Cards
11/12/2023| Posted in Die Cutting, Card Making| 136
All Is Calm
20/12/2023| Posted in Die Cutting, Card Making, Fancy Folds, Clean & Simple, Clean and Simple (CAS)| 218
12 Days of Anita Jerams Christmas Part 4
16/12/2023| Posted in Copic Colouring, Fussy Cutting| 251
Elegant Christmas Gift Tags
18/12/2023| Posted in Die Cutting, Card Making| 194
2024 Part Three
21/12/2023| Posted in Ink Blending, Stamping Techniques, Stamp Layering, Stencilling, turnabouts, Gift Making, Masking, mixed media, Wreath Building| 199
Sweater Season
17/01/2024| Posted in Die Cutting, Card Making| 118
Controversial Santas
28/08/2022
Birthday Forecast
14/02/2022
Encouraging Leaves
15/03/2021
Framed Snowdrops
22/02/2021
Brighter Days Ahead
18/04/2024
Paper Bouquet
17/04/2024
Have A Kanga-riffic Birthday!
16/04/2024
Simple Striped Birthday Card
15/04/2024
Birthdays and Backgrounds
14/04/2024
Topics
- Birthdays
- Christmas
- New Home
- New Baby
- Mother's Day
- Father's Day
- Valentine's Day
- St Patrick's Day
- Masculine
- New Year
- Good Luck
- New Job
- Retirement
- Holidays
- Celebrations
- Belated
- Easter
- Florals
- Get Well
- Friendship
- Gifts
- Gift Packaging
- Halloween
- Interactive
- Invitation
- Weddings
- Anniversary
- Motivation
- Inspiration
- Kind Thoughts
- Number Birthdays
- Sympathy
- Cheers
- Food and Drink
- Children's Cards
- Covid19
- Love
- Thanks and Gratitude
- Hello
- Superheros
- Birds
- Gardening and Gnomes
- Weather
- Congratulations
- Summer
- Tag
- Wellbeing
- Home Decoration
- Puns/Humour
- Patterns
- Clock
- Seasonal
- Autumn
- Prize
- Winter
- Trees
- Trees
- Pets
- Notecards
- Animals
- Rainbows
- Plants
- Scenery
- Butterflies and insects
- Inky Backsides
- Framed art
- Gift Boxes
- Reading
- Borders and Edges
- People
- Storage
- Upcycling
- Party Decorations and Favours
- Wreaths
- Sport
- Thinking Of You
- Bookmark
- Alphabets
- Movies
- Eid
- Monochromatic
- Coronation
- Sentiments
- Sea creatures
- Leaves
Tags
Mochi Girls
Altenew
Avery Elle
Art Impressions
Colorado Craft Company
Concord & 9th
Echo Park
Fiskars
Flora & Fauna
Hero Arts
Kuretake
Lawn Fawn
Lil' Inker Designs
Mama Elephant
My Favorite Things
Neat & Tangled
Newton's Nook
Paper Smooches
Ranger
Reverse Confetti
Seven Hills Crafts
Simple Stories
Sizzix
Stampers Anonymous
Stamping Bella
Sguar Pea Designs
Therm-o-web
Tonic Studios
Tsukineko
Waffle Flower Crafts
We Are Memory Keepers
Wplus9
Purple Onion Designs
The Greetery
Thinking Of You
Transotype


