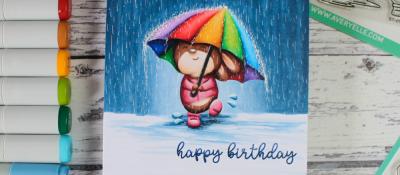
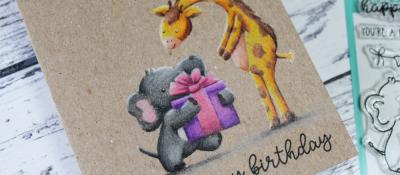
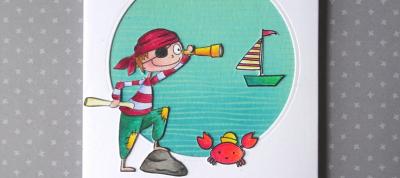
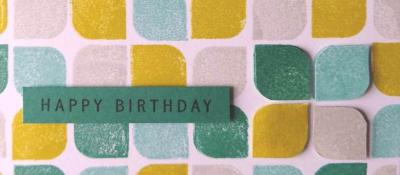
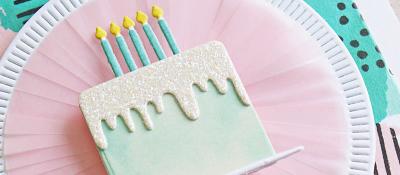
Happy Birthday 3 Ways!
Happy Thursday!
Oh my, how did we get to the last week of February already? I don't know if it is just me, but this month has gone quick and I am so glad another week of home learning is almost over!
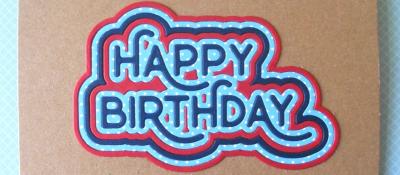
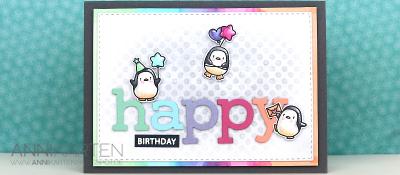
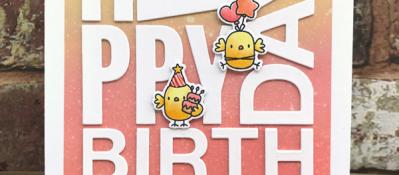
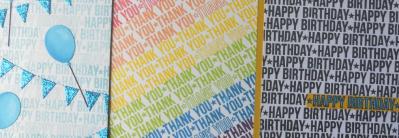
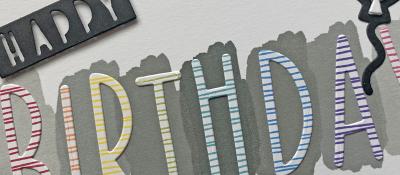
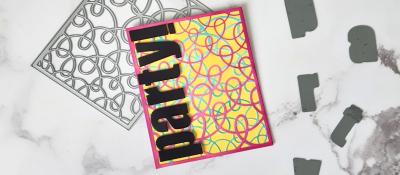
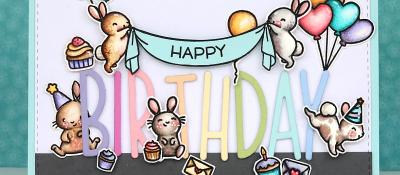
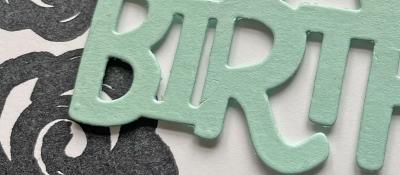
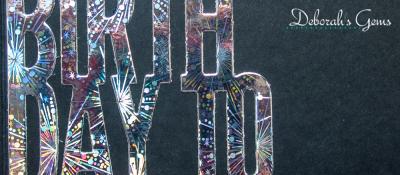
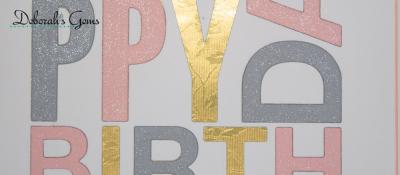
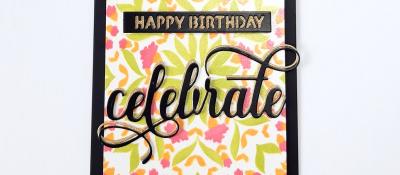
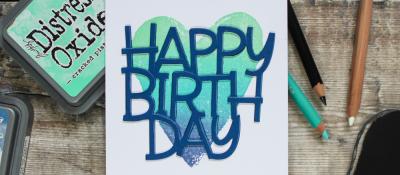
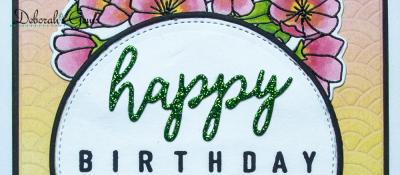
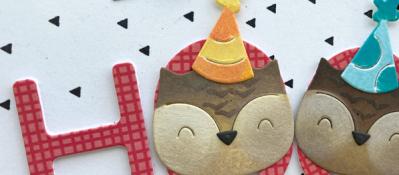
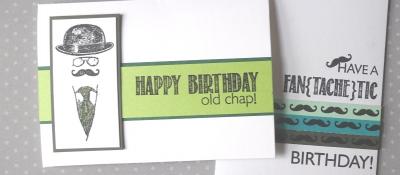
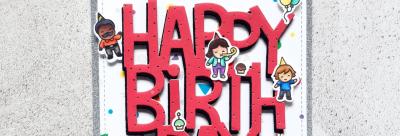
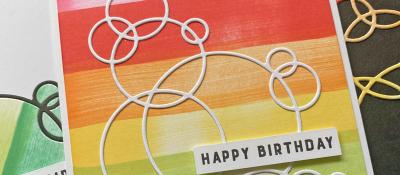
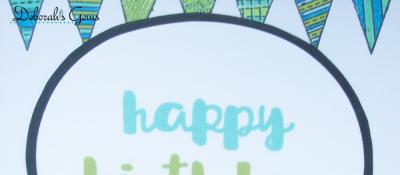
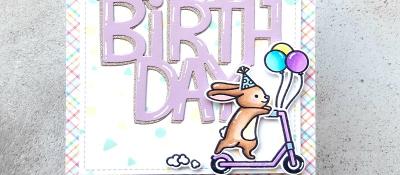
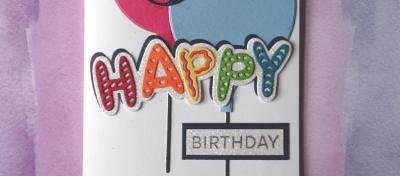
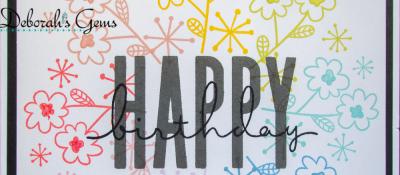
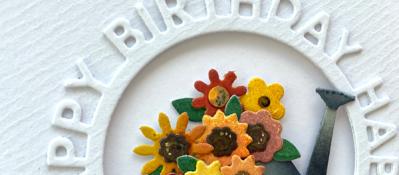
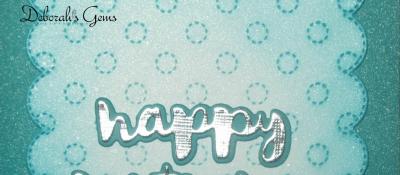
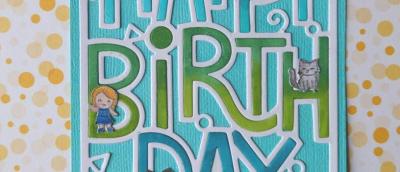
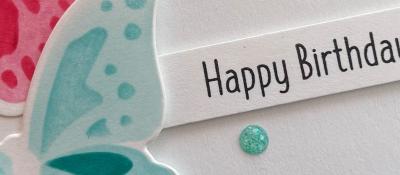
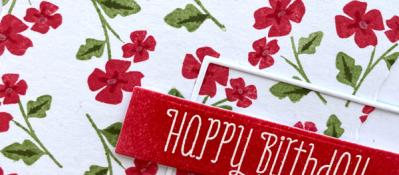
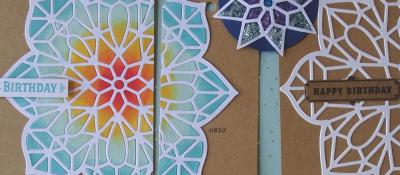
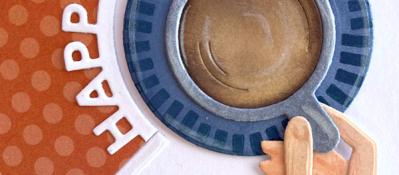
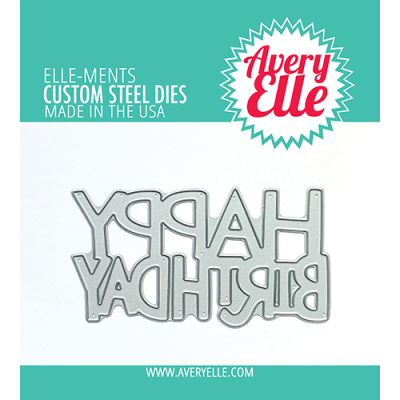
Anyway, today I am bringing ALL the Happy Birthday to the blog with the NEW Avery Elle Happy Birthday Die. I've fallen in love with this cute die.
I was a little unsure of the sizing at first. Yes, I know the description has the sizing, but do we crafters acutally look at that or is it just me that doesn't?! BUT, it is the perfect size. 9.5 x 5 cm perfect for standard size cards.

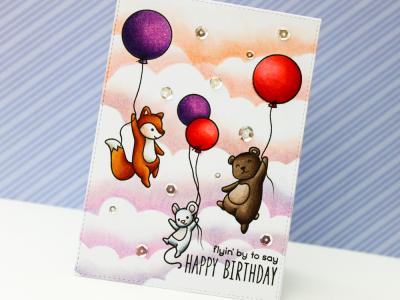
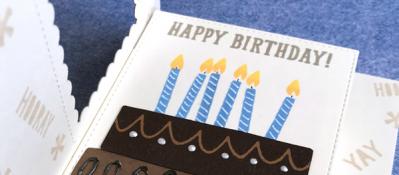
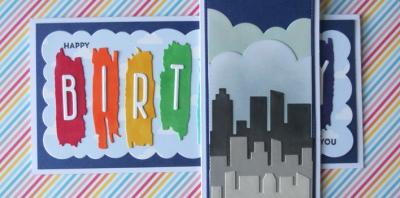
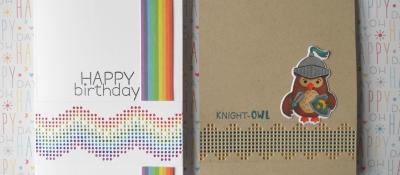
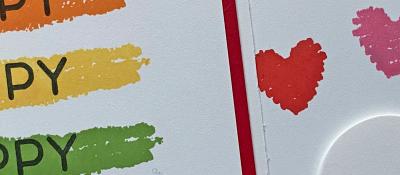
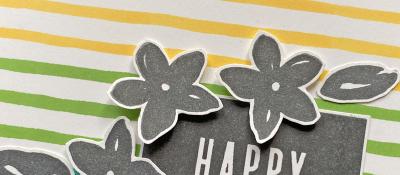
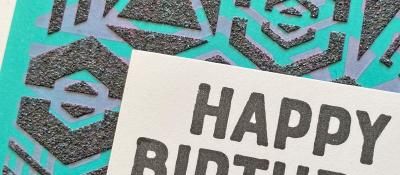
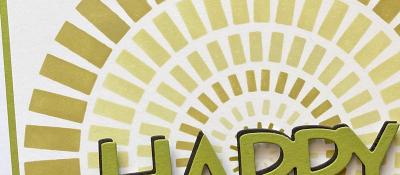
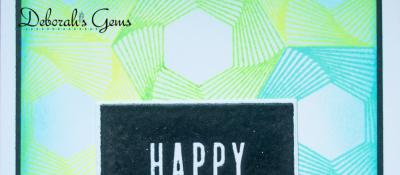
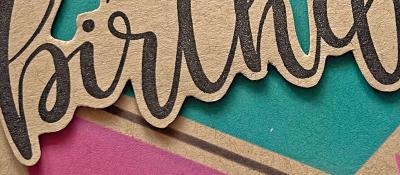
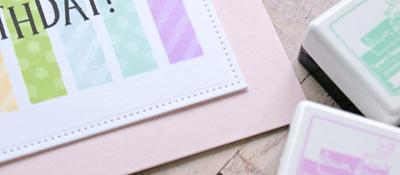
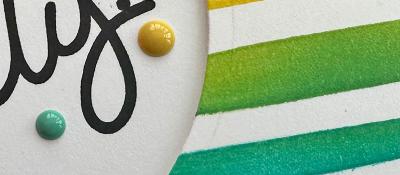
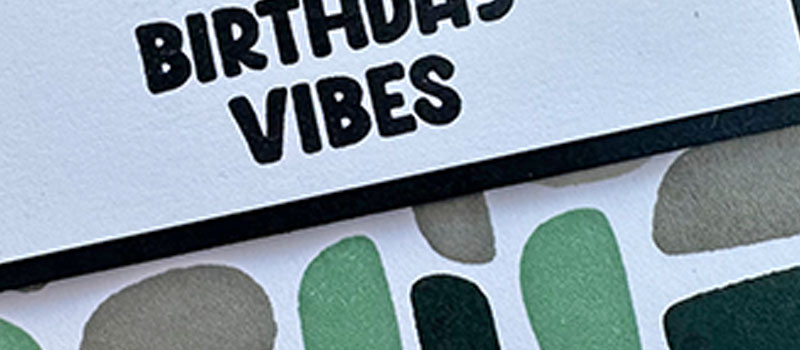
I started out by making my first card combining it with the Sugar Pea Gradient Stripes Stencil. This stencil is SO much fun, but it is a little flimsy where the wider stripes are, so second attempt I used temporary stencil adhesive to ink through.

I stenciled both my base card and my layer to create a fun dimensional card and added a simple red Happy Birthday die cut to finish this masculine card off.
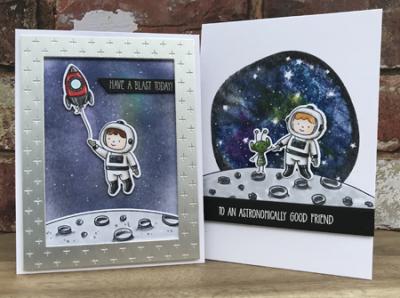
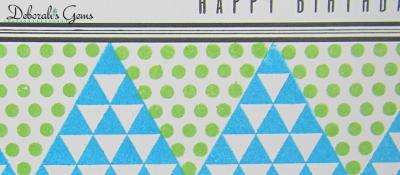
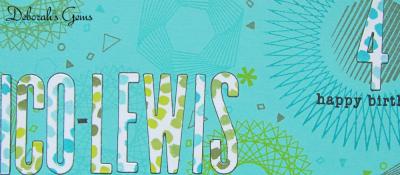
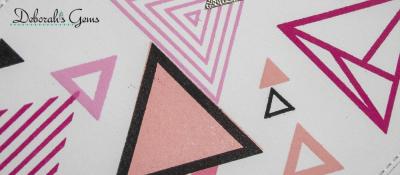
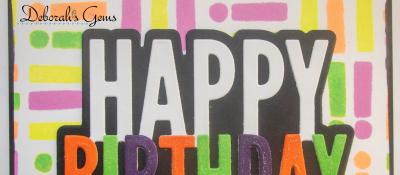
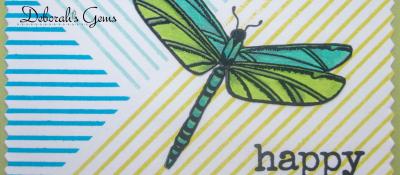
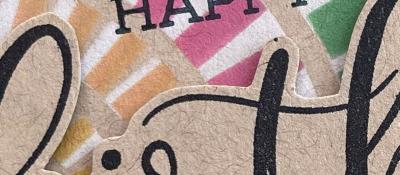
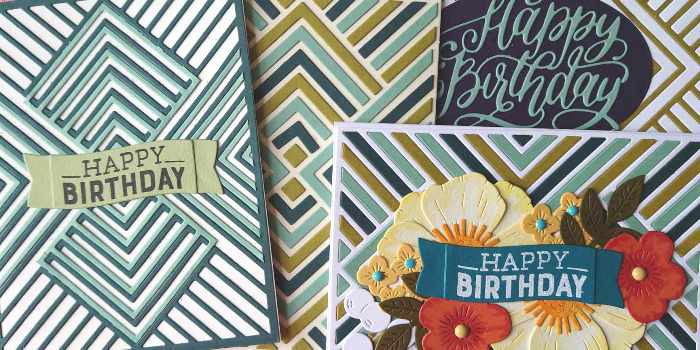
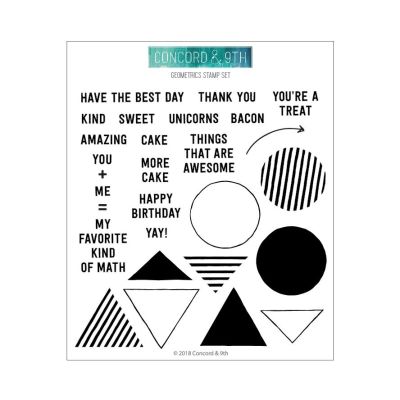
I was on a masculine roll, so I went on to make this second card. This time I combined the Happy Birthday die with geometrics from Concord & 9th Geometric Stamp Set.

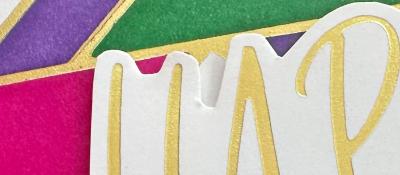
I've said before I often reach for geometrics when creating masculine cards and I love how this turned out with a plain white Happy Birthday die cut.

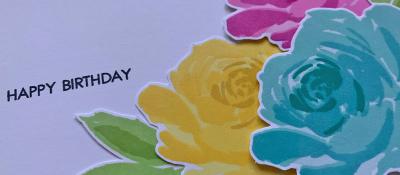
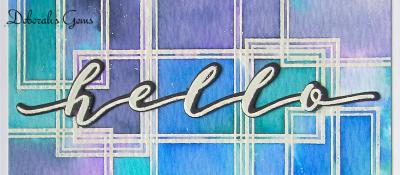
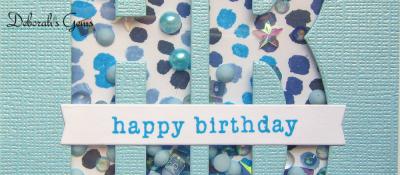
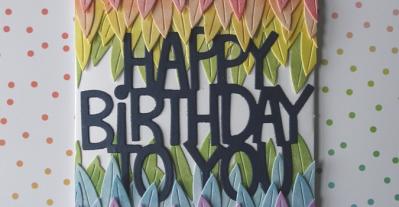
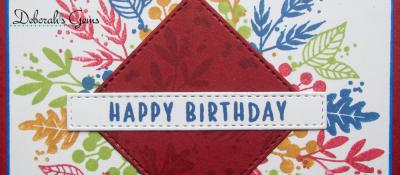
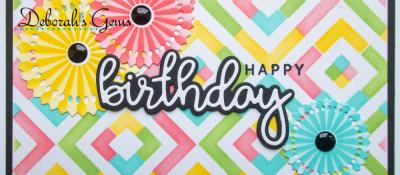
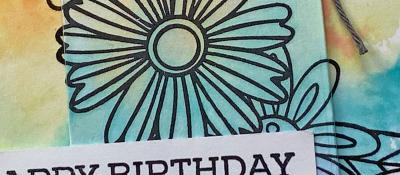
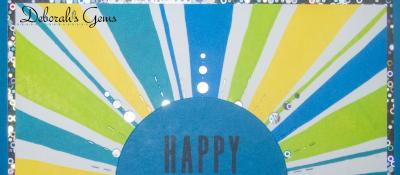
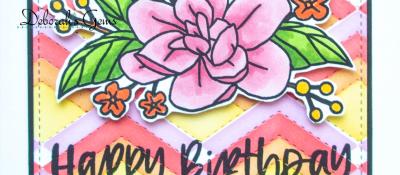
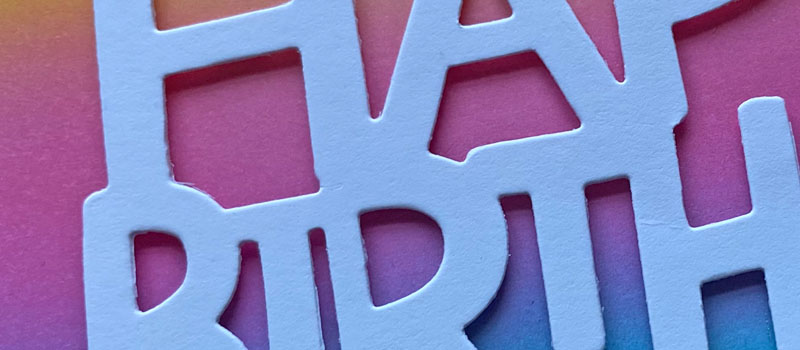
Lastly for today I wanted to create a bright card using my favourite trio of colours!

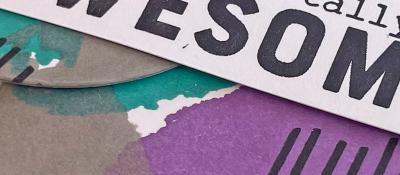
This time I created a ink blended background using Distress Oxide inks. I've then added another simple white Happy Birthday die cut. I foam mounted all the die cuts and I simply cut my foam squares in half and added them around the underside of the die cut.

That's all I have to share today using this die, I am sure it'll be coming out again soon as it is such a cute die ;)
Until next week, Crafty Hugs Bev x
25/02/2021
|
View: 366
|
Categories: Die Cutting, Ink Blending, Card Making, Stencilling
|
Tags: Avery Elle, Concord & 9th, Sguar Pea Designs
Share this post
Related Posts
The blog is back!
16/02/2020| Posted in Colouring Stamped Images, Copic Colouring, Pencil Colouring, Die Cutting| 6| 1089
Pottery Crazy
17/02/2020| Posted in Die Cutting, Stencilling, Stencilling with embossing paste, Special Effects| 1| 1206
It's a RAWR-y Dino-mite Birthday!
06/03/2020| Posted in Copic Colouring, Ink Blending| 452
Butterfly Wreath
25/02/2020| Posted in Water Colouring, Card Making| 1| 444
Spice Pot Birthday Wishes
03/03/2020| Posted in Water Colouring, Stencilling| 1| 280
Birthday Baking
04/03/2020| Posted in Pencil Colouring, Die Cutting| 2| 241
Party Animals
07/03/2020| Posted in Colouring Stamped Images, Pencil Colouring| 425
Flower Truck
09/03/2020| Posted in Pencil Colouring, Stamped Background| 351
A touch of pattern
13/03/2020| Posted in Die Cutting| 1| 274
Rainbow Birthday
14/03/2020| Posted in Copic Colouring, Die Cutting| 1| 424
Big Happy Birthday
21/03/2020| Posted in Colouring Stamped Images, Copic Colouring| 1| 241
Cool Geometrics
26/03/2020| Posted in Card Making| 2| 218
Cute cactus birthday card
31/03/2020| Posted in Colouring Stamped Images, Die Cutting, Ink Blending, Stamping Techniques| 1| 686
Sending Rainbows
03/04/2020| Posted in Card Making| 380
Monster Wishes
04/04/2020| Posted in Colouring Stamped Images, Copic Colouring| 420
Penguin Party
06/04/2020| Posted in Card Making, Shaped Cards| 339
Mistletoe.. but not as you know it!
13/04/2020| Posted in Die Cutting, Card Making| 1| 498
Happy Bee-Day
17/04/2020| Posted in Die Cutting, Card Making| 587
Bring on the Cake
20/04/2020| Posted in Card Making, Interactive Cards| 459
Spiderman
24/04/2020| Posted in Die Cutting, Stamping Techniques| 1| 515
Quick and Easy Male Gift card
12/05/2020| Posted in Ink Blending, Card Making| 1| 251
Birthday Blooms
14/05/2020| Posted in Card Making, Stamped Background| 2| 241
Tropical Birthday
27/05/2020| Posted in Copic Colouring, Die Cutting, Card Making, Stamp Layering, Heat Embossing| 273
Colourful Beetles
25/05/2020| Posted in Die Cutting, Card Making| 653
Spotlight Sentiments
31/05/2020| Posted in Stamping Techniques, Stamped Background| 449
Masculine Playful Patterns
04/06/2020| Posted in Die Cutting, Card Making| 359
BBQ Time
08/06/2020| Posted in Die Cutting, Card Making| 556
Trigonometry Birthday
10/06/2020| Posted in Stamping Techniques, Card Making| 306
Bowl of Blooms
18/06/2020| Posted in Colouring Stamped Images, Card Making| 337
Distress Speckled Egg and Repeating Pattern Stamping
21/06/2020| Posted in Stamping Techniques, Repeat Pattern Building| 539
Bumping by to say..
22/06/2020| Posted in Colouring Stamped Images, Card Making| 672
Fox in a Forest
27/06/2020| Posted in Colouring Stamped Images, Water Colouring, Die Cutting, No Line Colouring| 367
It's a Pinata Party!
24/06/2020| Posted in Copic Colouring, Card Making| 717
Wish Big!
26/06/2020| Posted in Die Cutting| 251
Berry Sweet
29/06/2020| Posted in Water Colouring, Stencilling| 399
Rainbows & Party Animals
02/07/2020| Posted in Card Making, Stamped Background| 234
Farming Fun
10/07/2020| Posted in Colouring Stamped Images, Copic Colouring, Pencil Colouring, Fussy Cutting| 268
Slim is In!
19/07/2020| Posted in Die Cutting| 555
Birthday Balloons
29/07/2020| Posted in Colouring Stamped Images, Copic Colouring, Die Cutting, Card Making, Heat Embossing| 395
Peekaboo birthday
28/07/2020| Posted in Colouring Stamped Images, Die Cutting| 385
It's Your Day!
03/08/2020| Posted in Die Cutting, Stencilling| 265
Monkey Sea Monkey Do!
07/08/2020| Posted in Copic Colouring, Card Making| 269
An Alternative Gift Bag
24/08/2020| Posted in Die Cutting, Card Making, Stamped Background, Interactive Cards, Heat Embossing, Repeat Pattern Building, Gift Making| 600
Slimline Florals
18/08/2020| Posted in Ink Blending, Stencilling| 239
Hippo Pool Party
22/08/2020| Posted in Colouring Stamped Images, Pencil Colouring| 336
No Stitch Stitching Dies
23/08/2020| Posted in Stitching/Embroidery| 1| 579
Birthday Shakers
26/08/2020| Posted in Die Cutting, Stamping Techniques, Card Making, Stamped Background, Fussy Cutting, Heat Embossing, turnabouts, Repeat Pattern Building, Stamping on non paper surfaces| 410
Birthday Fishes To You
29/08/2020| Posted in Colouring Stamped Images, Copic Colouring| 311
Peek-a-Boo Jungle
04/09/2020| Posted in Copic Colouring, Card Making| 353
Have a thrilling birthday
08/09/2020| Posted in Colouring Stamped Images, Die Cutting, Card Making, Stencilling, Interactive Cards| 307
Gnome Girl on the Blog
12/09/2020| Posted in Colouring Stamped Images, Pencil Colouring| 399
Birthday Queen
23/09/2020| Posted in Card Making, Stamped Background| 370
Selfie Party Pics
18/09/2020| Posted in Copic Colouring, Card Making| 1071
Autumn Acorns
28/09/2020| Posted in Water Colouring, Card Making| 295
Sunset Dragon Scene Card
02/10/2020| Posted in Copic Colouring| 1| 366
Yeti or Not: Happy Birthday
03/10/2020| Posted in Copic Colouring, Ink Blending| 1| 288
One Stencil, Three Cards!
08/10/2020| Posted in Stencilling| 223
Cozy Friends
19/10/2020| Posted in Die Cutting, Card Making| 472
Colorado Craft Company Week!
25/10/2020| Posted in Water Colouring| 2| 450
Delight in the Little Things
29/10/2020| Posted in Ink Blending, Card Making| 2| 247
Lets Party!
03/11/2020| Posted in Die Cutting| 1| 244
Birthday Fishes
07/11/2020| Posted in Colouring Stamped Images, Water Colouring| 1| 181
Present Time!
09/11/2020| Posted in Stamping Techniques, Card Making, Fussy Cutting, Repeat Pattern Building, Masking| 307
Snowball Fun
30/11/2020| Posted in Colouring Stamped Images, Card Making| 2| 331
Floral Birthdays
09/12/2020| Posted in Colouring Stamped Images, Die Cutting, Stamping Techniques, Card Making, Stamped Background, Heat Embossing| 1| 232
Happy New Year!
03/01/2021| Posted in Pencil Colouring, Water Colouring| 2| 639
Birthday Roses
07/01/2021| Posted in Colouring Stamped Images, Copic Colouring, Card Making, Stencilling, Stamped Background| 1| 264
Birthday Burst!
11/01/2021| Posted in Die Cutting, Card Making| 1| 284
Going Dotty!
20/01/2021| Posted in Copic Colouring, Die Cutting, Stamping Techniques, Card Making, Stamped Background| 1| 226
Birthday Cupcake
15/01/2021| Posted in Copic Colouring, Card Making| 1| 464
A Tale of Two Hearts
17/01/2021| Posted in Die Cutting| 1| 479
HAPPY HAPPY Birthday!
21/01/2021| Posted in Colouring Stamped Images, Copic Colouring, Stamping Techniques, Card Making, Fussy Cutting, Repeat Pattern Building| 1| 246
Magical Day
27/01/2021| Posted in Copic Colouring, Die Cutting, Card Making, Fussy Cutting, Heat Embossing| 1| 220
Slimline Birthday Card
30/01/2021| Posted in Colouring Stamped Images, Pencil Colouring, Water Colouring, Die Cutting| 1| 522
Let the Good Times Roll!
29/01/2021| Posted in Copic Colouring, Card Making| 1| 334
Thank you Mr Postman!
03/02/2021| Posted in Die Cutting, Stamping Techniques, Card Making, Stamp Layering, Stamped Background, turnabouts| 1| 403
Poppin' Popcorn
01/02/2021| Posted in Off The Page Projects, Stencilling with embossing paste, Heat Embossing| 1| 315
Bears on Adventure
13/02/2021| Posted in Colouring Stamped Images, Pencil Colouring, Water Colouring, Die Cutting, Ink Blending, Stencilling| 1| 478
Underwater Birthday Wishes
19/02/2021| Posted in Copic Colouring, Card Making| 1| 607
Trig 102
24/02/2021| Posted in Copic Colouring, Die Cutting, Card Making, Fussy Cutting, Heat Embossing, Repeat Pattern Building| 1| 519
Birthday Blooms
04/03/2021| Posted in Die Cutting, Card Making| 1| 270
Birthday Buds
06/03/2021| Posted in Colouring Stamped Images, Pencil Colouring| 1| 374
Happy Birthdays
14/04/2021| Posted in Copic Colouring, Die Cutting, Card Making, Stamped Background, Shaped Cards| 1| 382
Dandy Lion
11/04/2021| Posted in Pencil Colouring, Water Colouring, Interactive Cards, Fussy Cutting, Embossing Folders| 2| 416
Hex Layers
15/04/2021| Posted in Ink Blending, Card Making, Stencilling, Stencilling with embossing paste| 1| 248
Relax Dad
24/04/2021| Posted in Copic Colouring, Paper Piecing| 2| 1180
Let's Party Birthday Cards
28/04/2021| Posted in Copic Colouring, Die Cutting, Stamping Techniques, Card Making, Stamped Background, Interactive Cards, Heat Embossing, turnabouts, Masking, Stamping| 1| 324
Bentley Goes Fishing
01/05/2021| Posted in Copic Colouring, Fussy Cutting| 1| 311
Introducing Elliot & Marcel
02/05/2021| Posted in Pencil Colouring, Stamping| 372
We Herd It's Your Birthday!
07/05/2021| Posted in Copic Colouring| 1| 372
Imagination
08/05/2021| Posted in Copic Colouring, Card Making, Off The Page Projects, Fussy Cutting, Patterned Papers, Stamping| 1| 234
Floral Birthdays
19/05/2021| Posted in Die Cutting, Stamping Techniques, Card Making, Stamp Layering, turnabouts, Stamping| 1| 508
Starry Birthday
26/05/2021| Posted in Copic Colouring, Ink Blending, Card Making, Fussy Cutting, Heat Embossing, turnabouts, Stamping| 1| 236
“The rules are… there ain’t no rules!”
02/06/2021| Posted in Colouring Stamped Images, Copic Colouring, Stamping Techniques, Card Making, Fussy Cutting, Stamping| 310
Kick Back and Chill
07/06/2021| Posted in Water Colouring, Card Making| 539
Time to Paw-ty!!!
12/06/2021| Posted in Sketches| 233
Rainbow Birthday
16/06/2021| Posted in Copic Colouring, Die Cutting, Ink Blending, Card Making, Stamped Background, Interactive Cards, Fussy Cutting, Heat Embossing| 488
Hay There Birthday
02/07/2021| Posted in Copic Colouring, No Line Colouring| 312
Sending Rainbows in the Rain
18/06/2021| Posted in Copic Colouring, No Line Colouring| 541
Birthday Gifts
16/07/2021| Posted in Pencil Colouring, No Line Colouring| 1| 322
Birthday 3D Floral
19/06/2021| Posted in Copic Colouring, Embossing Folders| 243
Coaster Fun
21/06/2021| Posted in Colouring Stamped Images, Ink Blending, Card Making, Fussy Cutting, Shaped Cards| 238
Leaves or Feathers?
24/06/2021| Posted in Die Cutting| 1| 300
Quick Masculine Makes
04/07/2021| Posted in Stamping Techniques| 270
Birthday fun
06/07/2021| Posted in Colouring Stamped Images| 315
Birthday Sprinkles
19/07/2021| Posted in Die Cutting, Stamping| 216
Floating On By
26/07/2021| Posted in Copic Colouring, Die Cutting, Ink Blending, Stencilling, sentiment Focal Points| 245
First Birthday Animals
02/08/2021| Posted in Colouring Stamped Images, Pencil Colouring, Stamped Background, Fussy Cutting| 420
A Cat Isn't Just for Christmas
30/07/2021| Posted in Pencil Colouring, Die Cutting| 251
Whale of a birthday
01/08/2021| Posted in Ink Blending, Stamp Layering| 220
Bright Birthday Geometrics
05/08/2021| Posted in Die Cutting, Card Making| 422
Succulent Bouquet Four Ways
18/08/2021| Posted in Copic Colouring, Water Colouring, Die Cutting, Card Making, Off The Page Projects, Heat Embossing, Patterned Papers, Stamping| 351
Oh Happy Day!
20/08/2021| Posted in Copic Colouring| 302
Sweater Weather!!
25/08/2021| Posted in Copic Colouring, Die Cutting, Stamping Techniques, Card Making, Stamped Background, Stamping, Embossing Folders| 407
Patterned Paper Play
27/08/2021| Posted in Die Cutting, Patterned Papers| 1| 345
A Wreath for All Seasons
01/09/2021| Posted in Copic Colouring, Die Cutting, Card Making, Stamped Background, Fussy Cutting, Heat Embossing, turnabouts, Stamping| 451
The Little Things
03/09/2021| Posted in Pencil Colouring, No Line Colouring| 1| 234
Gone But Not Forgotten
08/09/2021| Posted in Copic Colouring, Die Cutting, Card Making, Stamped Background, Repeat Pattern Building, Stamping| 491
All The Three's
11/09/2021| Posted in Copic Colouring, Card Making, Stencilling with embossing paste, Fussy Cutting, Stamping, stamp surgery| 287
Picture Perfect!
17/09/2021| Posted in Copic Colouring| 297
Autumn Leaves
21/09/2021| Posted in Die Cutting, Card Making| 1| 319
Heroes On The Inside
02/10/2021| Posted in Ink Blending, Interactive Cards| 238
Butterfly Dies
14/10/2021| Posted in Die Cutting, Card Making, Special Effects, Fancy Folds, Stamping, Clean & Simple| 1| 234
Happy as a Seagull with a Chip
15/10/2021| Posted in Copic Colouring, No Line Colouring| 291
Masculine Birthday Card
03/11/2021| Posted in Copic Colouring, Die Cutting, Card Making, Stamping, sentiment Focal Points| 292
The Big 5-0
05/11/2021| Posted in Die Cutting, Heat Embossing| 390
Caffeine Inspiration
17/11/2021| Posted in Copic Colouring, Die Cutting, Stamped Background, turnabouts, Stamping, Mini Slimline Card, Clean & Simple| 334
Winter Wreath
13/12/2021| Posted in Pencil Colouring, Card Making| 358
Happy Birthday
22/12/2021| Posted in Die Cutting, Stamping Techniques, Card Making, Stamped Background, Layering Stencils| 349
Every Day Labels His and Hers
09/01/2022| Posted in Die Cutting, Stamping Techniques| 297
Masculine Birthday Cards
26/01/2022| Posted in Die Cutting, Stamping Techniques, Card Making, Stamped Background, Embossing Folders, Layering Stencils| 468
Lets Conga
15/01/2022| Posted in Copic Colouring, Card Making, Off The Page Projects, Stamping, Clean & Simple| 1| 1114
I Smell A Birthday
29/01/2022| Posted in Copic Colouring, Card Making, Fussy Cutting, Patterned Papers, Stamping, Sketches, Clean & Simple| 286
Big Birthday Balloons
04/02/2022| Posted in Die Cutting| 221
Flowers For Your Birthday
11/02/2022| Posted in Die Cutting| 333
Friends Fur-ever
25/02/2022| Posted in Copic Colouring, Card Making, Partial Die Cutting, Fussy Cutting, Stamping, Clean & Simple| 1| 294
Smooshed Blooms
17/03/2022| Posted in Colouring Stamped Images, Water Colouring, Die Cutting, Stamping Techniques, Card Making, Special Effects, Stamping, Clean & Simple| 282
Tiny Flowers
18/03/2022| Posted in Die Cutting| 288
Fairy Magic
28/03/2022| Posted in Colouring Stamped Images, sentiment Focal Points| 211
Birthdays
06/04/2022| Posted in Copic Colouring, Die Cutting, Card Making, Stamped Background, Heat Embossing| 2| 348
Birthday Bar
17/04/2022| Posted in Copic Colouring, Die Cutting| 298
Sending Birthday Flowers
18/04/2022| Posted in Card Making, Stamping| 207
Fake Cake
22/04/2022| Posted in Die Cutting| 374
Geometric Quilt
27/04/2022| Posted in Die Cutting, Card Making| 310
Happy Birthday
04/05/2022| Posted in Copic Colouring, Ink Blending, Card Making, Stencilling, Stencilled backgrounds| 317
Pussy Willow
29/04/2022| Posted in Die Cutting, Die Cut Felt and Fabric| 391
Birthday Magic
02/05/2022| Posted in Colouring Stamped Images, Copic Colouring, Card Making, sentiment Focal Points, Clean & Simple| 227
Birthday Hugs and Kisses
08/05/2022| Posted in Die Cutting| 273
BBQ Time
09/05/2022| Posted in Die Cutting| 241
The Personal Touch
14/05/2022| Posted in Card Making, Partial Die Cutting| 284
Rainbow Spacers and a Busy Week in Store
15/05/2022| Posted in Die Cutting| 346
Monochrome Moustache
28/05/2022| Posted in Patterned Papers| 214
Pool Party
09/06/2022| Posted in Colouring Stamped Images, Die Cutting| 219
Making the Most of Mini Stamps - Part Two
12/06/2022| Posted in Stamped Background| 262
Circle Quad
11/06/2022| Posted in Patterned Papers| 280
Having a Hoot of A Time
19/06/2022| Posted in Pencil Colouring, Die Cutting| 258
Fishing You A Happy Birthday
25/06/2022| Posted in Stamping, mixed media, Clean & Simple, Inky Backsides, Clean and Simple (CAS)| 215
Birthday Rose
01/07/2022| Posted in Card Making, Stamp Layering, Stamped Background, Masking, Stencilled backgrounds| 304
Snappy Birthday Wishes
02/07/2022| Posted in Copic Colouring, Ink Blending, Card Making, Fussy Cutting, Inky Backsides| 335
Picnic In The Sky
12/07/2022| Posted in Colouring Stamped Images, Copic Colouring, Die Cutting, Ink Blending, Card Making, Stencilling| 237
One for the Guys & One for the Girls.
28/07/2022| Posted in Die Cutting, Card Making, Stamped Background, Stamping, Inlaid Die Cutting| 445
Say it with Balloons
01/08/2022| Posted in Die Cutting, Stamping| 229
Cocktail Cheers
08/08/2022| Posted in Die Cutting, colouring die cuts| 386
Is it on the trolley?
21/08/2022| Posted in Die Cutting| 331
Pick A Pattern
25/08/2022| Posted in Stamping Techniques, Card Making, Stamping, Clean & Simple, Clean and Simple (CAS)| 293
To The Rescue
17/09/2022| Posted in Copic Colouring, Ink Blending, Stencilling with embossing paste, Fussy Cutting, Inky Backsides| 162
Birthday Tweet
17/10/2022| Posted in Colouring Stamped Images| 2| 256
Cards for my Great Nephew
25/11/2022| Posted in Card Making, Stamped Background, turnabouts, Stamping, colouring die cuts| 232
Star Gazing
26/11/2022| Posted in Copic Colouring, Fussy Cutting| 248
Winter Pine
05/12/2022| Posted in Colouring Stamped Images, Stamping| 260
Birthday Flowers
09/12/2022| Posted in Copic Colouring, Die Cutting, Card Making, Stamping, Stencilled backgrounds| 302
Stacks of Presents
07/01/2023| Posted in Copic Colouring, Patterned Papers| 150
Penguin Party
09/01/2023| Posted in Patterned Papers, Stamping| 141
One Background - Four Ways
20/01/2023| Posted in Copic Colouring, Die Cutting, Card Making, Stamped Background, Heat Embossing, Stamping| 235
White Diecutting and Yummy Cakes
18/01/2023| Posted in Die Cutting, water colour pencils| 279
Graphic Weaving
25/01/2023| Posted in Die Cutting, paper weaving| 182
Organic Cherry Blossom
08/02/2023| Posted in Die Cutting, Ink Blending| 196
A Trio of Cards
24/02/2023| Posted in Copic Colouring, Card Making, Stencilling, Fussy Cutting, Stamping, Stencilled backgrounds| 320
Ghost Bricks
22/02/2023| Posted in Ink Blending, Card Making, Stencilling, Layering Stencils, Clean & Simple| 287
Tiny Giant Birthday
05/03/2023| Posted in Die Cutting| 208
Soak & Relax
06/03/2023| Posted in Die Cutting, Homeware/Decorations| 261
it's Your Day
22/03/2023| Posted in Die Cutting| 244
Garden Goodness Birthday Blooms
12/04/2023| Posted in Die Cutting, Card Making, Stamp Layering, Stencilling, Layering Stencils, Stencilled backgrounds| 324
Boho Butterflies
30/03/2023| Posted in Die Cutting, Ink Blending, Card Making, Stencilling, Layering Stencils, Clean & Simple| 1| 254
Howdy Raccoon
15/04/2023| Posted in Colouring Stamped Images, Copic Colouring, Stamping Techniques, Stamped Background, Fussy Cutting, Stamping| 286
Classy in Pink
21/04/2023| Posted in Die Cutting| 187
Iced Mini Cake
07/05/2023| Posted in Die Cutting, Stencilling with embossing paste| 292
Simply Make a Wish
12/05/2023| Posted in Stamping Techniques| 199
Mod Turnabout
14/05/2023| Posted in Stamping Techniques, turnabouts| 300
Just for you on your birthday
17/05/2023| Posted in Die Cutting, Stamping Techniques, Card Making, Stamped Background, turnabouts, Stamping| 146
Sewn with love
23/05/2023| Posted in Copic Colouring, Card Making| 197
Ornate Florals
02/06/2023| Posted in Die Cutting, Faux Embossing| 174
First Steps in the Urban Jungle
09/06/2023| Posted in Die Cutting, Ink Blending| 219
Takes the Cake!
12/06/2023| Posted in Die Cutting, Card Making, Stamped Background, Stamping, Layering Stencils| 183
All about the Base-ball
14/06/2023| Posted in Die Cutting, Embossing Folders| 159
Partners In Adventure
17/06/2023| Posted in Copic Colouring, Die Cutting, Paper Piecing, Card Making, Fussy Cutting, Patterned Papers, Stamping, Clean & Simple, Clean and Simple (CAS)| 178
Pawsome Party In the Park
22/06/2023| Posted in Pencil Colouring, Die Cutting| 145
All Aglow
28/06/2023| Posted in Card Making, Stencilling, Stamped Background, Stamping, Layering Stencils| 222
Circular Sentiment Stamping with a Stamp Wheel Tool
25/06/2023| Posted in Stamping, Stamp Wheel| 170
Tips and Tricks for Easy Paper Piecing with Large Dies
09/07/2023| Posted in Die Cutting, Paper Piecing| 203
A Chilled Day
10/07/2023| Posted in Colouring Stamped Images, Ink Blending, Card Making, sentiment Focal Points, colouring die cuts| 186
Make a Wish...
12/07/2023| Posted in Die Cutting, Card Making, Stamp Layering, Stamping, Clean & Simple, Clean and Simple (CAS)| 248
Donuts and Sprinkles
14/07/2023| Posted in Copic Colouring, Die Cutting| 192
Garden Goodness Birthday Wishes
19/07/2023| Posted in Die Cutting, Card Making, Stamping, sentiment Focal Points, Layering Stencils, Stencilled backgrounds| 228
Floral Frame
26/07/2023| Posted in Card Making, Stamp Layering, Stamping, sentiment Focal Points, Stencilled backgrounds| 225
Ice Cream Helps
31/07/2023| Posted in Colouring Stamped Images, Copic Colouring, Pencil Colouring, Card Making, Heat Embossing, Clean & Simple| 231
Just for You
16/08/2023| Posted in Die Cutting, Card Making, Stamp Layering, Stamped Background, Stamping, sentiment Focal Points| 198
Happy Bee-Day
15/08/2023| Posted in Copic Colouring, Die Cutting, Ink Blending, Card Making, Stamping, Stencilled backgrounds| 160
Picked Posies - Just for You
23/08/2023| Posted in Die Cutting, Card Making| 194
Hay Ride Drive By
24/08/2023| Posted in Pencil Colouring, Masking| 167
Home Grown Notecard
04/09/2023| Posted in Clean & Simple, colouring die cuts| 173
Hope Your Day Is Filled With Fun
12/09/2023| Posted in Colouring Stamped Images, Die Cutting, Ink Blending, Card Making, Interactive Cards| 140
Gnomes in the sunflower patch
29/09/2023| Posted in Pencil Colouring| 192
Wish Upon a Star Fish
04/11/2023| Posted in Copic Colouring, Card Making, Stamped Background, Fussy Cutting, Stamping, Sketches, Clean & Simple, Clean and Simple (CAS)| 212
Introducing Flashback Friday Bargains
20/10/2023| Posted in Copic Colouring| 1| 993
2024 Part Two
14/12/2023| Posted in Ink Blending, Stencilling, Stamped Background, turnabouts, Gift Making, Stamping, Layering Stencils, Stencilled backgrounds, Stamp Wheel| 180
2024 Part Three
21/12/2023| Posted in Ink Blending, Stamping Techniques, Stamp Layering, Stencilling, turnabouts, Gift Making, Masking, mixed media, Wreath Building| 198
Out with the old, in with the new!
03/01/2024| Posted in Card Making, sentiment Focal Points| 158
More than Merry Sprigs
10/01/2024| Posted in Stamping Techniques, Card Making, Stamp Layering, Stamped Background, Stamping| 145
Infinity Birthday Card
08/01/2024| Posted in Die Cutting, Interactive Cards| 143
Ski Season
19/01/2024| Posted in Die Cutting| 128
Layered Embossing Technique
21/01/2024| Posted in Embossing Folders| 188
Let's Party!
01/02/2024| Posted in Die Cutting, Ink Blending, Card Making, Stencilling, Clean & Simple, Stencilled backgrounds| 161
Legend-diary Birthday
04/02/2024| Posted in Copic Colouring, Die Cutting| 171
Garden Goodness
07/02/2024| Posted in Card Making, Stamp Layering, Stencilling, Layering Stencils, Clean & Simple, Stencilled backgrounds, Clean and Simple (CAS)| 159
Sew Cute Mini Notebook & Card
19/02/2024| Posted in Pencil Colouring, Die Cutting, Card Making, Stencilling, Gift Making, Layering Stencils, Stencilled backgrounds, Flashback Friday Bargains| 124
Grungy Flappy Birthday
20/02/2024| Posted in Colouring Stamped Images, Copic Colouring, Die Cutting, Ink Blending, Card Making| 139
Big Contempo Birthday Vibes
23/02/2024| Posted in Die Cutting, Stamping Techniques, Card Making, Stamped Background, turnabouts, sentiment Focal Points| 169
One panel two ways
17/03/2024| Posted in Die Cutting| 193
It's a Wrap Posy
08/04/2024| Posted in Die Cutting, Card Making, Stencilling, Patterned Papers, Clean & Simple, Clean and Simple (CAS)| 113
Birthdays and Backgrounds
14/04/2024| Posted in Die Cutting| 124
Controversial Santas
28/08/2022
Birthday Forecast
14/02/2022
Encouraging Leaves
15/03/2021
Framed Snowdrops
22/02/2021
Have A Kanga-riffic Birthday!
16/04/2024
Simple Striped Birthday Card
15/04/2024
Birthdays and Backgrounds
14/04/2024
Postage Collage Mash Up
13/04/2024
Flashback Friday Bargains - April 12th
12/04/2024
Topics
- Birthdays
- Christmas
- New Home
- New Baby
- Mother's Day
- Father's Day
- Valentine's Day
- St Patrick's Day
- Masculine
- New Year
- Good Luck
- New Job
- Retirement
- Holidays
- Celebrations
- Belated
- Easter
- Florals
- Get Well
- Friendship
- Gifts
- Gift Packaging
- Halloween
- Interactive
- Invitation
- Weddings
- Anniversary
- Motivation
- Inspiration
- Kind Thoughts
- Number Birthdays
- Sympathy
- Cheers
- Food and Drink
- Children's Cards
- Covid19
- Love
- Thanks and Gratitude
- Hello
- Superheros
- Birds
- Gardening and Gnomes
- Weather
- Congratulations
- Summer
- Tag
- Wellbeing
- Home Decoration
- Puns/Humour
- Patterns
- Clock
- Seasonal
- Autumn
- Prize
- Winter
- Trees
- Trees
- Pets
- Notecards
- Animals
- Rainbows
- Plants
- Scenery
- Butterflies and insects
- Inky Backsides
- Framed art
- Gift Boxes
- Reading
- Borders and Edges
- People
- Storage
- Upcycling
- Party Decorations and Favours
- Wreaths
- Sport
- Thinking Of You
- Bookmark
- Alphabets
- Movies
- Eid
- Monochromatic
- Coronation
- Sentiments
- Sea creatures
- Leaves
Tags
Mochi Girls
Altenew
Avery Elle
Art Impressions
Colorado Craft Company
Concord & 9th
Echo Park
Fiskars
Flora & Fauna
Hero Arts
Kuretake
Lawn Fawn
Lil' Inker Designs
Mama Elephant
My Favorite Things
Neat & Tangled
Newton's Nook
Paper Smooches
Ranger
Reverse Confetti
Seven Hills Crafts
Simple Stories
Sizzix
Stampers Anonymous
Stamping Bella
Sguar Pea Designs
Therm-o-web
Tonic Studios
Tsukineko
Waffle Flower Crafts
We Are Memory Keepers
Wplus9
Purple Onion Designs
The Greetery
Thinking Of You
Transotype


