
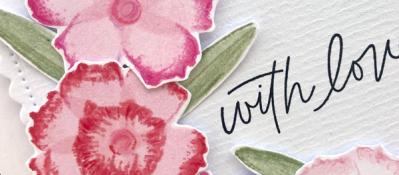
Painted Rose

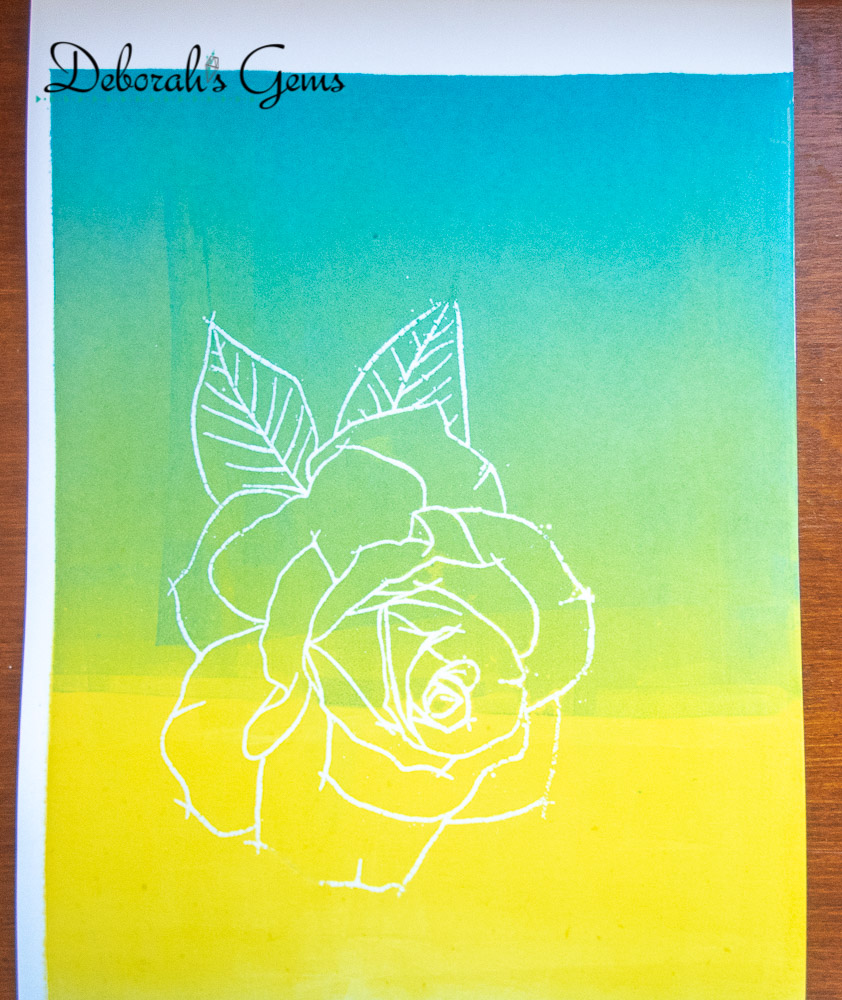
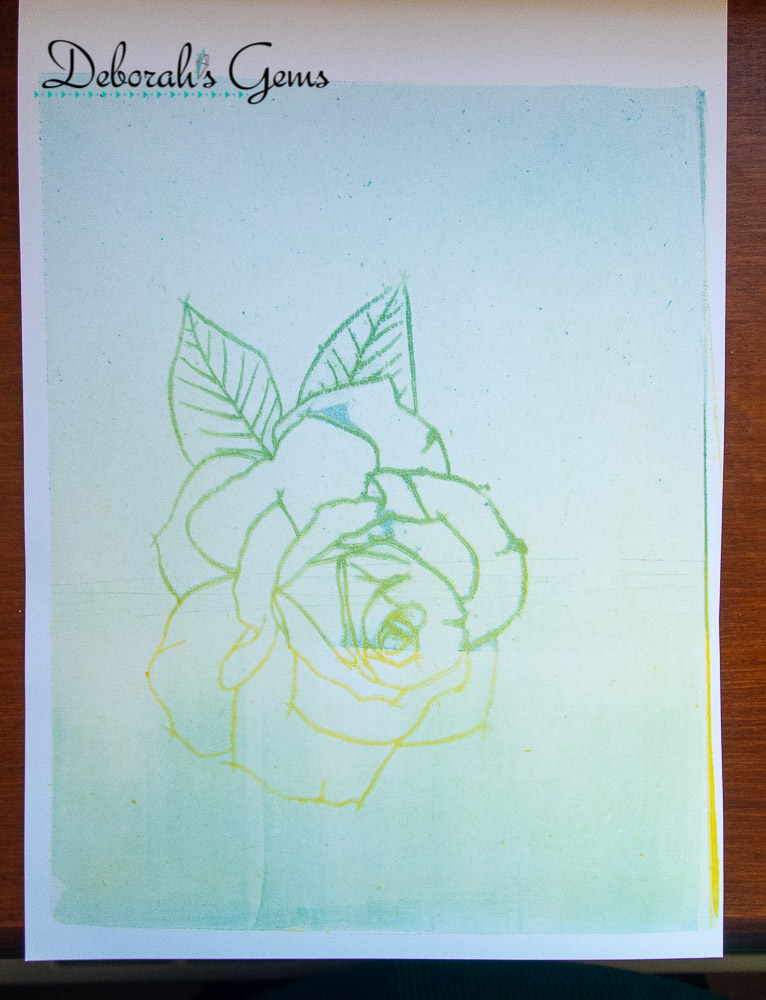
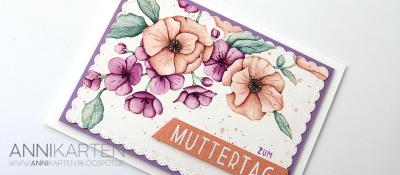
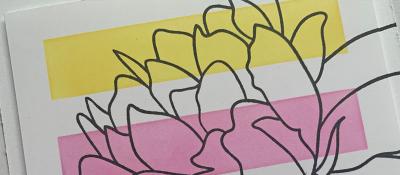
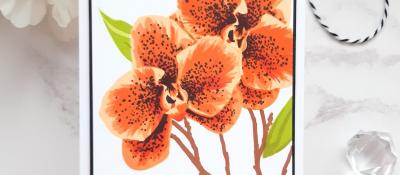
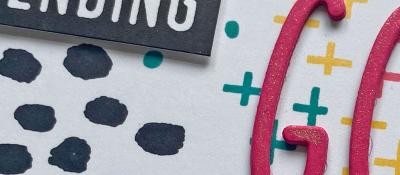
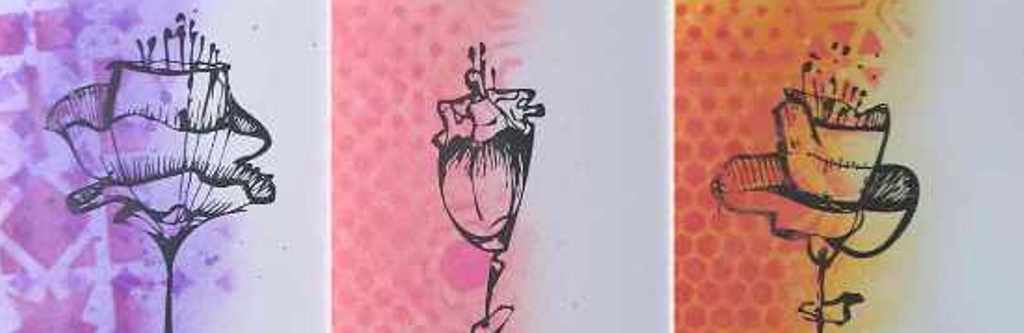
Hello all! It’s Deborah here with you today. Last week I watched Jennifer McGuire’s video about the Gel Press Lift Technique. In brief, the technique uses a gel plate, dye inks, brayer, stamps, embossing and lots of card and stamps. You start by stamping an image on white card and embossing with either clear or white powder. Next, you put dye ink on your gel plate, use a brayer to smooth the inks together and then press the ink onto your embossed image. You then have a negative on the gel plate which you transfer to a piece of white card. You repeat this several times and end up with two images. One is the positive and the other the softer negative. The photos below show my first attempt at using Concord & 9th’s Painted Rose – but I forget to completely blend one of the ink layers and ended up with a very definite line across the image. I was able to rescue the softer image and you’ll see that on my second card. I’m still trying to work out how to save the other image!
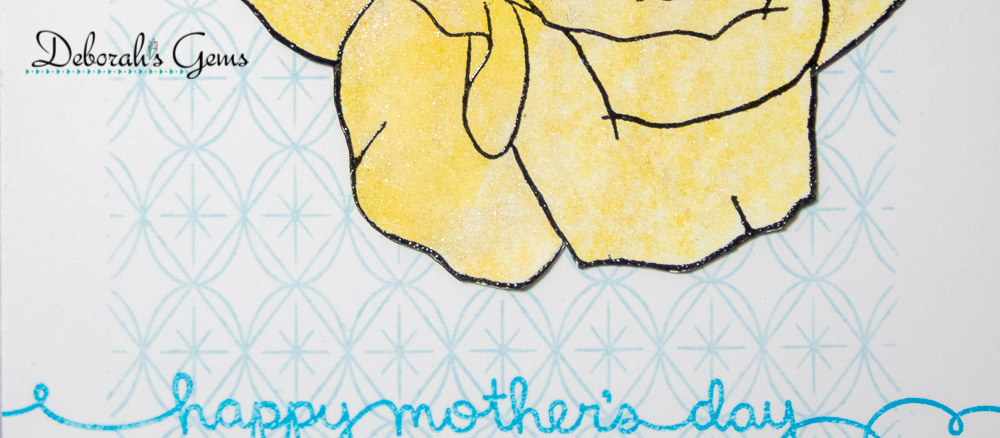
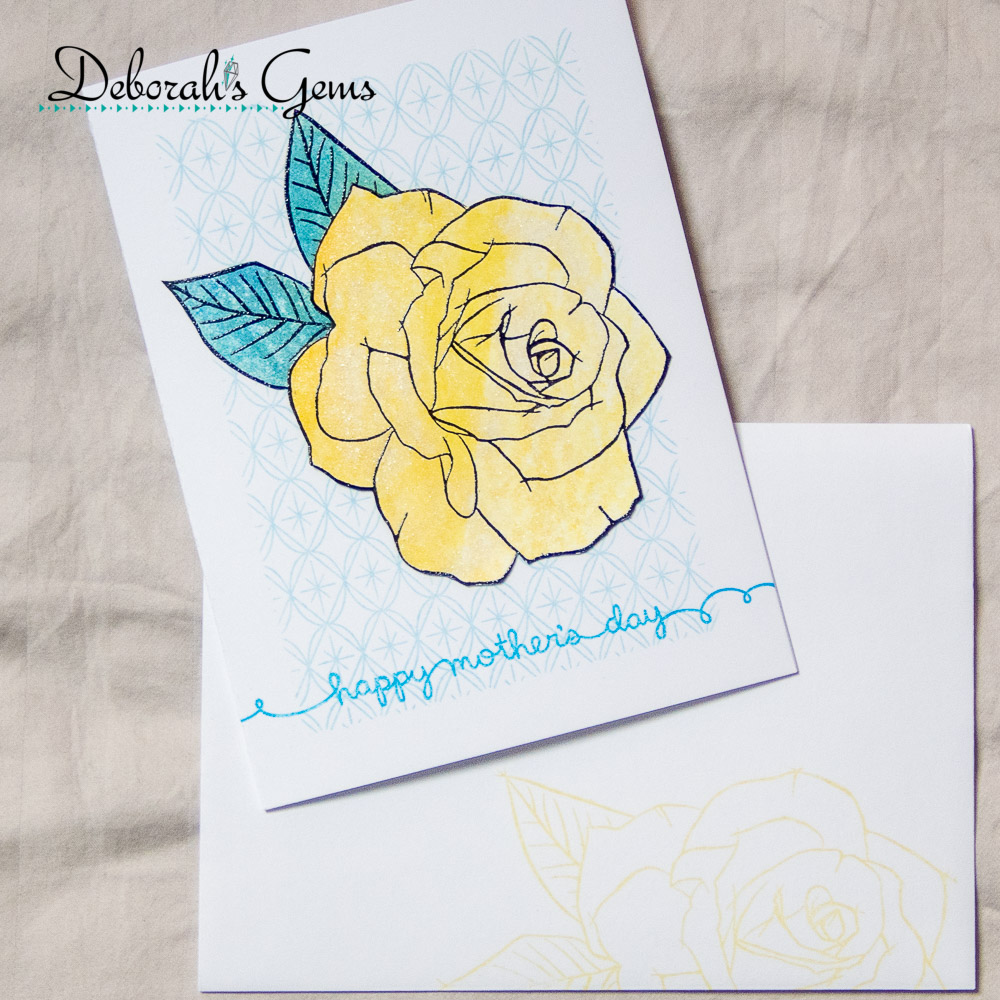
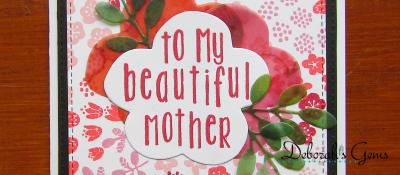
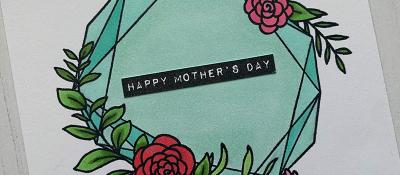
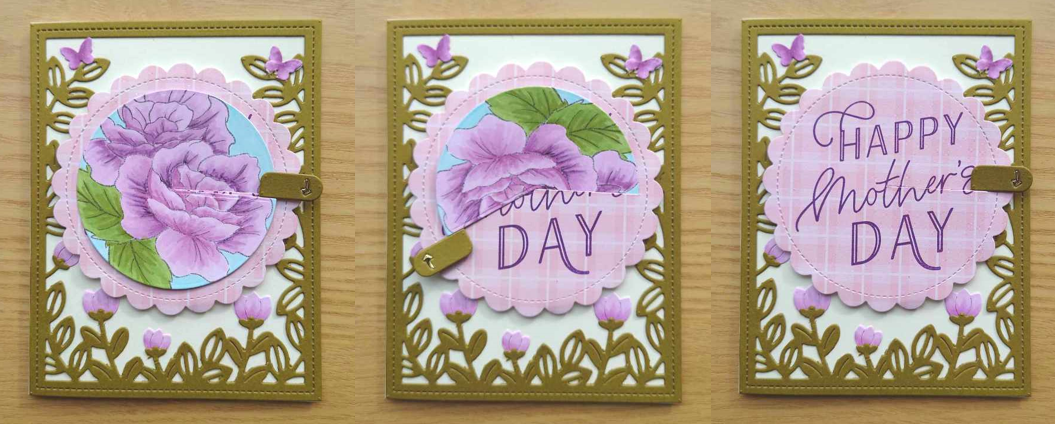
My first card is for Mother’s Day and I’m perfectly safe sharing it early, as my mother-in-law doesn’t use the Internet.
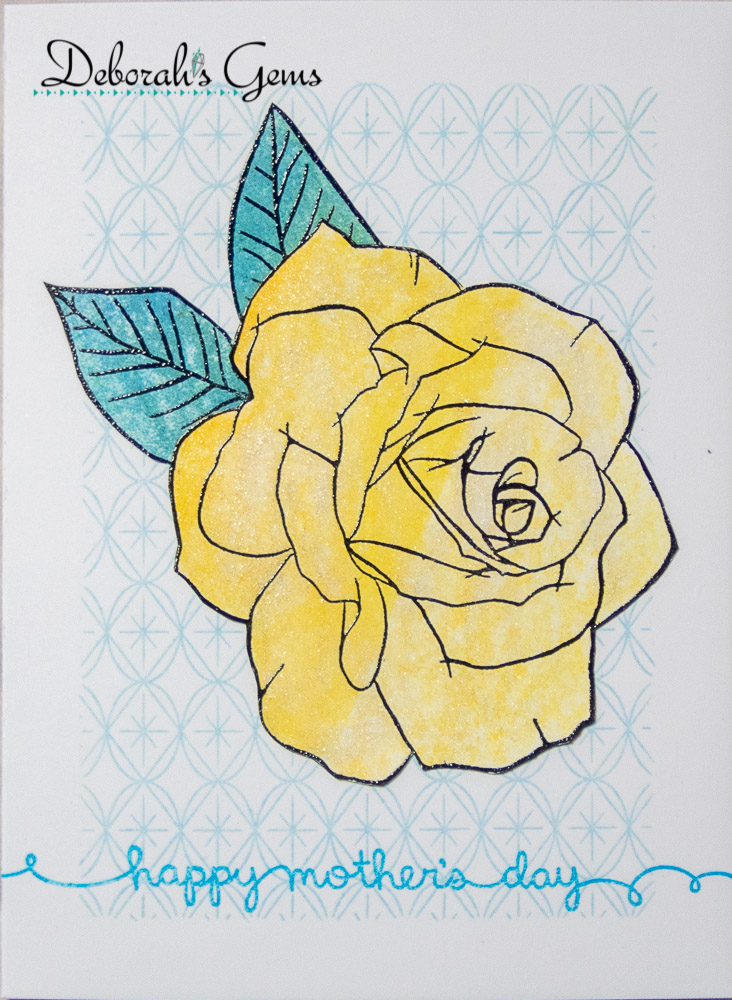
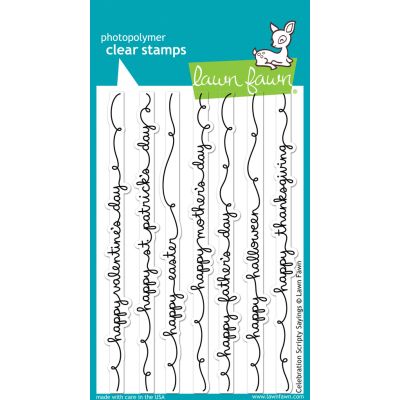
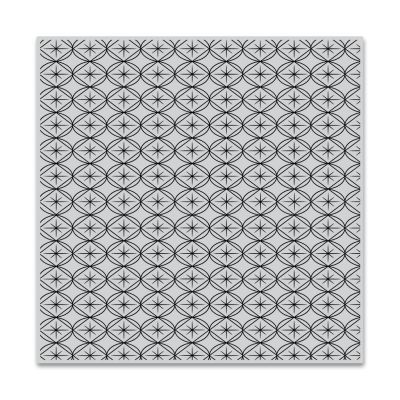
The card is a US A6 which measures 6¼” x 4½”. I used Hero Arts Mod Pattern for the background, but it is 6” square. So, I used a ½” masking tape all the way round the card and then stamped the background in soft blue ink and removed the masking tape. The Concord & 9th Painted Rose on this card was made from the brayer run off sheets from the above technique. I stamped the rose in Versafine black ink and heat embossed with clear powder. I did the same for the leaves. I fussy cut them both out and adhered them flat to the card. I used a clear aqua shimmer brush to add sparkle to the rose. I finished the front by adding a scripty Mother’s Day sentiment from Lawn Fawn’s Celebration Scripty Sayings.
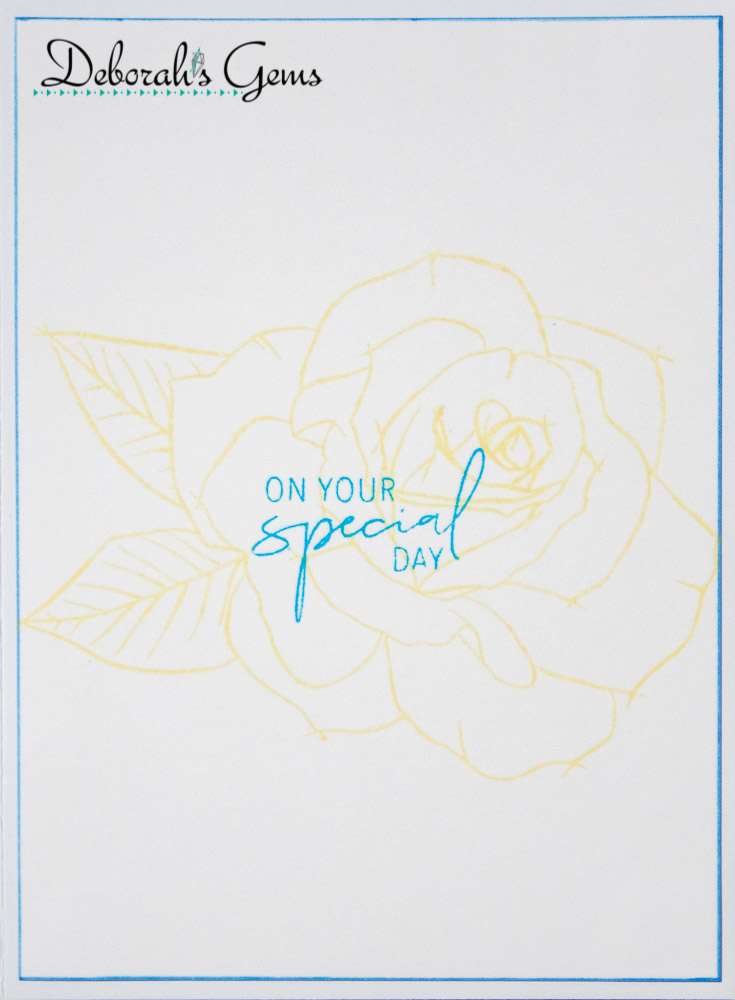
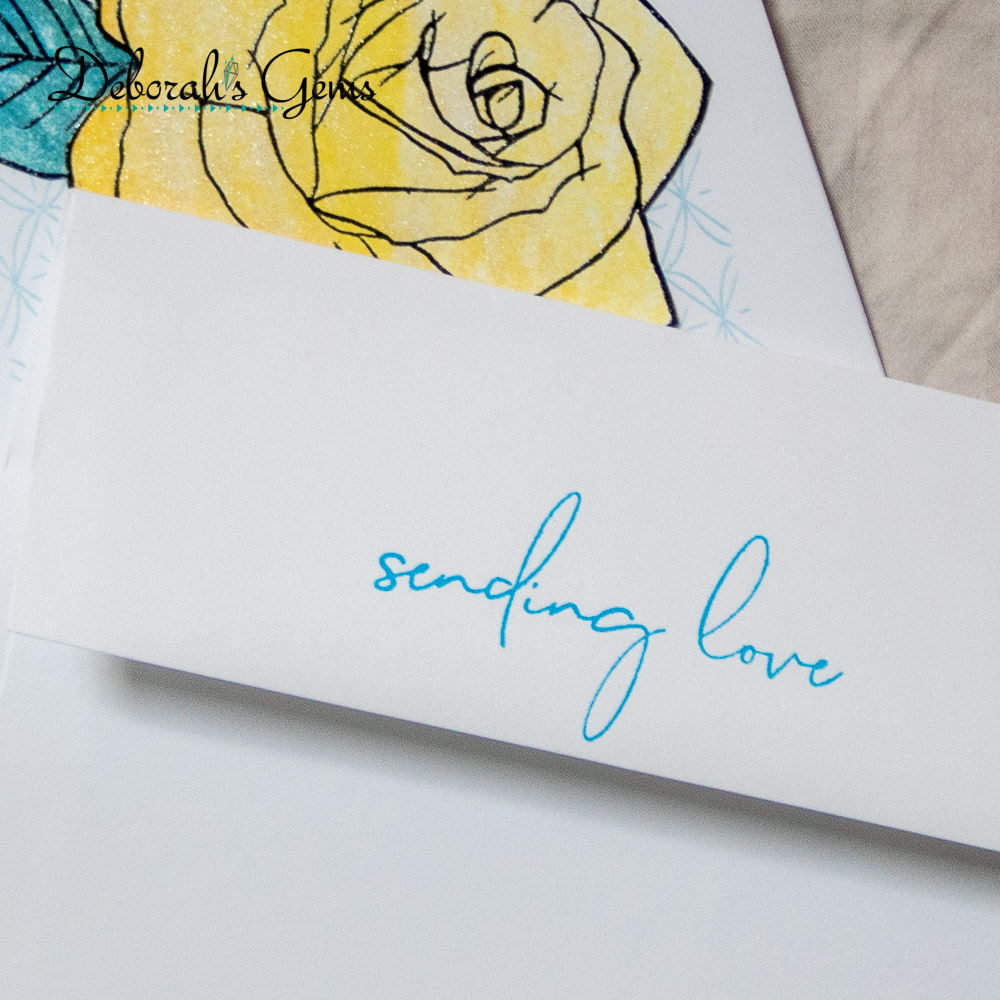
On the inside I cut a piece of white card slightly smaller than the base. I stamped the rose in pale yellow in the centre and added one of the messages from Painted Rose in blue. I edged the card with a blue marker and adhered it to the inside of the card.
I decorated the envelope to match the card with a rose on the front and a message on the flap.
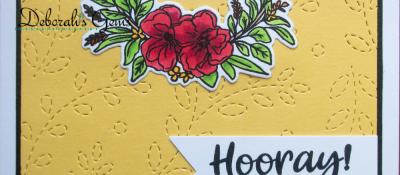
My next card uses the negative page produced from Jennifer McGuire’s printing technique. I used blue and yellow inks on the gel plate and when brayered smooth they meet to produce a soft green colour. The embossed positive image resists the ink and leaves an image on the gel plate and when pressed onto white card, produces a lovely soft image.
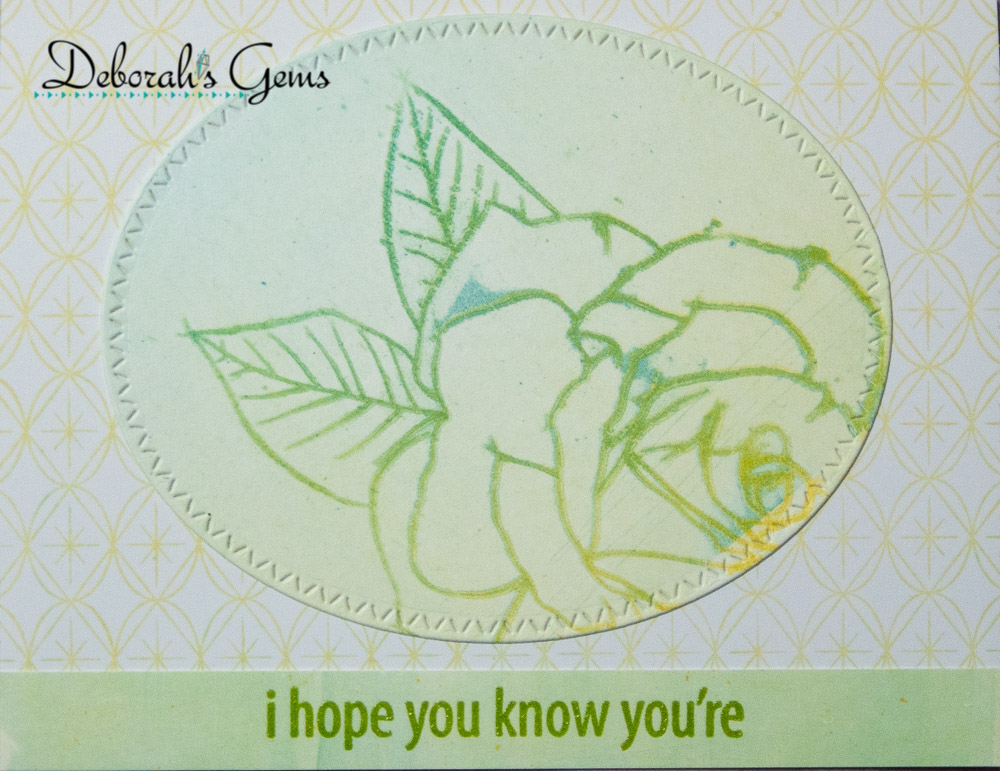
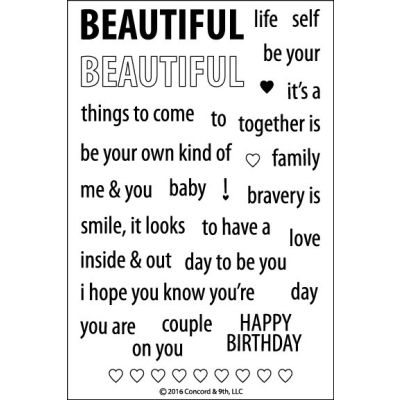
As you can see from the softer image at the start of this post, I had a very marked line on the rose. To save the image, I used an oval die to cut it out. I used the Hero Arts Mod Pattern to stamp a pale-yellow background on a US A2 size card (4¼” x 5½”). I adhered the oval image to the card. I used Concord & 9th’s Beautiful Words stamp set on a strip of the left-over card for the message.
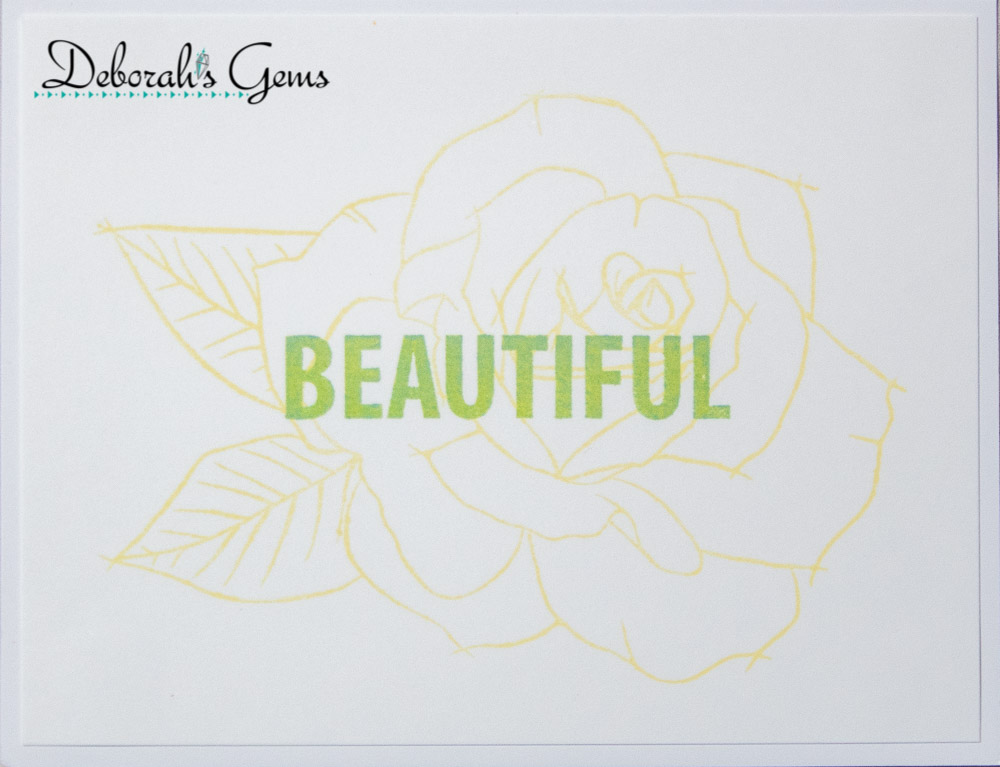
On the inside I stamped the rose in yellow and added the word ‘beautiful’ in bold capitals. I stamped it once in yellow and again in blue to give a soft green colour.
That’s all from me today. I’ll see you again next week. Keep safe.
Deborah, x
10/03/2021
|
View: 278
|
Categories: Ink Blending, Stamping Techniques, Card Making, Stamped Background, Fussy Cutting, Masking, Gel Press
|
Tags: Concord & 9th, Hero Arts, Lawn Fawn
Related Posts
Flower Truck
09/03/2020| Posted in Pencil Colouring, Stamped Background| 355

We're in This Together
29/03/2020| Posted in Water Colouring, Stamped Background| 405
You Are Beautiful
16/04/2020| Posted in Ink Blending, Fussy Cutting| 448
Mother's Day Card
09/05/2020| Posted in Colouring Stamped Images, Pencil Colouring, Water Colouring, No Line Colouring| 1| 305
Shark Tank
12/06/2020| Posted in Die Cutting| 312

Shine Like a Diamond
17/06/2020| Posted in Copic Colouring, Die Cutting, Card Making, Stamp Layering, Stamped Background, Heat Embossing| 334
Floral Silhouette Trio
21/07/2020| Posted in Ink Blending| 266
Geometric Encouragement
15/09/2020| Posted in Die Cutting, Card Making| 209
Quick One-Layer Cards
04/11/2020| Posted in Stamping Techniques, Card Making| 1| 331
Feeling Blue
29/11/2020| Posted in Die Cutting| 2| 380

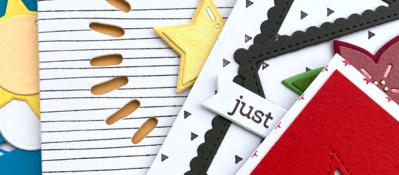
Just Keep Swimming
30/03/2021| Posted in Card Making, Heat Embossing| 1| 585
Eclectic Florals
29/04/2021| Posted in Colouring Stamped Images, Pencil Colouring, Die Cutting, Card Making, No Line Colouring, Fussy Cutting| 1| 364
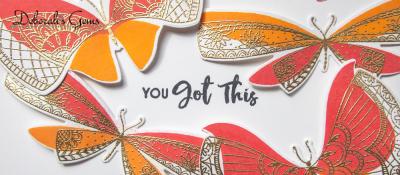
More Brilliant Butterflies
12/05/2021| Posted in Die Cutting, Stamping Techniques, Card Making, Stamp Layering, Heat Embossing, Stamping| 1| 294
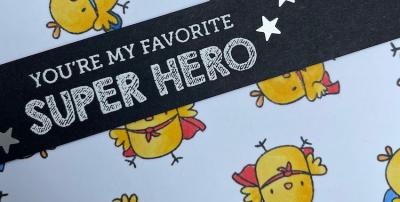
Super Chicks
15/05/2021| Posted in Stamping Techniques, Stamping| 1| 294
Going Dotty!
20/05/2021| Posted in Colouring Stamped Images, Copic Colouring, Stamping Techniques, Card Making, Stamp Layering, Stamping, sentiment Focal Points| 2| 326
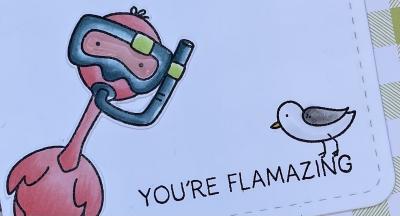
You Are Flamazing
05/06/2021| Posted in Copic Colouring, Fussy Cutting| 313
Amazing Butterflies
17/06/2021| Posted in Colouring Stamped Images, Copic Colouring, Die Cutting, Stamping Techniques, Card Making, Stencilling, Heat Embossing, Stamping| 305
Recharge with Watercolour
03/07/2021| Posted in Water Colouring, Card Making| 347
Shaking Up The World
10/07/2021| Posted in Shaker Cards| 266
So Very Proud of You
07/08/2021| Posted in Copic Colouring, Stamping Techniques| 819

Perfectly Ink Blended Background
24/08/2021| Posted in Ink Blending, Card Making| 1| 203
Mica Magic
12/10/2021| Posted in Stencilling| 435
All Stacked Up
27/11/2021| Posted in Copic Colouring, Card Making, Interactive Cards, Fussy Cutting, Patterned Papers, Stamping, Clean & Simple| 337

Life
12/02/2022| Posted in Copic Colouring, Sketches| 298
Mother's Day Cards
23/03/2022| Posted in Copic Colouring, Die Cutting, Card Making, Stamping, Stencilled backgrounds| 254
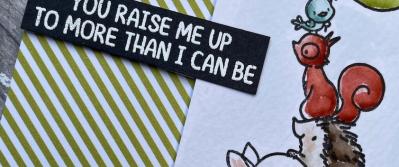
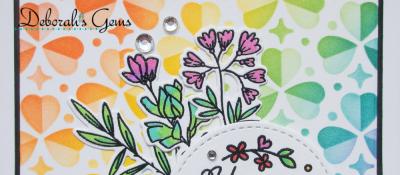
You Raise Me Up
19/03/2022| Posted in Water Colouring| 251
Chevron Pattern Play
23/04/2022| Posted in Paper Piecing, Card Making, Patterned Papers, Stitching/Embroidery, Clean & Simple| 379
Monochrome Moustache
28/05/2022| Posted in Patterned Papers| 219
Super Duper
30/05/2022| Posted in Colouring Stamped Images, Copic Colouring, Die Cutting, Card Making, sentiment Focal Points| 248

Three Little Pigs
04/06/2022| Posted in Copic Colouring, Card Making, Stamping, Clean & Simple, Clean and Simple (CAS)| 263

Sunny Days Ahead
24/06/2022| Posted in Die Cutting, Stamping Techniques, Card Making, Stamped Background, sentiment Focal Points| 301
Maybe it's Coffee
15/08/2022| Posted in Homeware/Decorations, colouring die cuts| 256
To The Rescue
17/09/2022| Posted in Copic Colouring, Ink Blending, Stencilling with embossing paste, Fussy Cutting, Inky Backsides| 166
Encouraging Notecards
06/02/2023| Posted in Die Cutting, Card Making| 1| 222
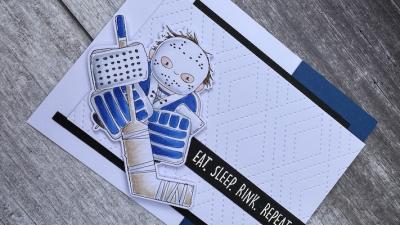
Eat, Sleep, Rink, Repeat
25/02/2023| Posted in Copic Colouring, Die Cutting| 193
Soak & Relax
06/03/2023| Posted in Die Cutting, Homeware/Decorations| 268

Sunshine and Hugs
07/03/2023| Posted in Die Cutting, Card Making| 286
Howdy Raccoon
15/04/2023| Posted in Colouring Stamped Images, Copic Colouring, Stamping Techniques, Stamped Background, Fussy Cutting, Stamping| 293
Llamas do Yoga
13/05/2023| Posted in Copic Colouring| 196
Hold on Tight
27/05/2023| Posted in Copic Colouring, Die Cutting| 217
Leaves on YouTube
18/06/2023| Posted in Die Cutting, mixed media| 161
Adventure Awaits
04/07/2023| Posted in Colouring Stamped Images, Copic Colouring, Die Cutting, Ink Blending, Card Making, Stencilling, Stamping, Stencilled backgrounds| 146

Cross the Ocean
29/07/2023| Posted in Copic Colouring| 143
Embossing Magic... 2 ways!
22/08/2023| Posted in Die Cutting, Ink Blending, Card Making, Heat Embossing, Embossing Folders| 190
Friday Feel Good Floral
25/08/2023| Posted in Ink Blending, Stencilling, Clean & Simple, Stencilled backgrounds, Stamp Wheel| 218
Home Grown Notecard
04/09/2023| Posted in Clean & Simple, colouring die cuts| 180
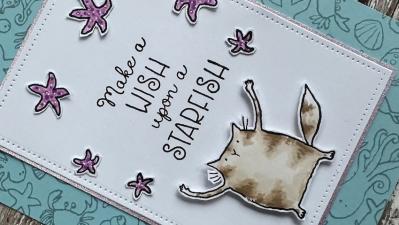
Wish Upon a Star Fish
04/11/2023| Posted in Copic Colouring, Card Making, Stamped Background, Fussy Cutting, Stamping, Sketches, Clean & Simple, Clean and Simple (CAS)| 217
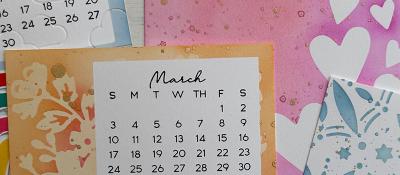
2024 Part One
07/12/2023| Posted in Die Cutting, Ink Blending, Stencilling, Gift Making, Stamping, Stencilled backgrounds| 144
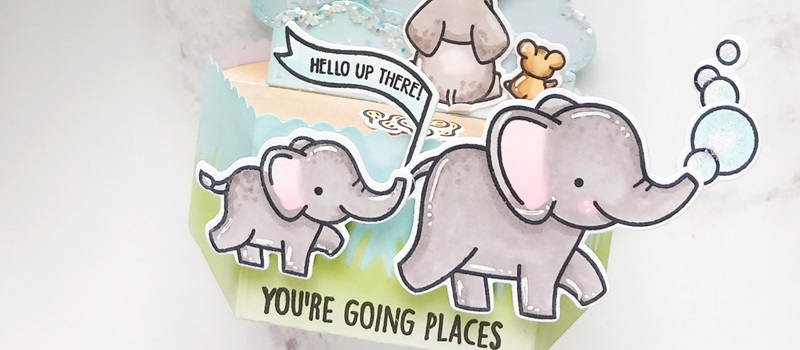
You're Going Places...
27/02/2024| Posted in Colouring Stamped Images, Copic Colouring, Die Cutting, Ink Blending, Card Making, Stencilling, 3D| 172
Mother's Day Whirl
03/03/2024| Posted in Copic Colouring, Interactive Cards| 472
I Hope You Know...
07/03/2024| Posted in Stamping Techniques, Card Making| 560
Related Products


Controversial Santas
28/08/2022

Birthday Forecast
14/02/2022

Encouraging Leaves
15/03/2021

Framed Snowdrops
22/02/2021

Paper Bouquet Take 2
24/04/2024
How to add dimension to your projects!
23/04/2024
Cute Milkshake Card
22/04/2024
Brighter Days Ahead
18/04/2024