
Spring Daisy Days

Morning all!
I'm back with a quick card to celebrate the season, featuring some more favourite supplies from The Greetery.
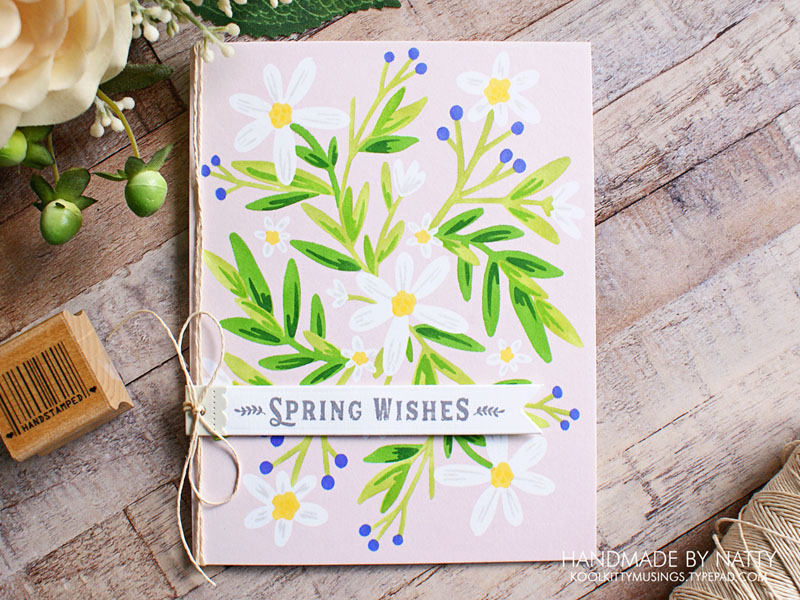
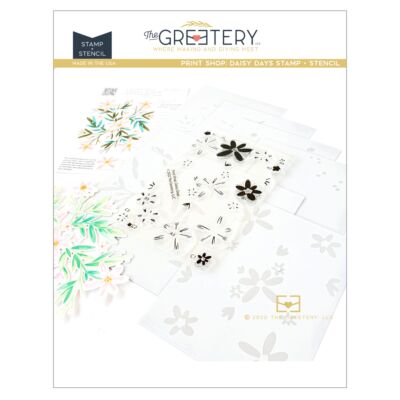
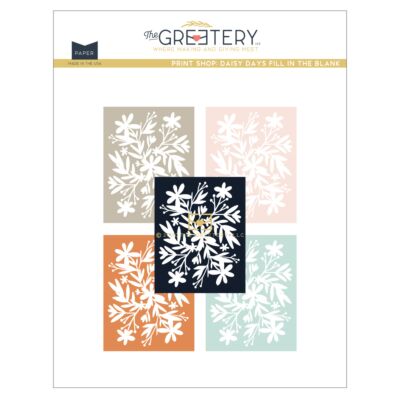
I've quickly realised that time is of the essence if I'm going to get my Easter cards made BEFORE Easter, and a great time-saver is the Print Shop Daisy Days stamp and stencil set combined with the coordinating Daisy Days paper pack.
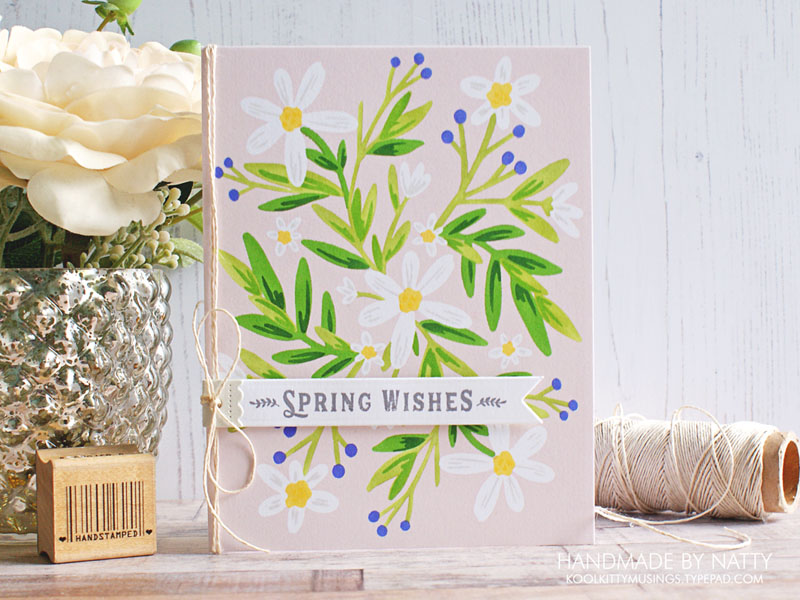
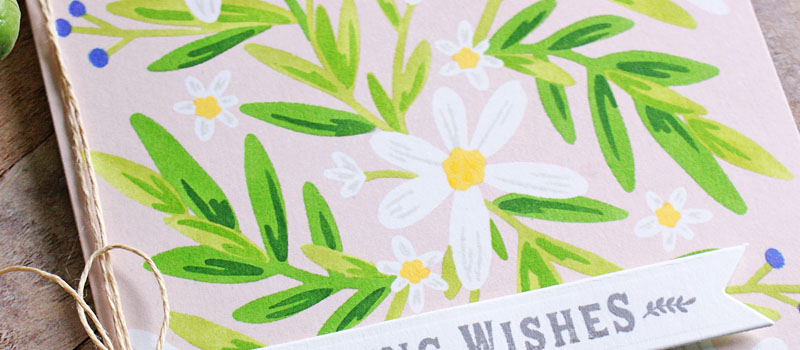
The paper pack features a good few colours perfect for spring, and you just need to fill in the white space with the stencils and stamps to create a beautiful background.
Everything's super easy to line up and get right.
So, it's just a case of selecting a few shades of ink for the foliage, and for the ultimate spring bouquet I left the daisies white and just stamped the petal details in light grey ink with a nice sunny yellow for the centres.
I also love the blue and violet tones of crocuses and other spring flowers that are popping up right now, so I added a burst of colour for the buds by layering Wilted Violet Distress Ink over Lawn Fawn Forget-Me-Not ink.
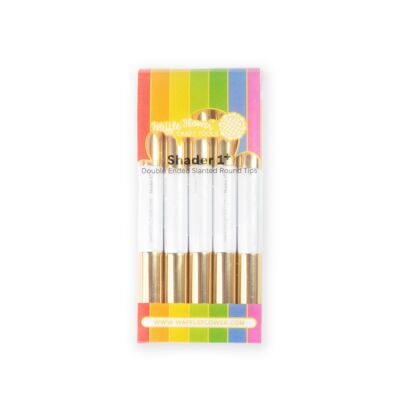
I have to say, the Waffle Flower Double-Ended Shader 1 brushes were so handy for this project - I love that you can have light and dark shades of a colour on one brush. The bristles are also tightly packed unlike other detail shading brushes I've used, so they're great for pouncing ink onto projects on very finely detailed areas without the bristles going under the edge of the stencil.
I will definitely have to get more to try and catch up with my ink collection!
Once the background of my card was done, I just needed to add an appropriate sentiment.
So of course I reached for another time-saving set, the Tear Strip Tags Spring stamps. I love that with one stamp and one pass of the coordinating Tear Strip Tags or Banner dies you have four sentiments ready to snip apart and use on a card.
I stamped the spring sentiments on cream cardstock in grey ink, grabbed the Tear Strip Tags die to cut them, and added one of the Tear Strip Tag Toppers in grey cardstock to the end.
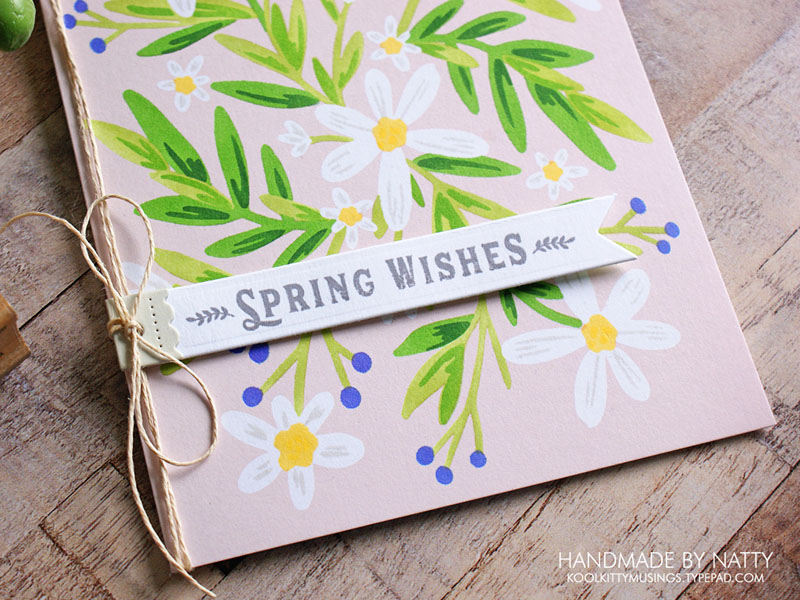
Then I simply wound some twine around the card and tied the tag in place, anchoring it on some cardstock scraps with a little glue to keep that pop of dimension. I also added some dots of glue to the knot and twine just to make sure everything stays in place.
And there we have it, a simple card full of the joys of spring!
Until next time, happy crafting!
February 28, 2024
|
View: 312
|
Categories: Card Making, Stamp Layering, Layering Stencils
|
Tags: The Greetery
|
By: Natalia
About the Author

Related Posts
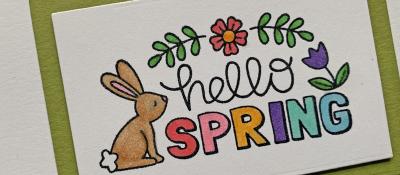
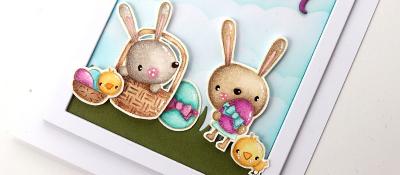
Easter Bunnies
March 3, 2021| Posted in Copic Colouring, Die Cutting, Ink Blending, Card Making, Stencilling, Fussy Cutting, Shaped Cards, Stamping| Deb| 1| 332
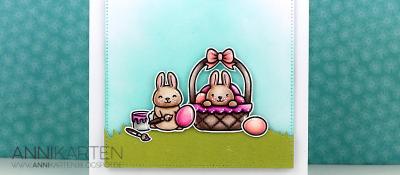
Spring Bunnies
March 20, 2021| Posted in Colouring Stamped Images, Pencil Colouring, No Line Colouring| Anni| 1| 418
Related Products


Controversial Santas
August 28, 2022

Birthday Forecast
February 14, 2022

Encouraging Leaves
March 15, 2021

Framed Snowdrops
February 22, 2021

Altenew 6th Anniversary Blog Hop Day 4 + Giveaway
April 5, 2020
'Tis The Season For Snowflakes & Sparkle!
November 14, 2024

Bringing the Cheer with The Greetery
November 13, 2024

Seasons Greetings Postage Collage Stencil Card
November 12, 2024
Thinking of You this Christmas
November 9, 2024
Happy Christmas & Tiny Trees
November 7, 2024