Always in Bloom

Morning all!
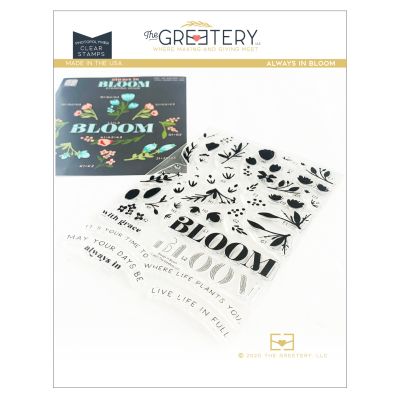
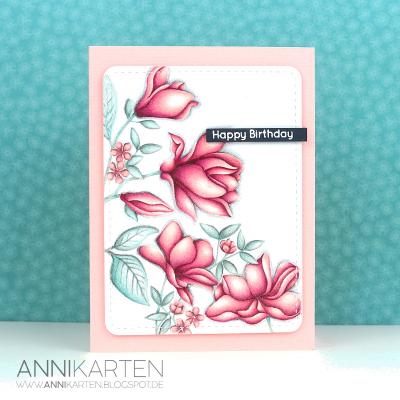
I'm back on the blog today to showcase another favourite set that is being retired by The Greetery.
After all the rain and grey skies we've had, I'm definitely channelling some spring/English garden colour combinations at the moment and what better way to do that than making a floral background.
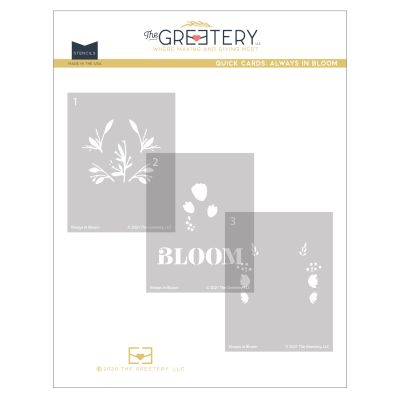
The Always in Bloom stencil set and the coordinating stamps are just great for this. Although I'm not using it today, there's also a coordinating die set available for the full Always in Bloom look, so you may want to grab it while you can!
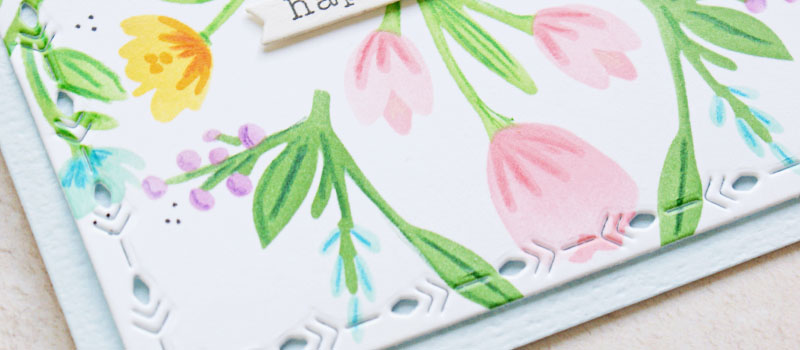
I love the symmetrical effects you can get with these stencils just by arranging them in different places on your A2 background panel.

So I grabbed my inks and detail blending brushes and got to work to create this background with a little selective inking.
Once the leaves and base colours of the buds and flowers are done, you can go in with the stamp layers.
I used the same ink shades for the pink and blue flowers, but added orange to the peach and yellow blooms.
I also used pencils to add details to the leaves, berries, and flowers and a black pen to add dots here and there. You can really customise the look as much or as little as you want.
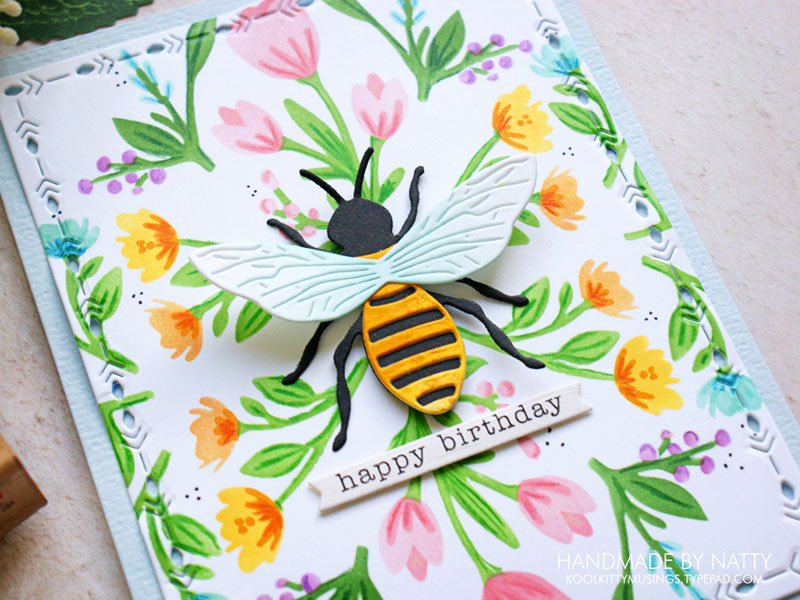
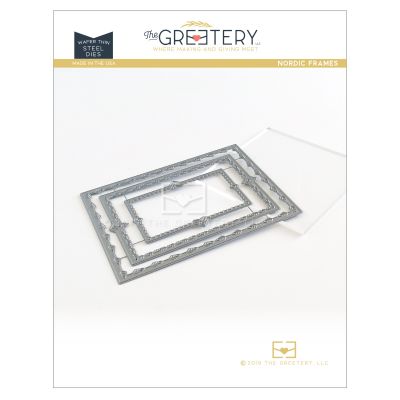
Once the background was complete, I cut it out with the largest Nordic Frame die (currently out of stock, but you can sign up for a restock notification), however any decorative edge will work nicely here.
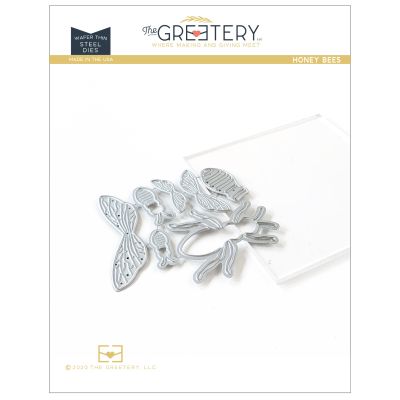
To complete the garden look, I used the large Honey Bee cut from black and white cardstock. I blended a little light blue on the wings and ink smooshed the body into yellow Distress Inks.
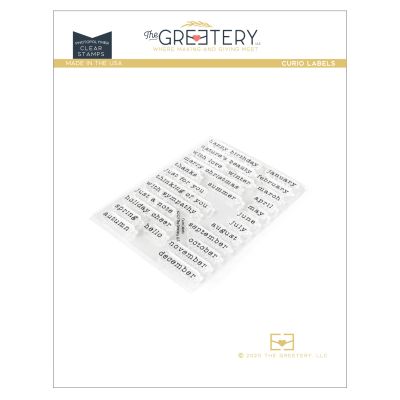
The bee fits perfectly in the centre of the card, and I just stamped a simple sentiment from the Curio Labels set on a Curio Divider sentiment label and assembled the card on a pretty powder blue base for a change.
Super simple and easily reproducible – this would even make a nice Easter/Spring card.
Until next time, happy crafting!
About the Author

Related Posts

The blog is back!
Pottery Crazy

Floral Focus
Related Products