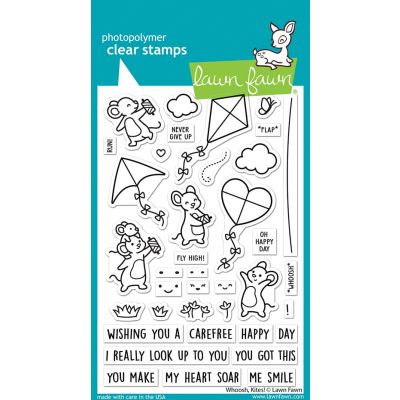
Creating A Slimline Scene With Whoosh Kites Stamp Set

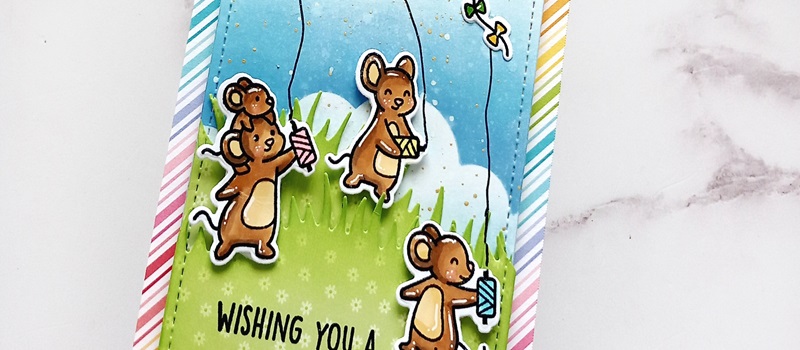
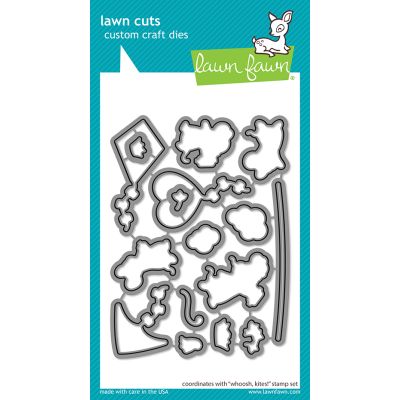
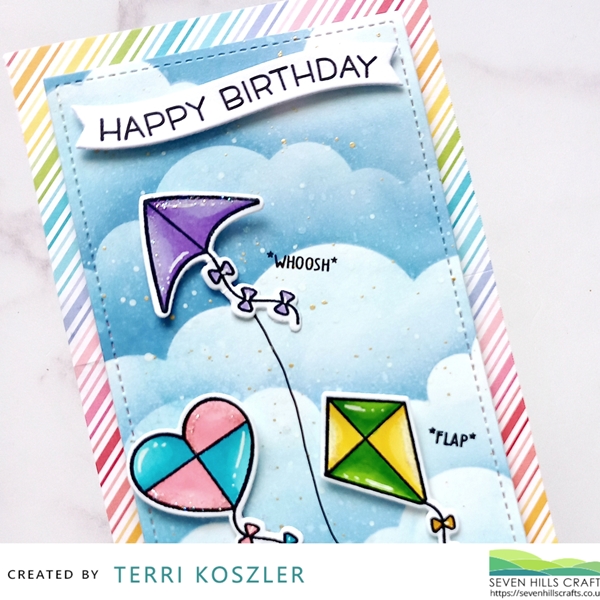
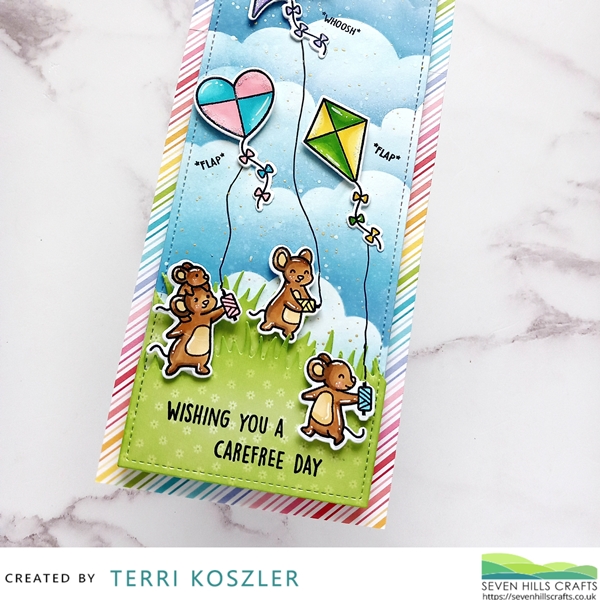
Hey there, Terri here! Today I am showing how to create a taller scene using slimline dies. I start by stmping my images from the Whoosh Kites Stamp Set ont 80lb super smooth cardstock and colour them using alcohol markers. I then using the coordinating Whoosh Kites Die Set to cut the images.
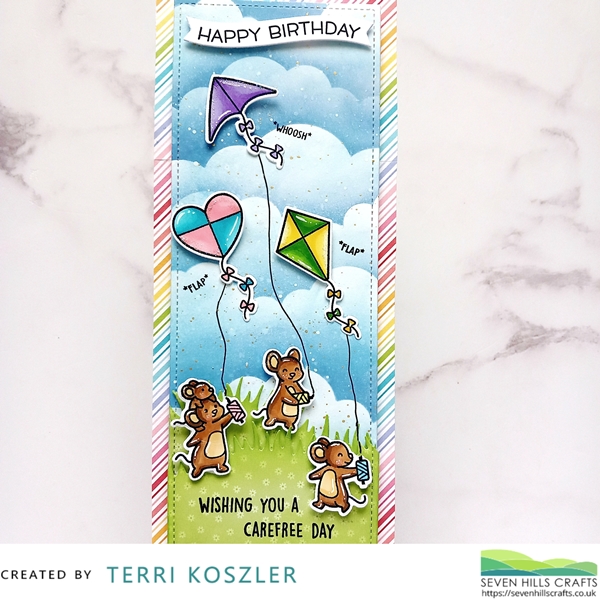
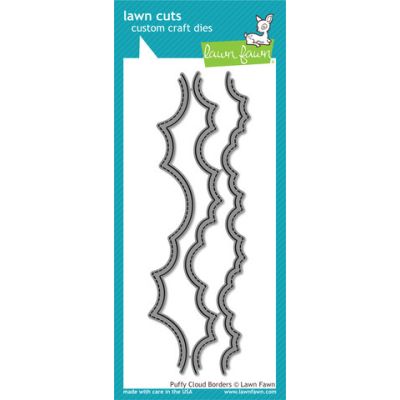
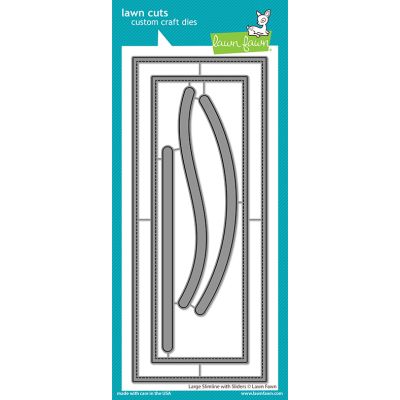
I wanted to create a tall sky baclground so I used a die from the Large Slimline Dies to cut some smooth white card. I couldn't find mycloud stencil so I used the Puffy Cloud Border Dies to cut some heavy weight acetate to use as a stencil, this worked perfectly. I added some inky splatter to the sky to create a bit of texture.
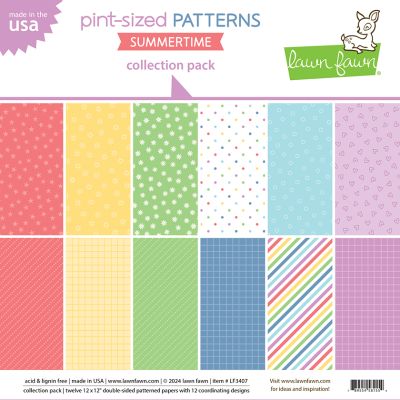
I covered a large slimine card with some stripey paper from the Pint Sized Patterns Summertime 12x12 Paper and added the sky panel onto using foam pads. I cut some patterned paper fo my grassy hills using the same stitched rectangle as the sky, so that the stitching lined up, I then cut using the Grassy Hillside Border Dies. I decided two hills would work best and allow the scene to have depth. Before addig them to the card I used a sentiment from the stamp set to stamp directly onto the hill.

I adhered the mice and kites using a mix of foam pads and tape runner. I drew a black line from each mouse to a kite using a fine line marker pen. I decided to stamp a second sentiment using the Wavy Saying Stamp Set. I added it to a banner at the top of the card.
I am so happy with how this scene turned out, slimline cards can seem daunting to start with but they allow you to add more to a card. Will you be trying a slimline card?
About the Author

Related Posts

The blog is back!
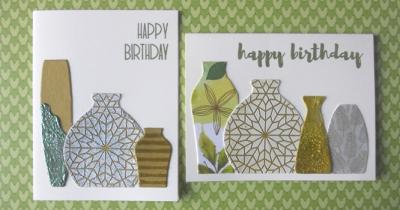
Pottery Crazy

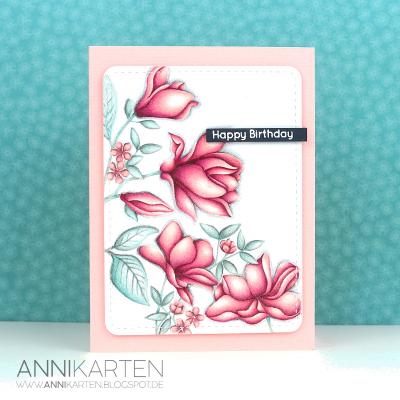
Floral Focus
Related Products