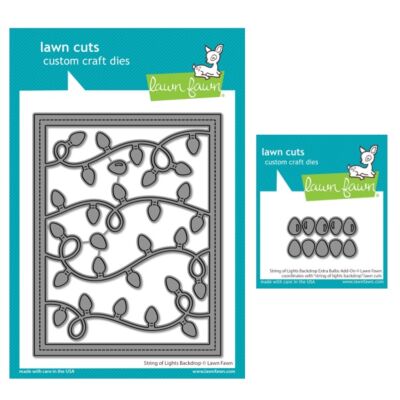
Five Ways With Lawn Fawn's String of Lights Backdrop Die

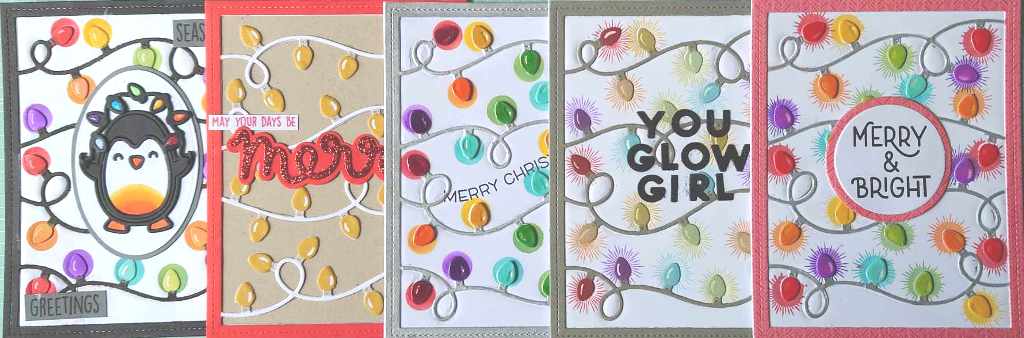
I'm a day light with my blog post as I spent most of Sunday trying to grips with video editing software so we can speed up parts of my videos on YouTube. We're still learning so didn't quite get the ratio right so the video in full screen isn't as big as it should be - we'll get it better next time! Anyhow, for details of how I made these 5 cards and detailed run though of making one of them, head to our YouTube channel and watch the turorial here Five Ways With String of Lights Backdrop Video
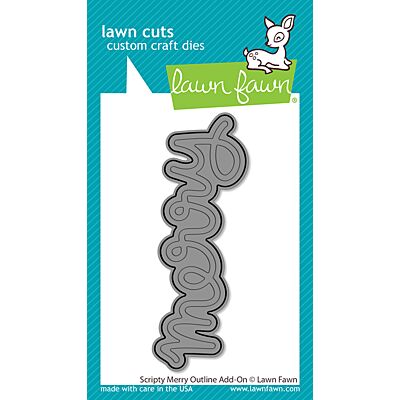
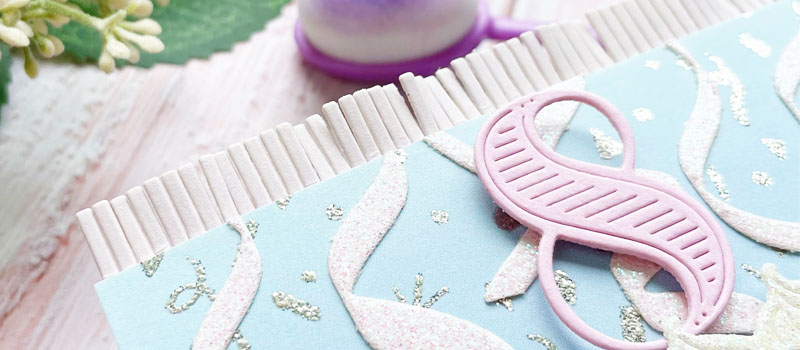
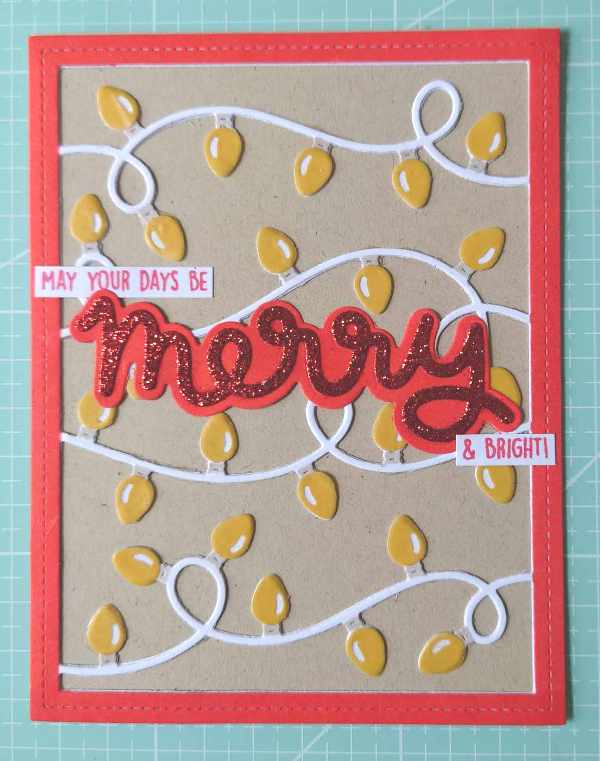
Here's a detailed look at each card. The first one I made was the one with vellum bulbs - not muchin inking required. I did cut the String of Lights Background twice from white card, masked off the centre and used a blending tool to create the red border with oxide ink. I stacked the plain white one behind it and adhered both to a sand base card. I used the yellow from the new Pearlescent Vellum paper pack to die cut the top layer of the bulbs leaving the white behind to add the "glint" The sentiment pairs the new Scripty Merry Outline die inked in the same red as the border, paired with the original Scripty Merry Die cut from red glitter card. The stamped sentiment was adapted from on in the Furry and Bright stamp.
For the second card I took a similar route - this time I coloured the wires and background with a silver marker before adhering to the background. But i wanted more "glow" around my bulbs so first I ran the die though my bigshot with an embossing mat so I could then use a small round stencil (or a die cut in a scrap of card if you don't have the right sized stencil) placed over each bulb on the backfround to get a circle of coloured glow. Once stacked on top I added two layers of bulbs - a background the same as the glow, and then a darker - all coloured individually one a time (there are better ways trust me!) I stamped a sentiment in the middle this time - I found one with a curve - but you can pick anything you fancy that fits.
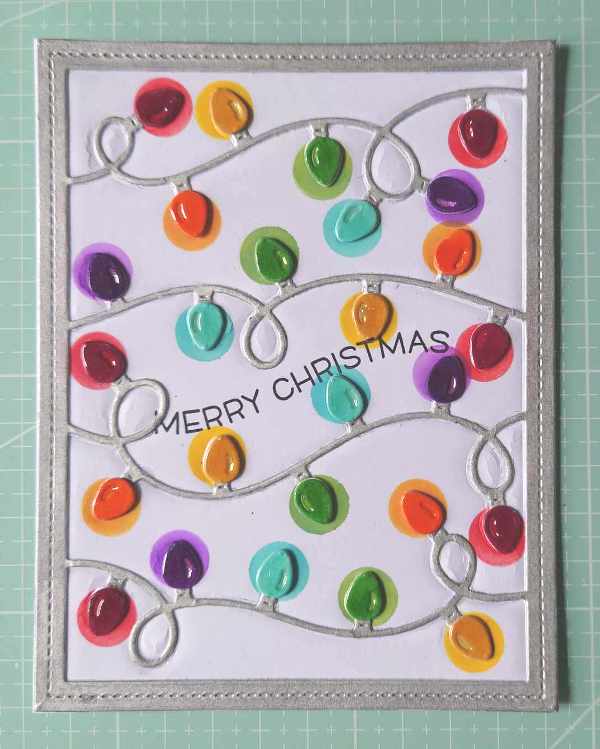
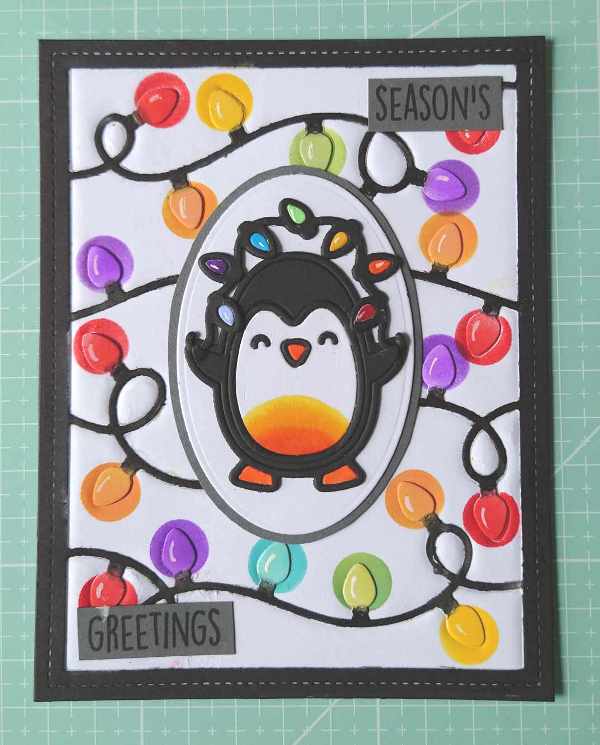
For the third card I wanted to speed up the bulb process so repeated the steps but this time I left the white on the base die cut (I used the same embossing technique to get the glow circles on the base) but this time I inked stripes of the same colour on a scrap of white card and used that to cut the bulbs from - MUCH quicker than colouring after cutting! I used a black marker to ink up the wires and frame. Once glued in place I added glossy accents to make the bulbs shine.
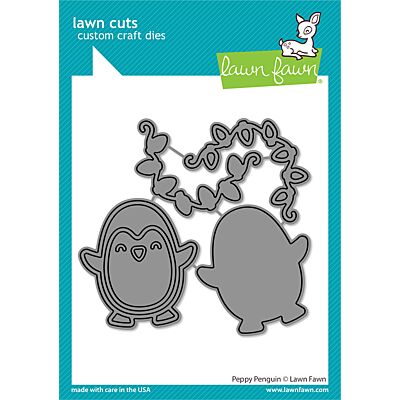
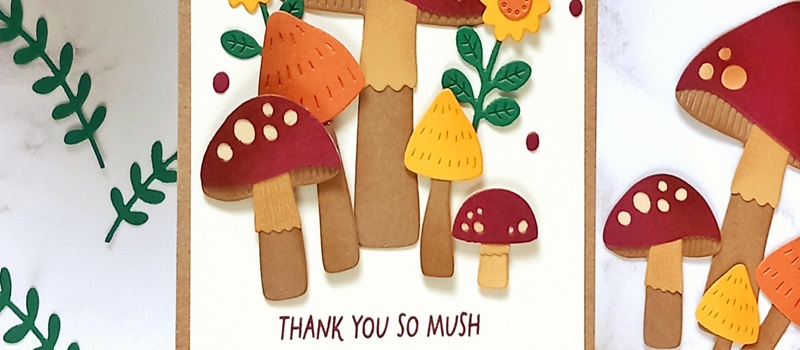
For the central element this time I made a little matted oval onto which I could pop the new Peppy Penguin Die He's so cute and easy to cut from just black and white card and a tiny bit of orange and yellow colouring with markers. I got a bit of a smudge from my red at the bottom of the card so split my sentiment into two to cover up the worst of it - there are always ways to fix a smudge!
I wanted to take the glow one step further and also try another technique to speed up the bulb process - so this time I cut the whole die from a pale grey and inked the bulbs directly onto the grey without any further die cutting. Two layers of oxides gave a strong enough colour.
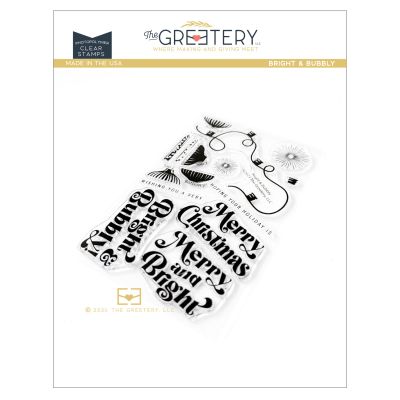
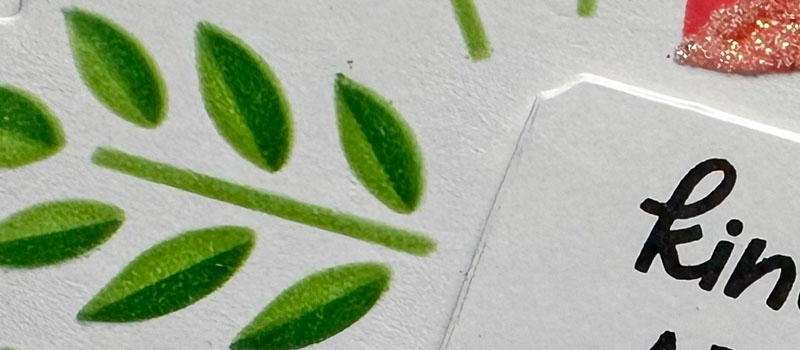
For the glow behind this one I opted for a stamp from Bright and Bubbly by The Greetery - the smaller glow was the PERFECT size to fit behind the bulbs and stamping takes less time that inking through the stencil if you want to batch produce some of these cards.
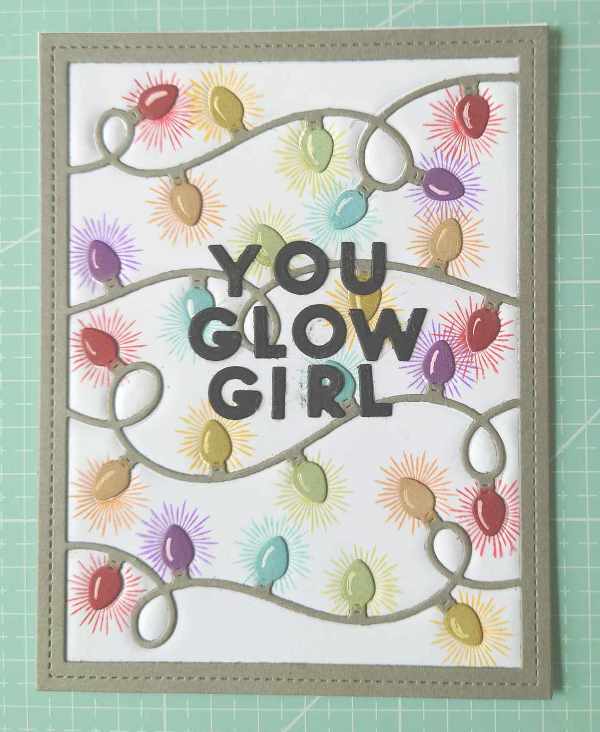
I also wanted to take this die from Christmas to all year round - I love a fairy light anytime of year and have different sets to dress my fireplace all year round! So I used an alphabet die to spell out You Glow Girl (you could opt for others like Let Your Light Shine, Congrats you shone, Hope Your Birthday Shines Bright etc for different ocassions)
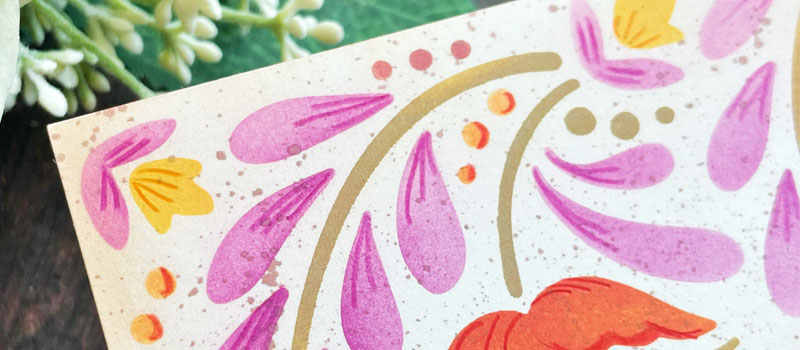
The final card is the one I made from start to finish on the video - so you'll see all the techniques I used as it combines a few ideas. Glow and sparkle with both stencil and stamping, a neat trick to save the patterned paper in the centre of the die to get the fancy border which means you can use the same paper for the matt around the sentiment which comes from an older Concord and 9th set but if you check your stash there are SOOO many that say Merry and Bright you're sure to have one that works!
So head this way and give the video a watch - subscribe to the channel if you've not already - we'd love your support - give the video a thumbs up (or down) too whilst you're there.
NEWS FROM THE STORE
There's a new Greetery release coming on Friday but due to the bank holiday we think we'll get it early next week along with restocks on the Calendar release from last month too.
There will be a new release from Waffle Flower Crafts in early September which we hope to have around release day too.
The new sized Stamp Wheels from Altenew (with larger capacity for bigger stamps and an open side for more flexibility) have just been offered for direct pre-orders from the USA - we've asked and retailers will be able to pre-order next month so we too should have them around the same shipping time (early November)
That's all for today.
Happy Crafting!
Tara
About the Author

Related Posts

Related Products