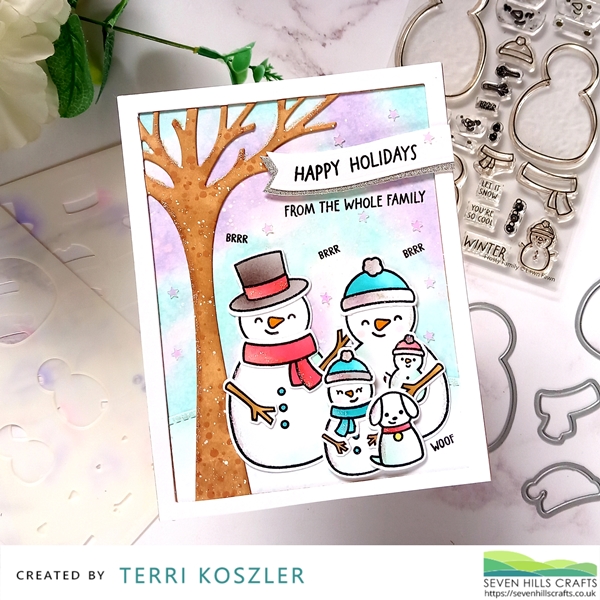
Frosty Family Christmas Card

Hey, Terri here! Today I am adding another card to my Christmas Card Stash but this time I'm doing somethng a little different. I recnetly purchased the Frosty Family Stamps, Dies and Coloring Stencils from Lawn Fawn. I've not used their coloring stencils previously and was interesting to see if I would like them as I usually colour with markers.
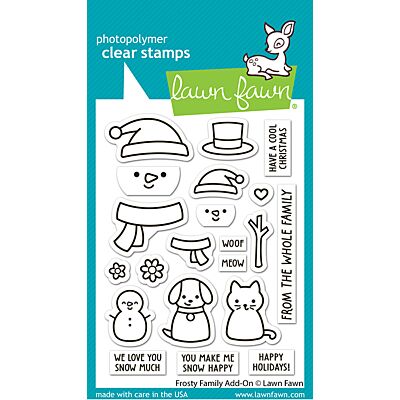
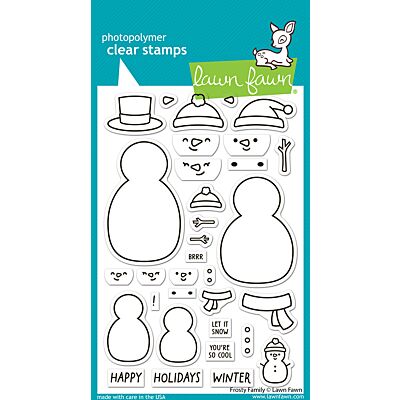
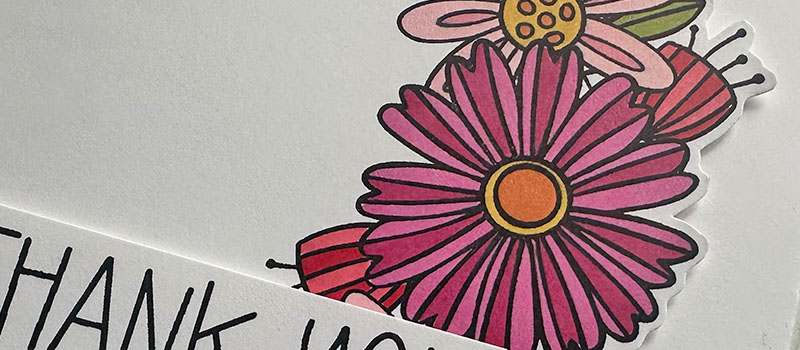
I started by stamping all of the images from both the Frosty Family Stamp and it's Add-On Stamp Set. Whenever I use a new stamp set for the first time, I stamp out 3 lots of all of the images, one for now and two for the future, I feel like if they are loaded in my stamping platform, I might aswel make use of it.
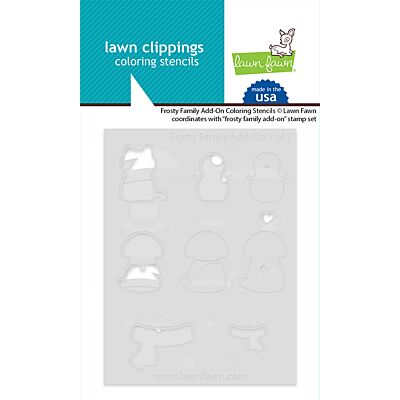
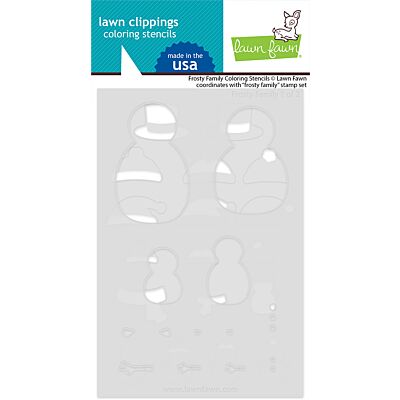
Next i used the Frosty Friends Coloring Stencil and the Add-On Colouring Stencil to add colour to my stamped images. I used mini blending brushes adding more colour to one side of an images and fading out towards the other. I only used one shade of each colour and didn't actually add any ink to my brushes as they were juicy enough.
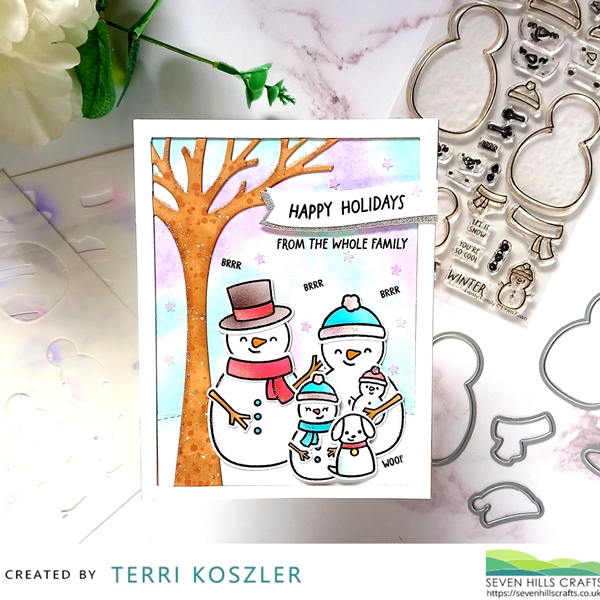
I then decided to create a snow storm background, I added some light purple and teal randomly to a piece of super smooth cardstock. I added a tiny bit of light grey before spritzing with water and flicking with sparkly ink.
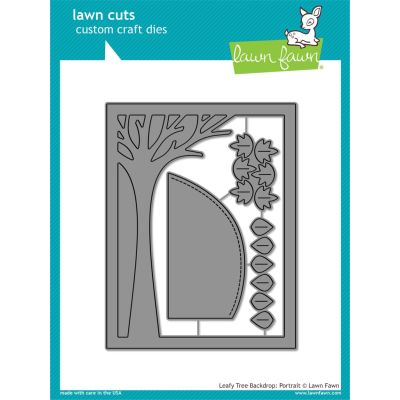
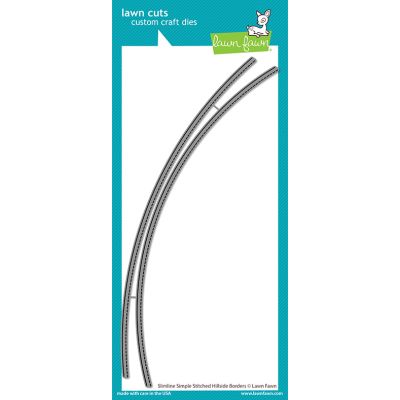
I die cut the Leafy Tree Backdrop Die from Kraft card and added some brown ink blending and splatters. I used the Slimline Simple Stitched Hillside Borders to cut a snomy hill, I added some light teal ink and placed it at the bottom of my background panel. I then added the tree frame and decided it needed to have a white frame as the Kraft was too heavy looking. So I cut the Leafy Tree Backdrop Die from white card and trimmed out he tree and adde the remaing frame over the top of the Kraft one.
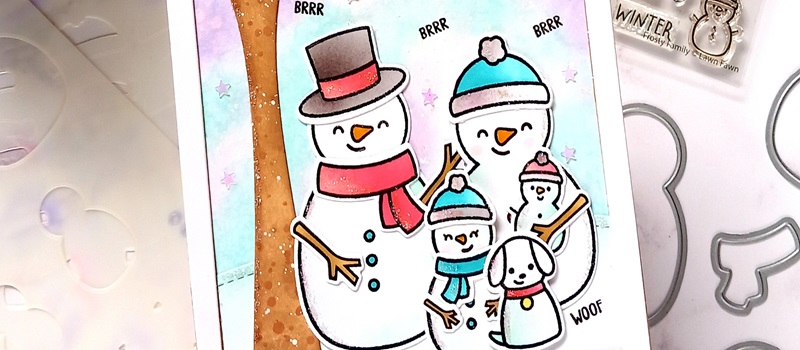
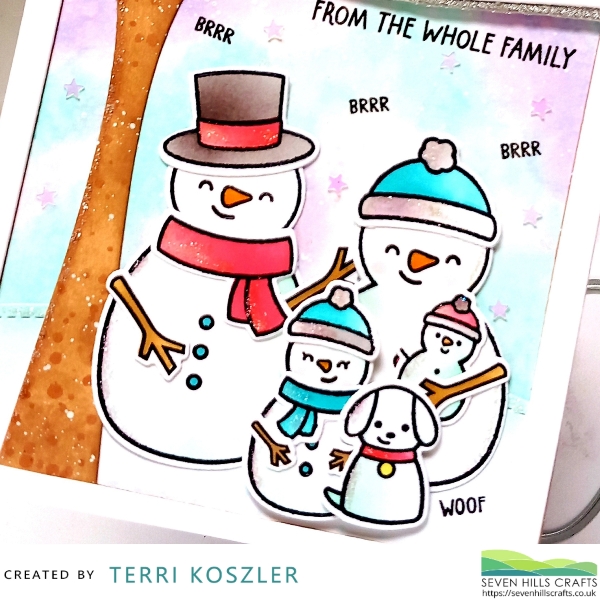
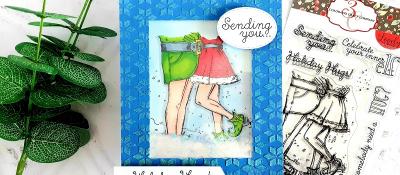
Next I die cut all of my inked images using the Frosty Family dies and Frosty Family Add-On dies. I started to plan out where my chosen images were going to sit so that I could see where a sentiment would work. I decided to stamp Happy Holidays onto a curved banner and back it with glitter card banner. I then thought it would be a good idea to add the sub sentiment underneath, this is where I should have moved the die cut images... I ended up with a ink make from my acrylic block on the muumy snowwoman. Thankfully a little shifting of the other snow people and it was covered. I finsihed by adding the BRRR anf WOOF ssentimetns and then added some stickles for a frosty look and scattered a few star sequins to the sky.
I am really happy with how the coloring stencils work, Lawn Fawn have really thought about how to make them easy to use, adding etching for easy alignment, names and numbers so you know which set they belong to. Best of all, they are sized to be the same as the stamp set so that they can be stored right behind the stamps.
I dont think the coloring stencils will completly take over from my marker colouring but I think I will use the for quicker cards or for images that I usually struggle to coour well (larger images). I hope you'll give them a try, thanks for stopping by today.
About the Author


Related Products