
Sew Cute Mini Notebook & Card


Hi there, it's Ruby.
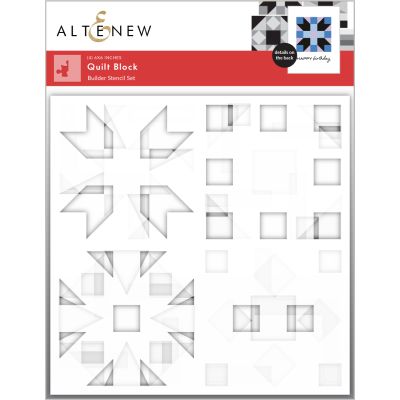
Today, I'm sharing some cuteness with some little mice from Lawn Fawn, combined with a fun stencil for the sewing peeps in your life. I had a great time using this Quilt Block Stencil set. It was fun pulling together lots of different colour combinations. I love how you can switch things up with stencils and create your own backgrounds/'patterned paper'. Great fun!
Here's how it came together:
-
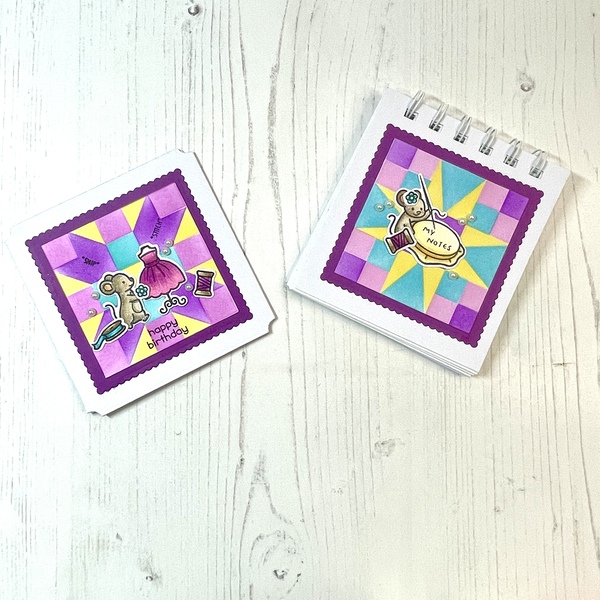
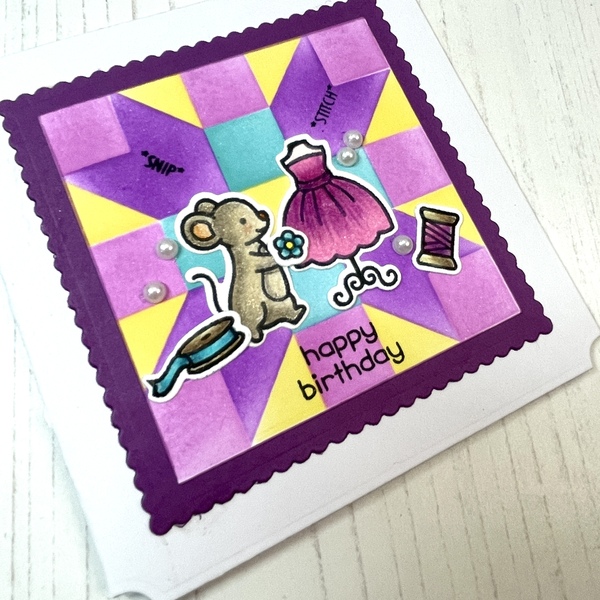
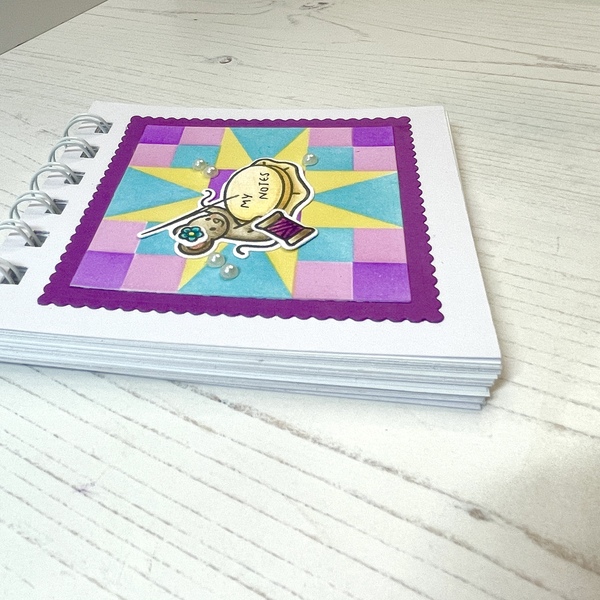
Create two mini quilted panels using the Quilt Block Stencil from Altenew. I used Altenew's Turquoise, Warm Sunshine, Puffy Heart and Midnight Violet inks. At first, the stencils seemed daunting, but they're easy to use and great for many cards, not just for quilters/people who sew.
-
Using a square die, die cut the two stencilled panels.
-
Die-cut another two squares using a slightly larger scalloped die in a complementary colour. I used the purple scrap on my desk from last week's card, Concord & 9th's Fig cardstock. Attach your quilted panels to the scalloped die cut.
-
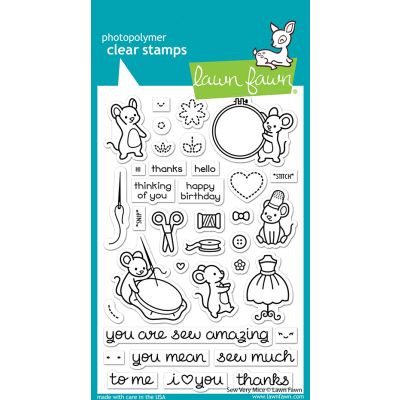
Stamp, colour, and cut all images from Lawn Fawn's Sew Very Mice set.
-
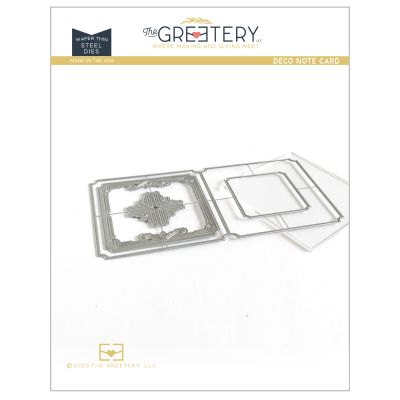
Die-cut the notecard element using The Greetery's Deco Notecard Die in white. Score and fold.
-
Attach one of your quilted panels to the notecard, and attach the mouse, dress and small sewing elements to the front.
-
Stamp the little sentiments, 'snip', 'stitch' and 'happy birthday' on the front from the same Lawn Fawn set.
-
Add a few little pearls to complete the card.
-
Next, the notebook: Add the little mouse with his hoop ring to the centre of your second quilted panel.
-
Cut your notebook's front and back cover in thick card, 3.75" x 4" and add the quilted panel to the front cover.
-
Cut some quality note paper into squares 3.75" x 4".
-
Using a Bind-It-All machine or something similar, create your spiral-bound notebook, sandwiching the notepaper between the front and back covers.
-
Add some twine for a splash of colour and fun!
NB. I have had my machine for about 20 years; I am not kidding! It sat in the drawer gathering dust, but recently, I came across it and started making mini notebooks. Well, my hubby makes them; I'm hopeless with measurements!

Now, I know not everyone will have one of these machines, so you can create a little notebook by cutting your front and back cover, punching a couple of holes on the left-hand side through the cover pages and inserts, and then adding a bit of good quality baker's twine. It will still be really pretty and functional.
Have a go at these little matching notebooks and cards. They make cute little gifts :)
Have a great week.
PS. Remember to check out the Flashback Friday bargains for this week!
February 19, 2024
|
View: 180
|
Categories: Pencil Colouring, Die Cutting, Card Making, Stencilling, Gift Making, Layering Stencils, Stencilled backgrounds, Flashback Friday Bargains
|
Tags: Altenew, Concord & 9th, Lawn Fawn, Seven Hills Crafts, The Greetery
|
By: Ruby
About the Author

Related Posts
The blog is back!
February 16, 2020| Posted in Colouring Stamped Images, Copic Colouring, Pencil Colouring, Die Cutting| Admin| 6| 1174
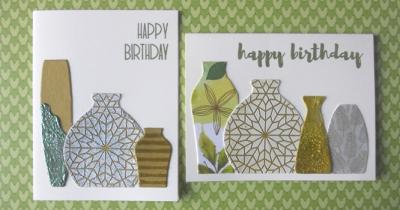
Pottery Crazy
February 17, 2020| Posted in Die Cutting, Stencilling, Stencilling with embossing paste, Special Effects| Admin| 1| 1382

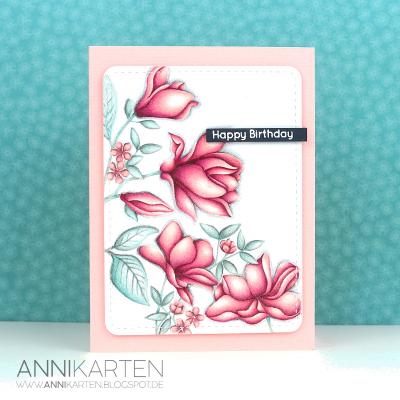
Floral Focus
February 22, 2020| Posted in Colouring Stamped Images, Pencil Colouring, No Line Colouring| Admin| 2| 731
Related Products

Controversial Santas
August 28, 2022

Birthday Forecast
February 14, 2022

Encouraging Leaves
March 15, 2021

Framed Snowdrops
February 22, 2021

Altenew 6th Anniversary Blog Hop Day 4 + Giveaway
April 5, 2020
Christmas Socks
October 26, 2024
Bright Quirky Stripes
October 24, 2024

True Story with Concord & 9th
October 23, 2024

Postage Collage Christmas Card
October 22, 2024
Overlapping Christmas
October 19, 2024