
Tips and Tricks for Easy Paper Piecing with Large Dies

I love paper-piecing - both using dies and also fussy cutting and piecing stamped images, I think probably because I'm a jigsaw fan too and find that it's a really relaxing mindful technique. However, it can be tricky to keep all your pieces in place and get them correct so today I've done a video showing an easy way to speed the process up a bit (or a lot when the trickier trick works!)  https://youtu.be/Nxfpq3A8sgg
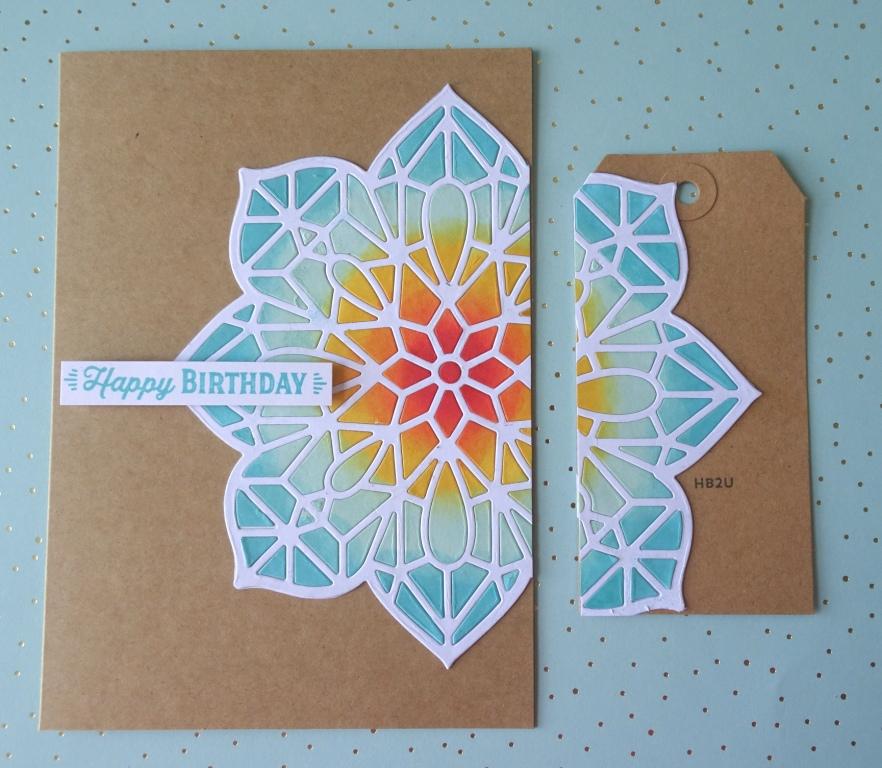
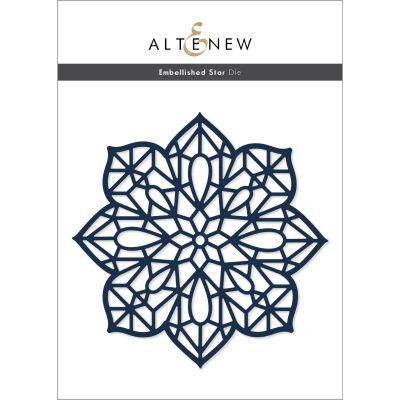
I've used just one die for all these projects - the Embellished Star Die from Altenew. This is BIG die and packed with lots of detail. It is just slightly larger than a 5½ inch square base card, so you can either make a larger card base, or as I've done, once you've done your piecing, cut it up and get a two-for-one deal from it!
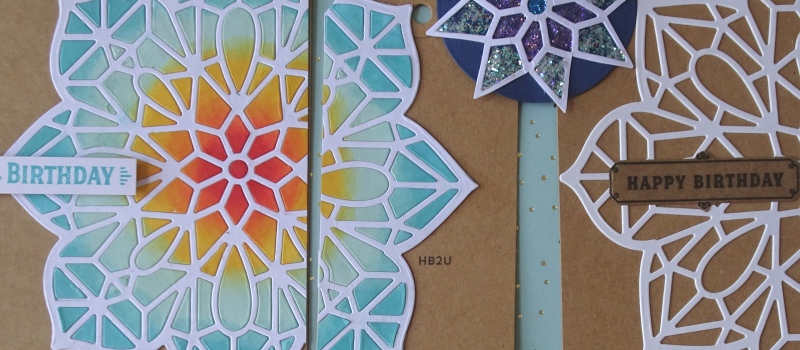
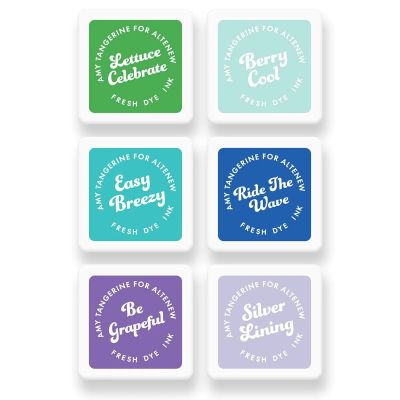
For the first project I did a full pieced image - full details of how I did it are on the video. Essentially I die cut it once from 300gsm white card then using press 'n seal to hold it together at the back, peeled out the frame, and inked from the centre out using rainbow shades from the new Amy Tangerine ink range from Altenew also - shades from Summer Sunrise in the centre and Ocean Dreams on the outside. I fussy cut a thin white card background by tracking around the die cut outline and then either manually (or using another layers of press 'n seal) glued the pieces back in. Once complete I sliced it so I could fit it on a 7 x 5 inch card and put the cut off sliver onto a matching gift tag so its perfect for a birthday.
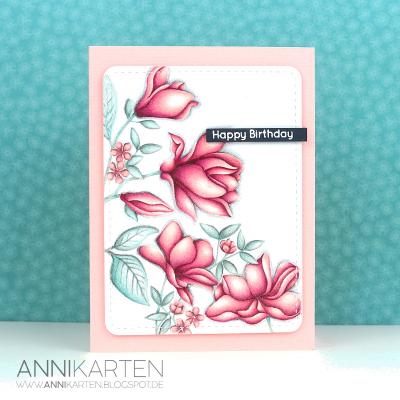
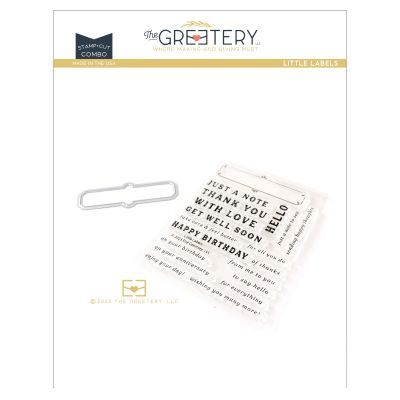
If you don't want to do a full on piecing then the outline of the die is stunning on it's own. I sliced it in a similar way but half on a large gift tag and just added a sentiment over the top keeping it white and kraft. I used the other half on a square card - you can see its just too tall to fit but I just cut off any hangover bits and still love the look. I decided to just piece in a few elements this time using the same inks - my card stock had a slight coating on this one and it gave a really interesting effect when I added the ink - it sort of spread and speckled - no idea what the card was I'm afraid it was a scrap I found but you could do it with flicking ink to get the speckles if you wanted it deliberately! The sentiments on both of these came from the Little Labels Stamp and Die set from The Greetery.

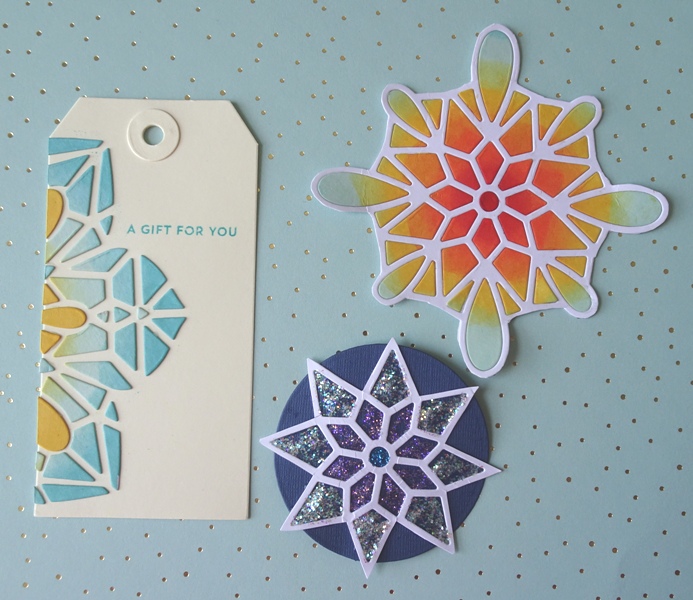
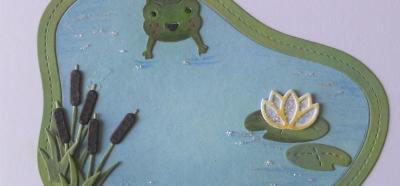
Finally as I had some ini-bits and some spare outlines I thought I'd do a few more tags. You don't have to see the die as a "whole" - as the pattern has central symmetry, then you can cut down different layers. So I cut out the middle and will pop of punched hole in the top and that will make a nice fancy shaped gift tag. I also used just the centre of the white and got a star shaped which suggested winter and snowflakes to me so I added it to blue circle and filled the centres with stickles. The cream gift tag shows how with the press 'n seal keeping all the "bits" in place you can then glue them down without the frame at all for a totally different look.
Hope you found this useful and that the video explains it more clearly. Do subscribe and gives us a thumbs up so we can build our YouTube followers.
For those wanting a store update we are waiting on the following to arrive hopefully later this week:
Waffle Flower Crafts
MFT
Concord and 9th (might be next week as they are waiting on items to arrive before they can ship the new release)
There will also be a new Greetery release later this month which is lush!
We're behind on Mama E and Stamping Bella and hope to catch up but we have a lot going on with the store at the moment that's taking our "non-packing" time.
Happy Crafting.
Tara
July 9, 2023
|
View: 334
|
Categories: Die Cutting, Paper Piecing
|
Tags: Altenew, The Greetery
|
By: Tara
|
Modify By: Bev at July 9, 2023
About the Author

Related Posts

The blog is back!
February 16, 2020| Posted in Colouring Stamped Images, Copic Colouring, Pencil Colouring, Die Cutting| Admin| 6| 1174
Pottery Crazy
February 17, 2020| Posted in Die Cutting, Stencilling, Stencilling with embossing paste, Special Effects| Admin| 1| 1382

Floral Focus
February 22, 2020| Posted in Colouring Stamped Images, Pencil Colouring, No Line Colouring| Admin| 2| 731
Related Products


Controversial Santas
August 28, 2022

Birthday Forecast
February 14, 2022

Encouraging Leaves
March 15, 2021

Framed Snowdrops
February 22, 2021

Altenew 6th Anniversary Blog Hop Day 4 + Giveaway
April 5, 2020
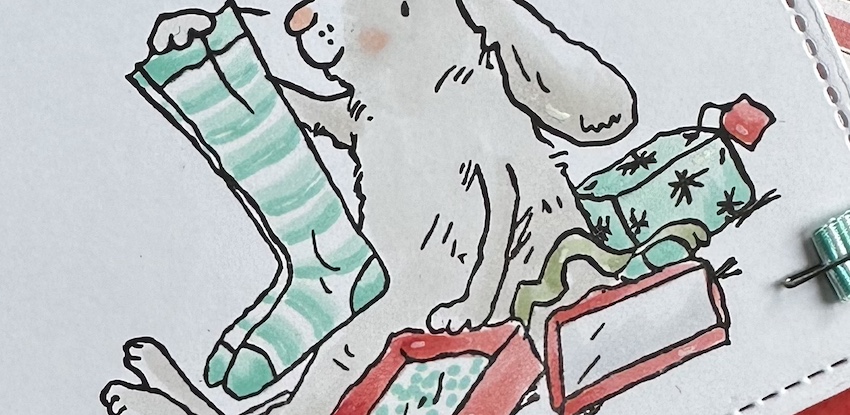
Christmas Socks
October 26, 2024
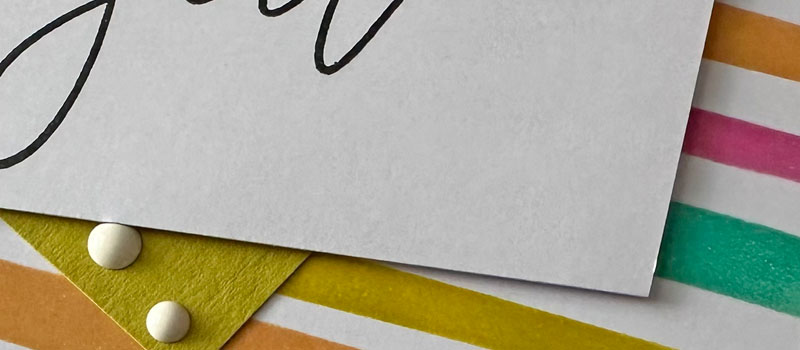
Bright Quirky Stripes
October 24, 2024

True Story with Concord & 9th
October 23, 2024

Postage Collage Christmas Card
October 22, 2024
Overlapping Christmas
October 19, 2024