
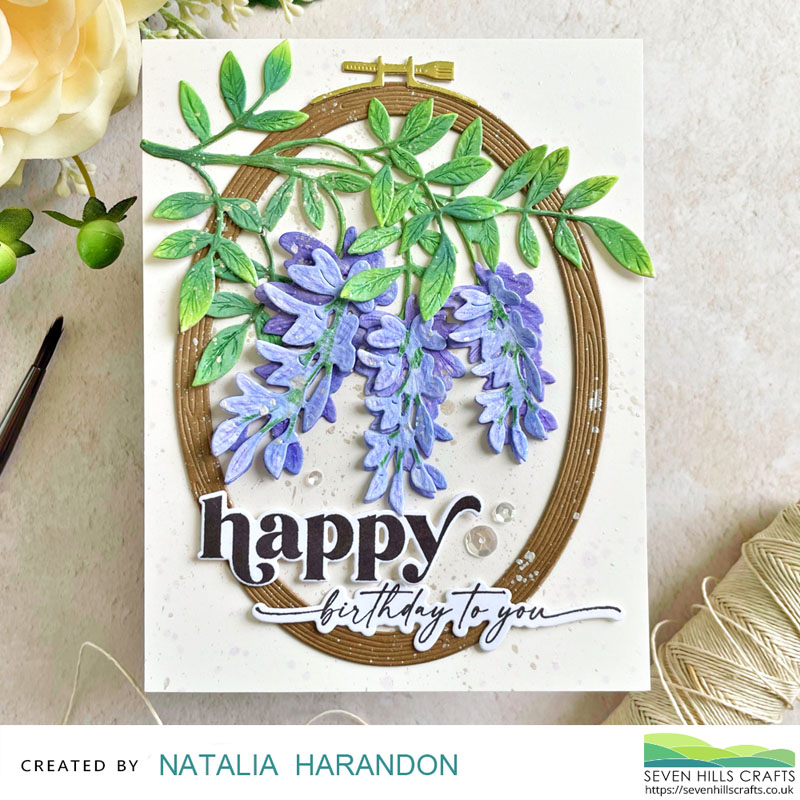
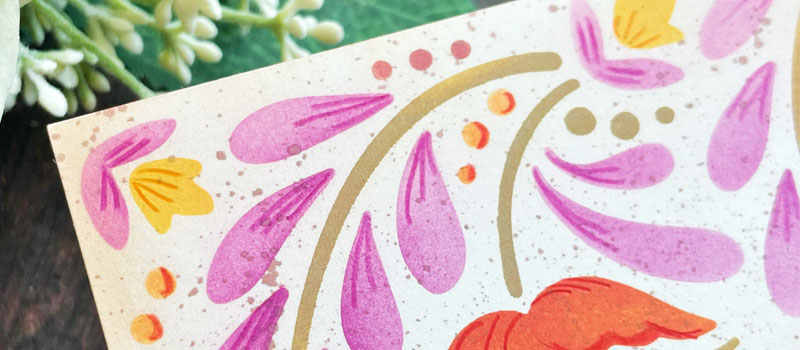
Wisteria Wishes


Morning all!
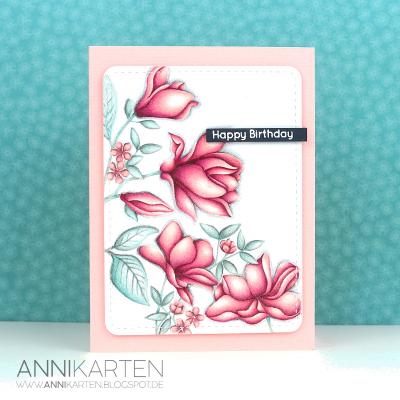
I'm back today with another summery floral make.
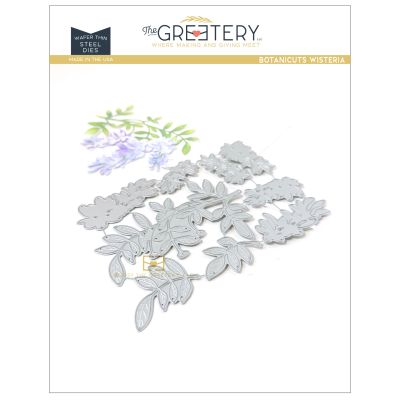
I finally had the chance to sit down and play with one of the recent additions to The Greetery's BotaniCuts series.
The BotaniCuts Wisteria dies.
As always, my first outing for any BotaniCuts set starts with viewing the accompanying how-to video on YouTube, and this time I followed along with Betsy's tutorial - including using the same Distress Oxide shades and adding some pencil detail.
As I'd cut the Wisteria from watercolour card, I also went in with some water spritzing to add some more variation to the inked die cuts. This worked a treat!
While the Wisteria die cuts were drying, I created the background to my card.
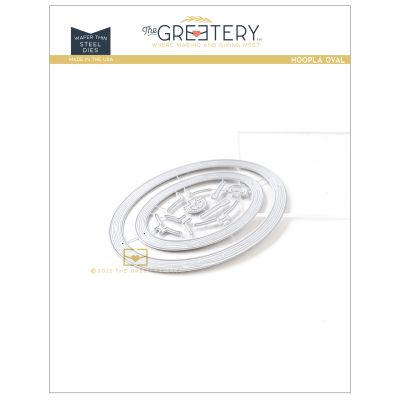
I grabbed some cream cardstock for my card base and the large Hoopla Oval die to frame the florals.
The large hoop is cut from kraft cardstock, but to accentuate the woodgrain texture, I went over it with my brown ink blending brush.
I used the inside of the oval frame as a mask on my cream card base when splattering some diluted Wilted Violet ink on the base, that way the space inside the hoop was left unsplattered - for now!

I then glued down the hoop and Wisteria and gave them a good splattering of pearlescent watercolour paint.
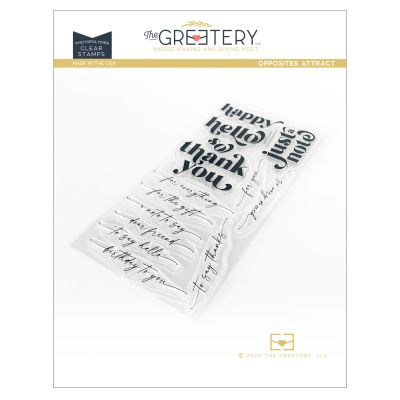
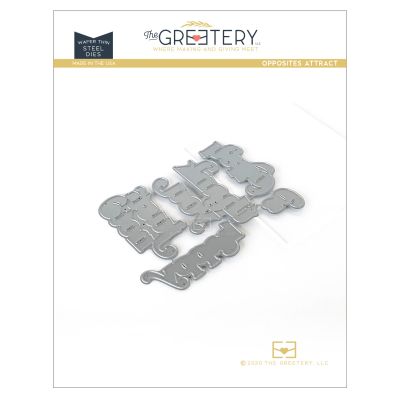
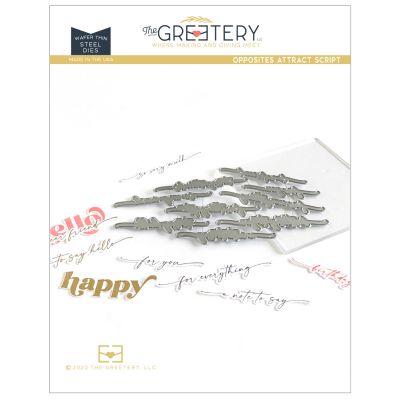
The Opposites Attract sentiment set and coordinating dies for the bold and scripty sentiments in the set worked well for the remaining space.
So once my sentiment was in place, I just added a few twinkly sequins as a finishing touch.
Until next time, happy crafting!
August 21, 2024
|
View: 120
|
Categories: Die Cutting, Card Making
|
Tags: The Greetery
|
By: Natalia
About the Author

Related Posts
The blog is back!
February 16, 2020| Posted in Colouring Stamped Images, Copic Colouring, Pencil Colouring, Die Cutting| Admin| 6| 1155
Pottery Crazy
February 17, 2020| Posted in Die Cutting, Stencilling, Stencilling with embossing paste, Special Effects| Admin| 1| 1350

Floral Focus
February 22, 2020| Posted in Colouring Stamped Images, Pencil Colouring, No Line Colouring| Admin| 2| 712
Related Products

Controversial Santas
August 28, 2022

Birthday Forecast
February 14, 2022

Encouraging Leaves
March 15, 2021

Framed Snowdrops
February 22, 2021

Altenew 6th Anniversary Blog Hop Day 4 + Giveaway
April 5, 2020

A Holly Jolly Christmas Combination
September 12, 2024
Bespoke Birthday Wishes
September 11, 2024
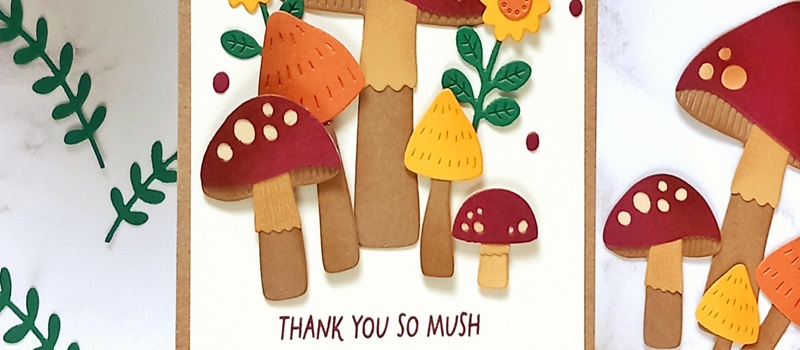
Mushroom Medley Thank You Card - Autumn Vibes
September 10, 2024
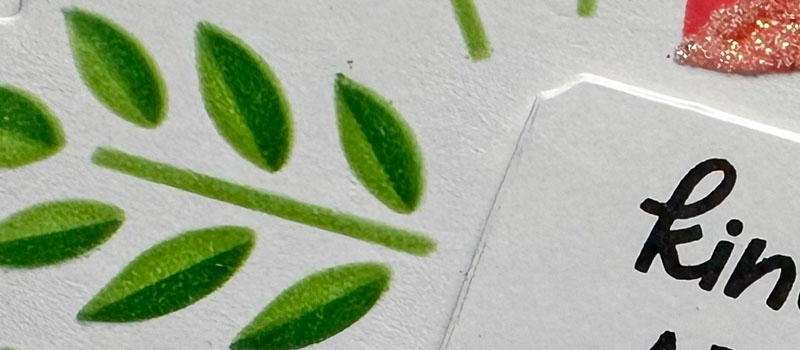
Kind People Are My Kind of People
September 5, 2024
Folksy Fall Florals
September 4, 2024