
Five Ways

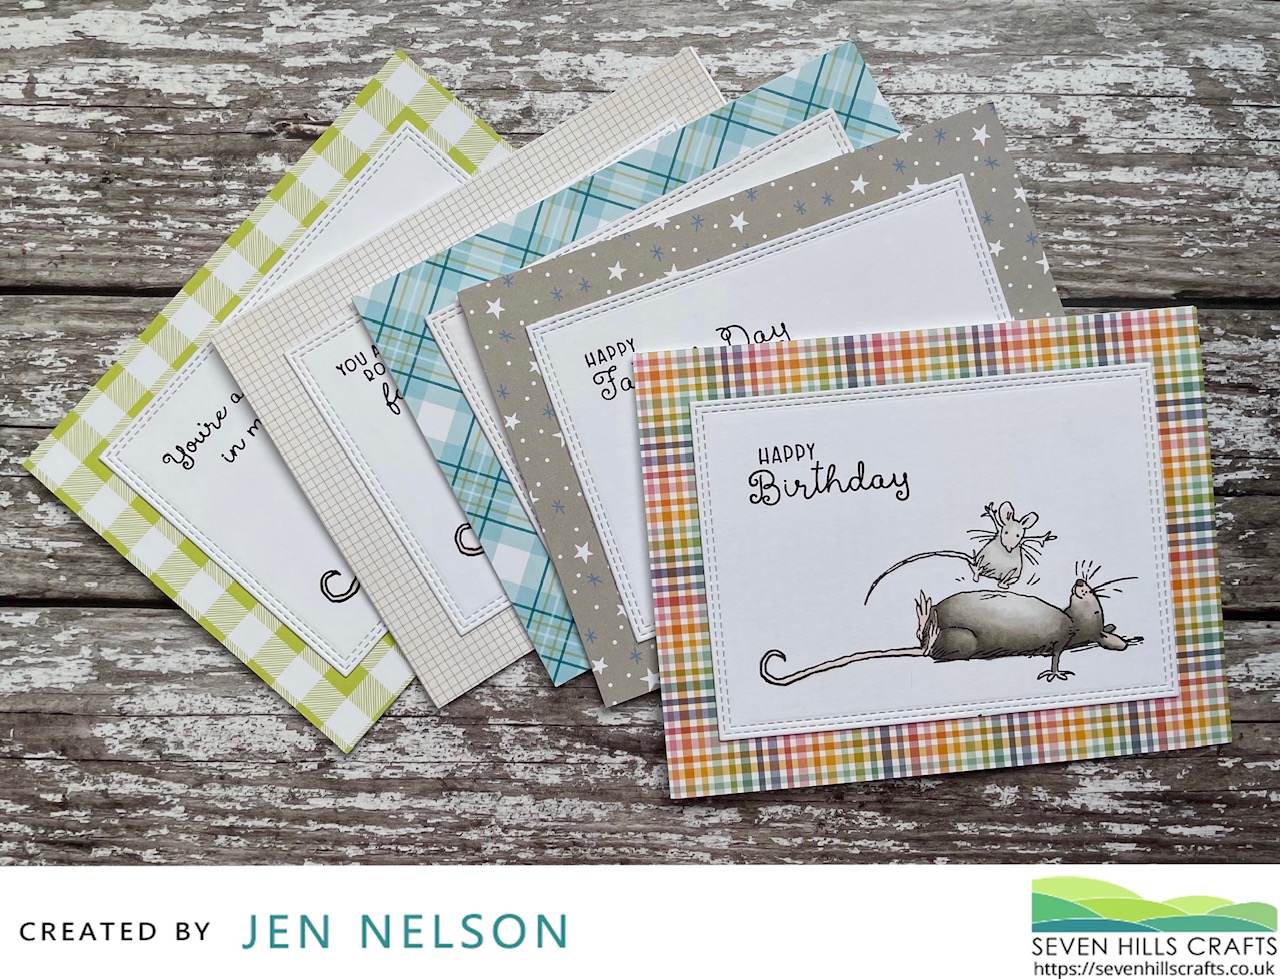
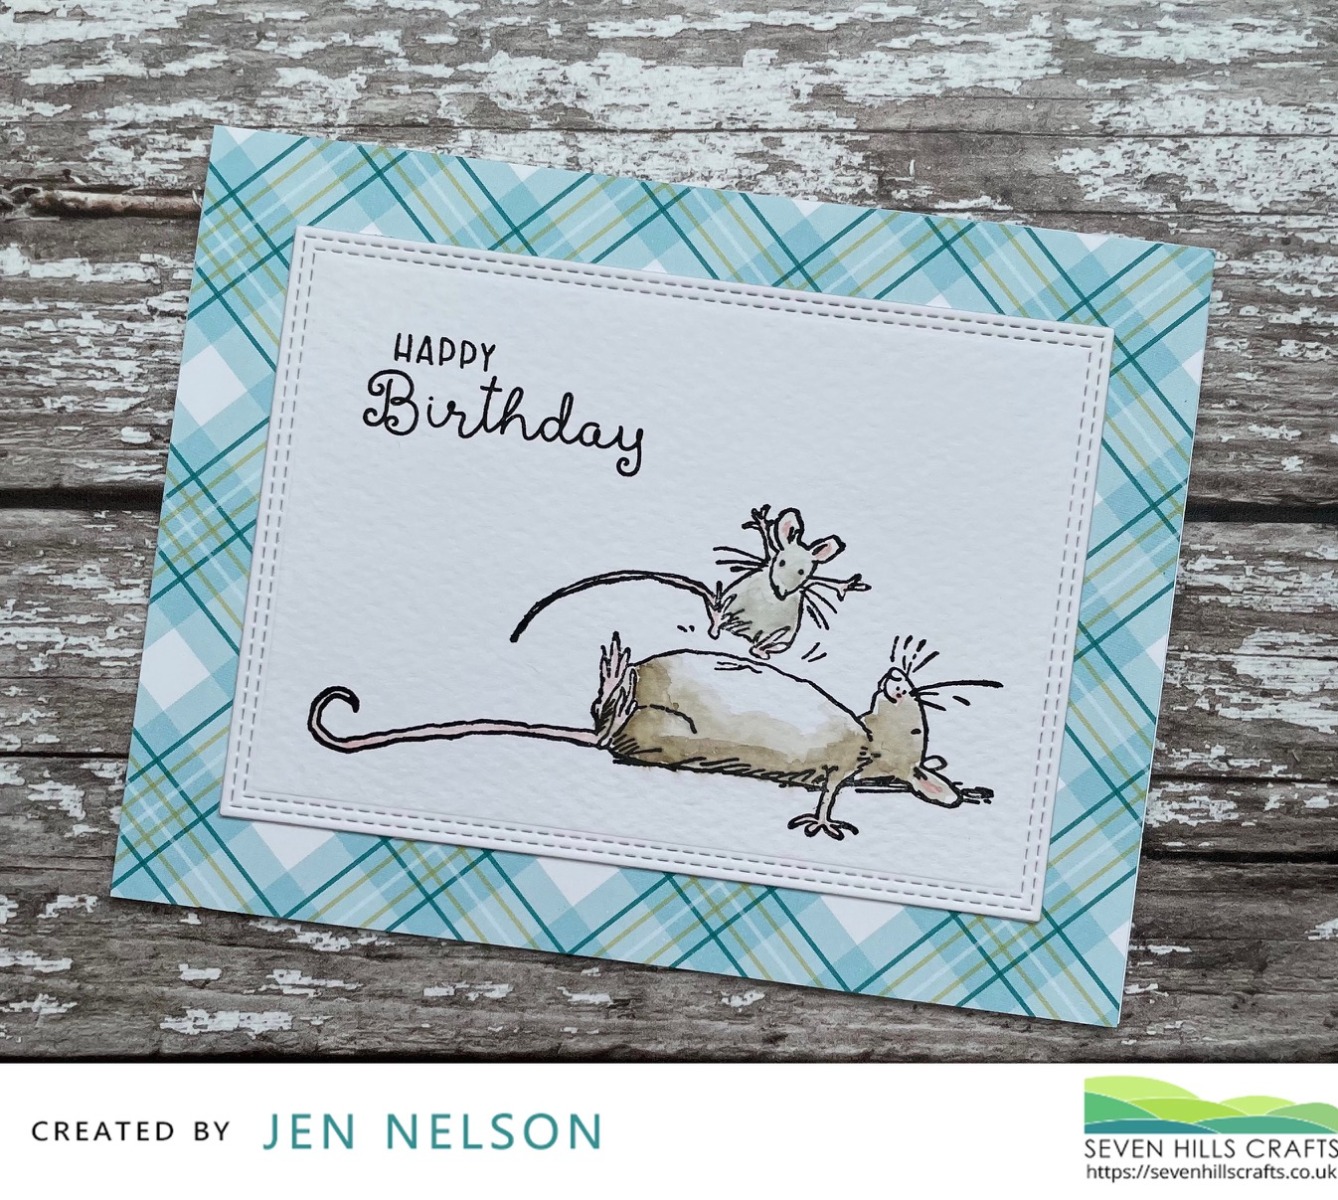
Jen here and today I am sharing 5 simple cards that I have made all with the same layout and same stamp set with one difference - the way I coloured in the image.
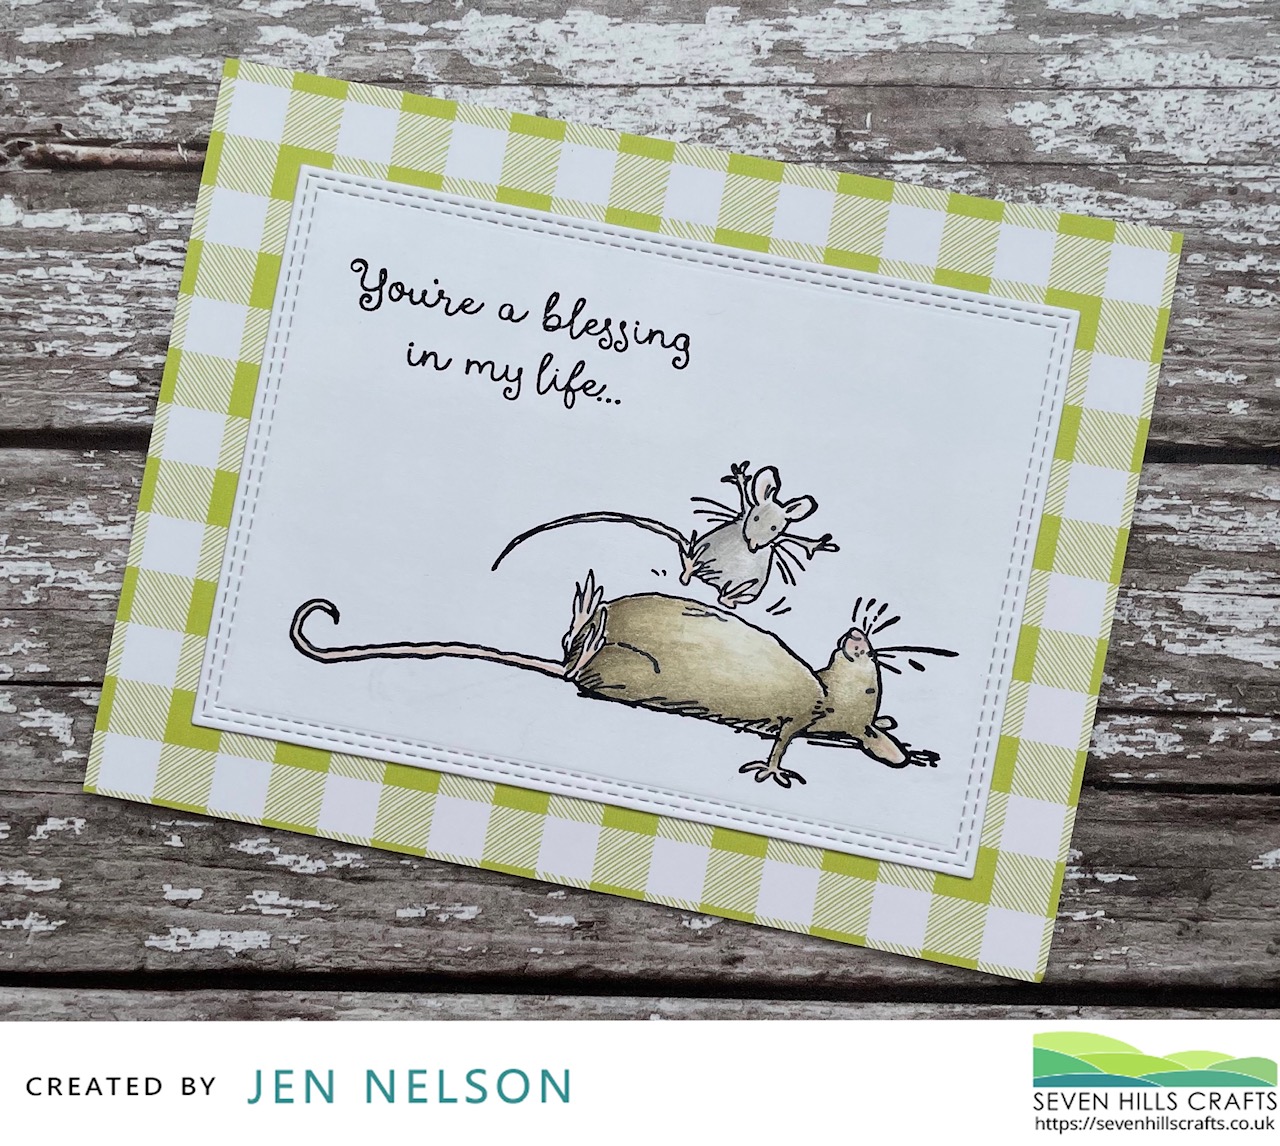
I decided it would be fun to show you lots of different ways you can colour an image so in this post i use Alcohol Markers, Water Colours, Distress Oxides, Pencils and finally I paper piece the last one.
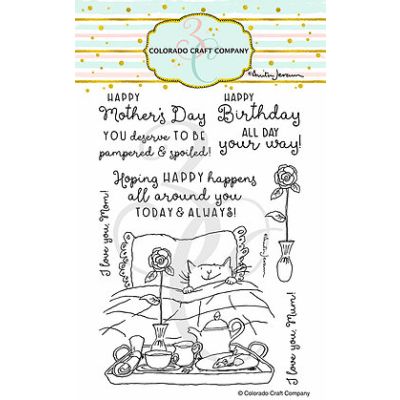
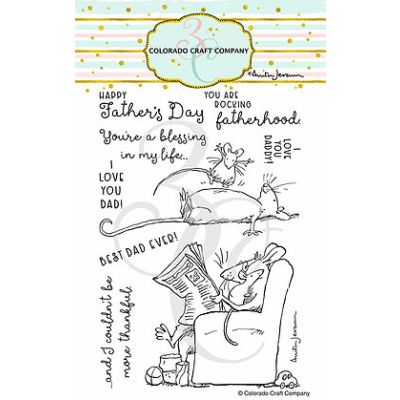
I used the super cute image from Anita Jeram's For Dad set... I love this set and it doesn't just have to be for Fathers day!!
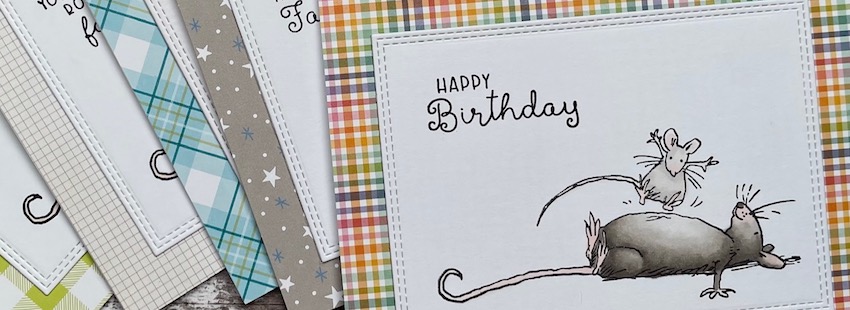
I started off by stamping the image from the set onto 5 pieces of card stock (one of which was water colour card) in the same place. I then stamped the image onto some designer paper for the paper pieced one as well.
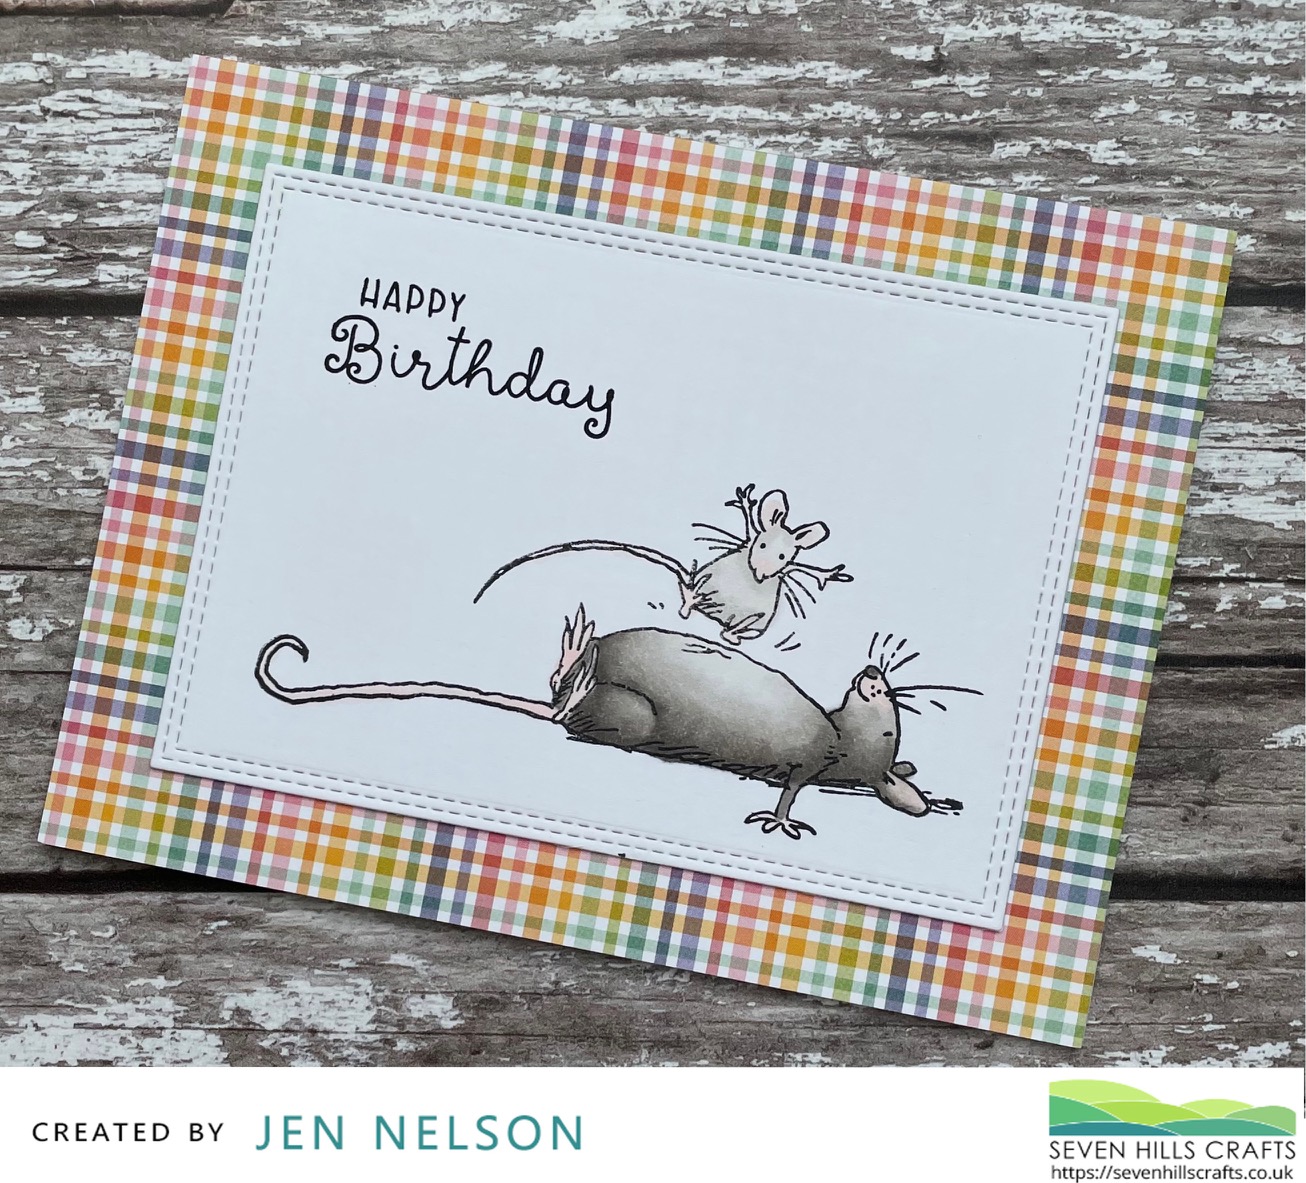
For the first card I coloured using alcohol markers in traditional mice colours. I love using markers to colour and it doesnt have to take ages.
For the second image I used distress oxides and a little water to colour in the mice. I used Pumice Stone and Hickory Smoke and a hint of Tattered rose for the tail and feet. I think this image took about 5 minutes to colour adding just a simple wash of colour for a really effective look.
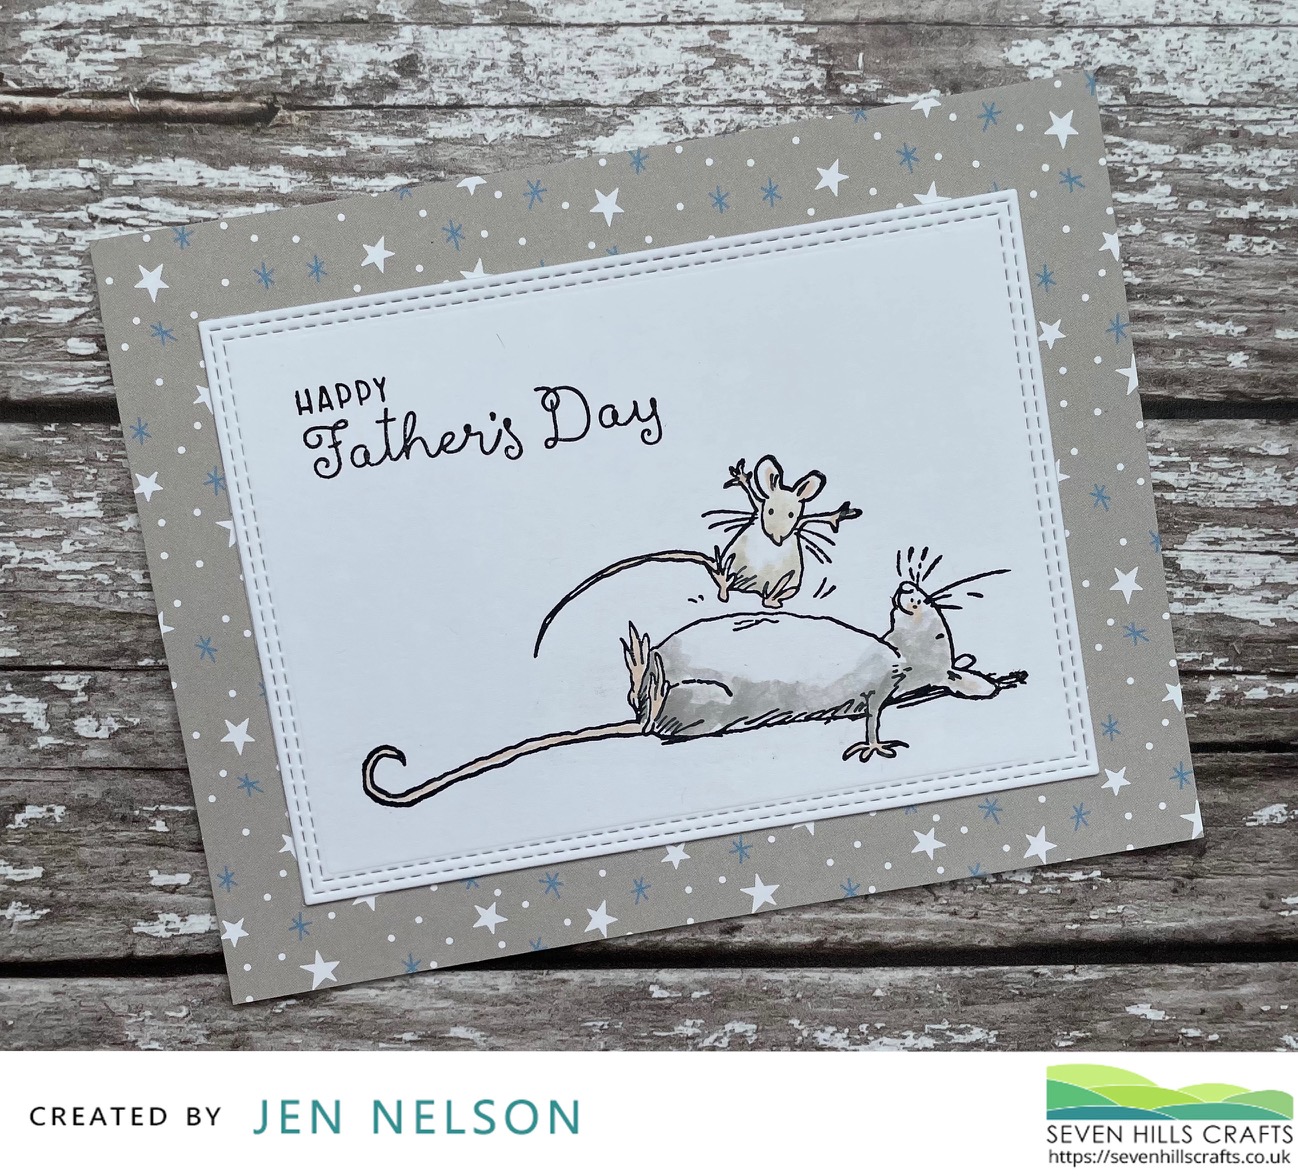
For the third image I used water colours to give a simple wash effect very similar to how Anita Jeram colours herself. I really need to do this more often as I love the look it gives.
For the fourth card I decided to dig out those pencil crayons... let's face it these are my least used colouring medium but I think since I chose the simple image it worked out ok.... definitely need more practice with them but I do love the effect of the colouring.
For the final image I decided to paper piece - and yes I count this as a form of colouring :-) . Its also a great way to use up those scraps of designer paper left from other cards. I simply stamped the images onto the paper and trimmed them out to fit inside the lines. I added a touch of pen to give some shading and coloured in the tail and feet with a marker since they were too small to paper piece.

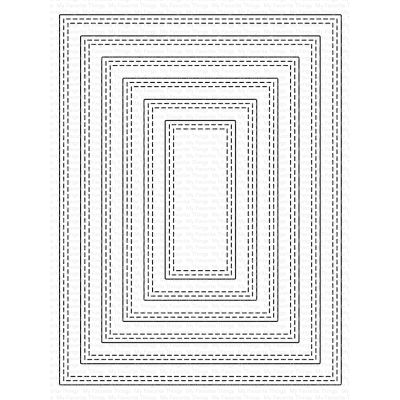
Each image was then cut out using the double stitched rectangle dies from MFT before adding the sentiments from the set. All but the Happy Birthday came from the same set.
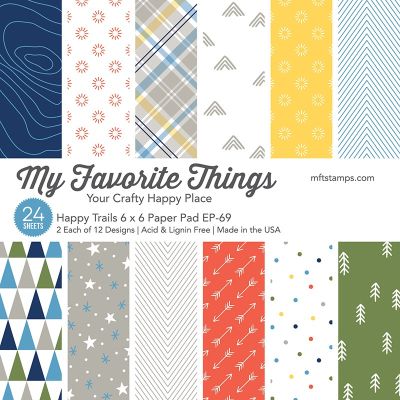
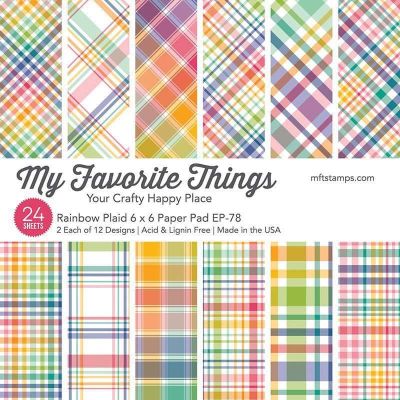
I cut a selection of A2 Panels from MFT designer series paper pads before mounting them all onto card bases to finish them off.
I absolutely adore this stamp set and I hope I showed you how many different ways you can colour and image... i'm sure there are so many more. I think the 5 cards took no more than 2 hours to complete so a great way to take a few supplies and a crafty afternoon and enjoy.
Have a great Saturday
Jen xx
August 14, 2021
|
View: 629
|
Categories: Copic Colouring, Pencil Colouring, Water Colouring, Paper Piecing
|
Tags: Colorado Craft Company, My Favorite Things
|
By: Jen
About the Author

Related Posts
The blog is back!
February 16, 2020| Posted in Colouring Stamped Images, Copic Colouring, Pencil Colouring, Die Cutting| Admin| 6| 1173
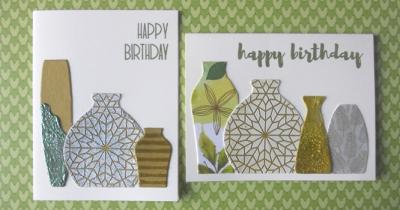
Pottery Crazy
February 17, 2020| Posted in Die Cutting, Stencilling, Stencilling with embossing paste, Special Effects| Admin| 1| 1380

Floral Focus
February 22, 2020| Posted in Colouring Stamped Images, Pencil Colouring, No Line Colouring| Admin| 2| 730
Related Products

Controversial Santas
August 28, 2022

Birthday Forecast
February 14, 2022

Encouraging Leaves
March 15, 2021

Framed Snowdrops
February 22, 2021

Altenew 6th Anniversary Blog Hop Day 4 + Giveaway
April 5, 2020

Postage Collage Christmas Card
October 22, 2024
Overlapping Christmas
October 19, 2024
Stay Cozy, This Or That?
October 17, 2024
Poinsettia Postage Collage with Waffle Flower
October 16, 2024

Whoosh Kites with Colouring Stencils
October 15, 2024