Turning Stamped Images into Decoupage

As promised last week, I'm back again this week with a new video with another great technique to add to your crafting arsenal - decoupaging stamped images - which is great for making framed picture gifts as well as for special cards and isn't as difficult as you might think!
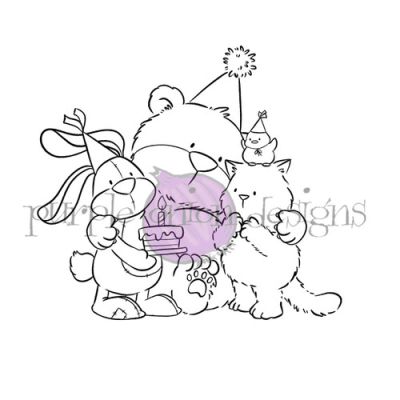
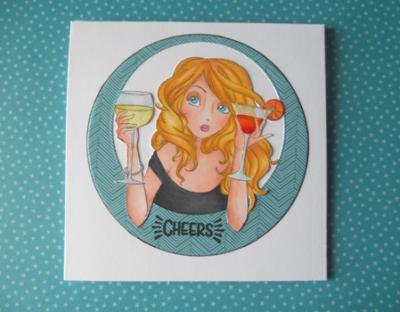
I used the new Let's Celebrate stamp from the Chilliezgraphy by Pei range from Purple Onion Designs, but you can do this technique with lots of the stamps in your stash. I've done it before with Stamping Bella and even some Altenew florals. You just need to look differently at the images to see how to cut "layers" from them.
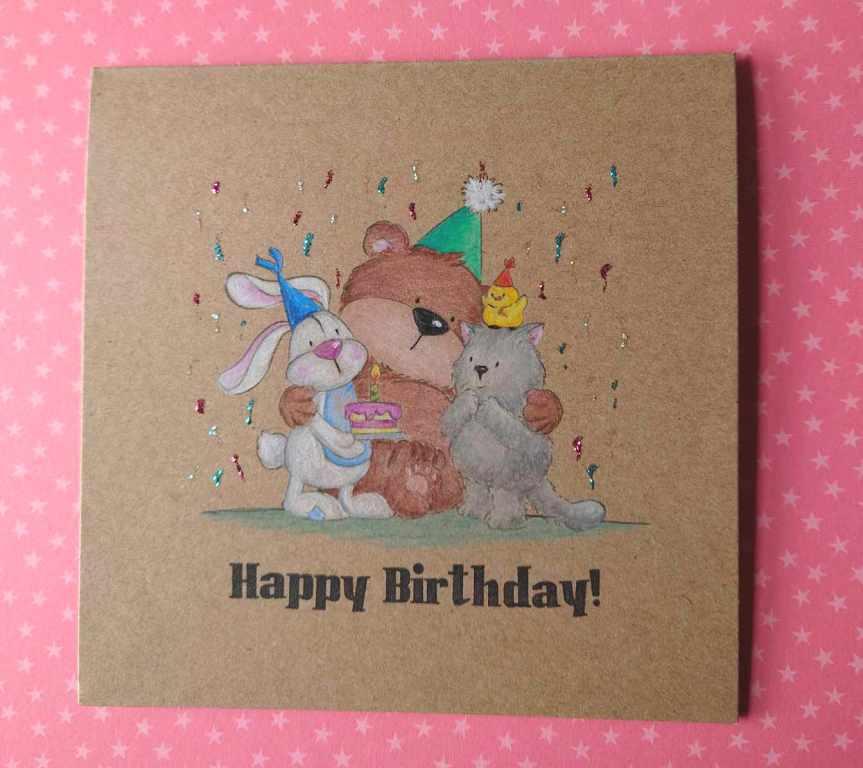
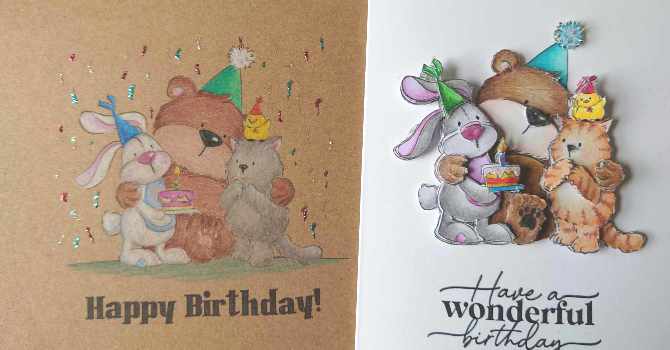
I made two cards with the same image - firstly I did just a flat one layer direct onto a papermania square kraft base card coloured with pencils as I really love pencils on kraft cardstock - it has a little bit of a "tooth" to it so it takes the pencil really well. I finished the card with a sentiment from Inquisitive Seagulls (as it was out on my desk - it will be back in stock this week with the new Waffle Flower release) and then drew some squiggles with 3 different stickles to get a confetti-streamer feel.
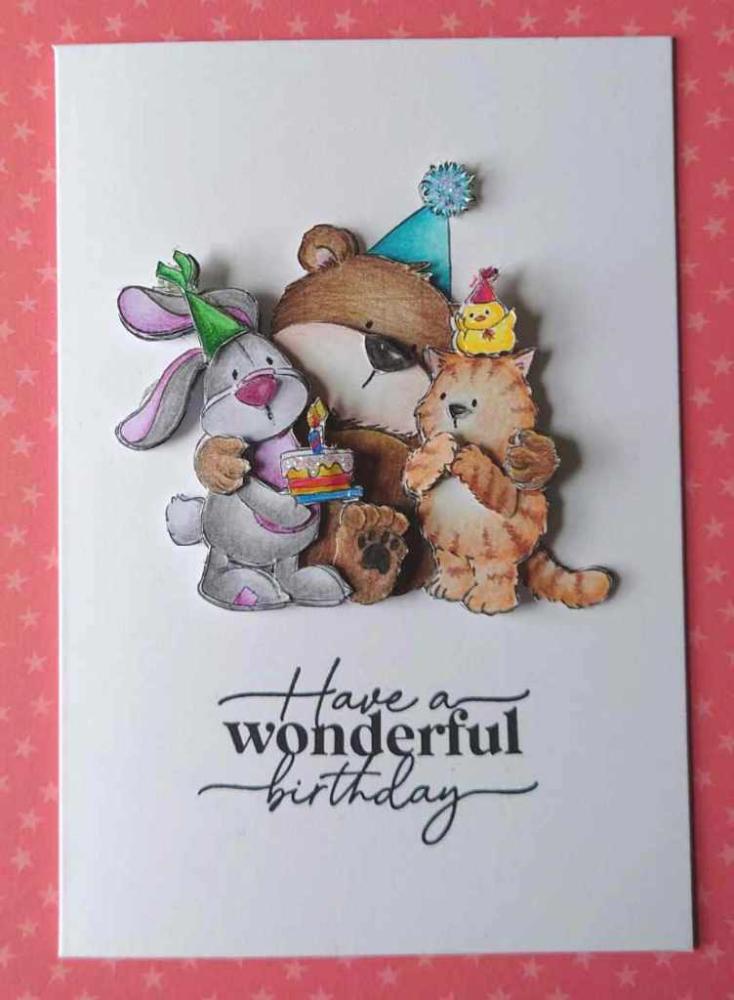
For the decoupage card I stamped the image first directly onto a papermania A6 card and then stamped the image again 6 times onto some white card stock so I could colour in and fussy cut my different layers to create the decoupage. Again coloured just with pencils - you can use any colouring medium you prefer, I'm just really enjoying the control I get from using pencils at the moment (I use mostly polychromos, but have some other sets to extend my colour range too). To understand the full process of the decoupage, then please head to our YouTube channnel and watch my video but my top tips are:
1) look at the image and work out what would be the furthest element at the back and the closest to you to work out what layers to cut
2) mark the images with the layers you're going to colour so you colour the right bits on each image
3) colour the edges of the images that aren't the top layer so the white can't be seen when the card is tilted
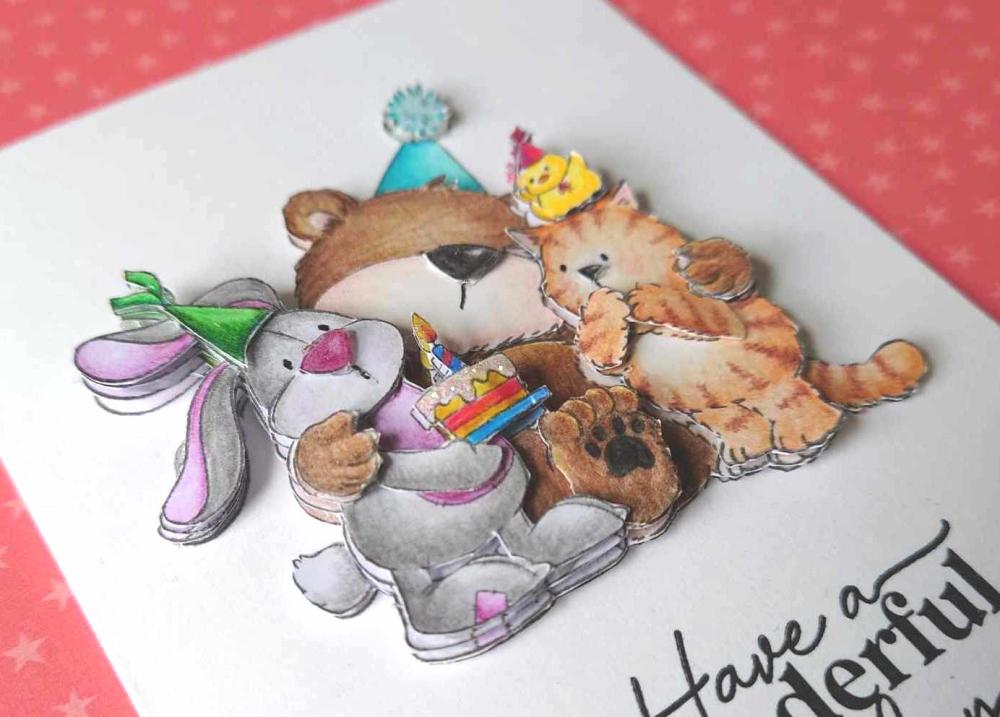
4) shape the paper with your fingers to add different shapes to the layers - such as the arms on the cat.
5) use pinflair gel to glue the layers together for the most flexibility in angles and depths.
Once the image was finished I added a sentiment from Sweet Lattice Sentiments from Waffle Flower Crafts - which have a great mix of fonts that really make the sentiments a good focal point on a CAS card. You can see more of the layers on this side angle shot - spot the bit where I forgot to colour the under layer of the bunny???
I hope this tutorial has given you some idea of how to decoupage a stamped image - I'd love to see you give it a go and share your results over in our Facebook group - or post on instagram with our #madewithsevenhills hashtag.
NEWS FROM THE STORE
We have the new release from Concord and 9th ready for release on Tuesday - it will be in store once they've released it in the USA. We have the mini-release from June that wasn't previously available to retailers too along with lots of restocks which we're adding now.
The Christmas in July collection from Waffle Flower Crafts is in transit and is also expected to be delivered on Tuesday afternoon - we'll need to process it once it arrives but will get it opened, weighed and added as fast as we can around packing your orders. Check the store from Tuesday afternoon onwards but it may be Wednesday before we get it all loaded.
That's all the news for today.
Happy Crafting!
Tara
About the Author

Related Posts
The blog is back!
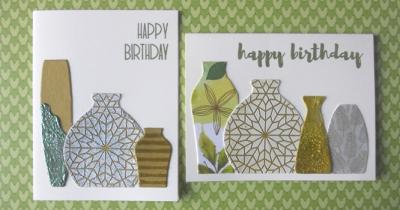
Pottery Crazy

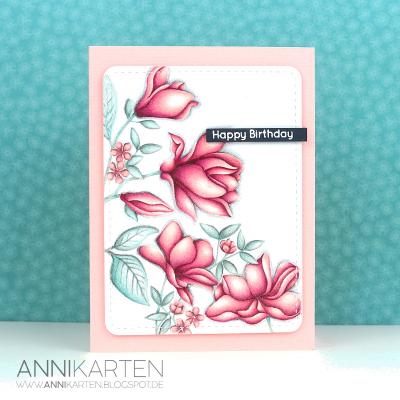
Floral Focus
Related Products