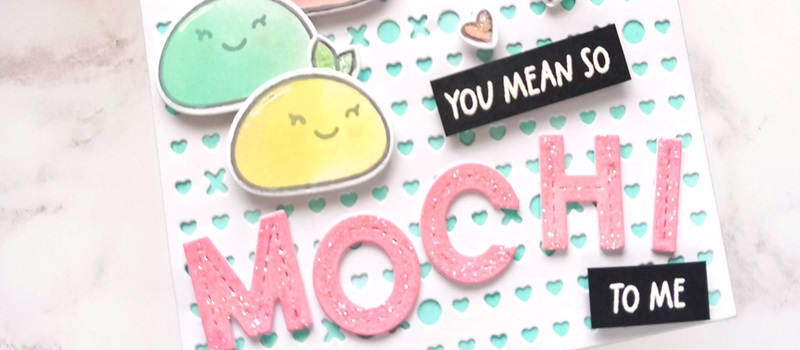
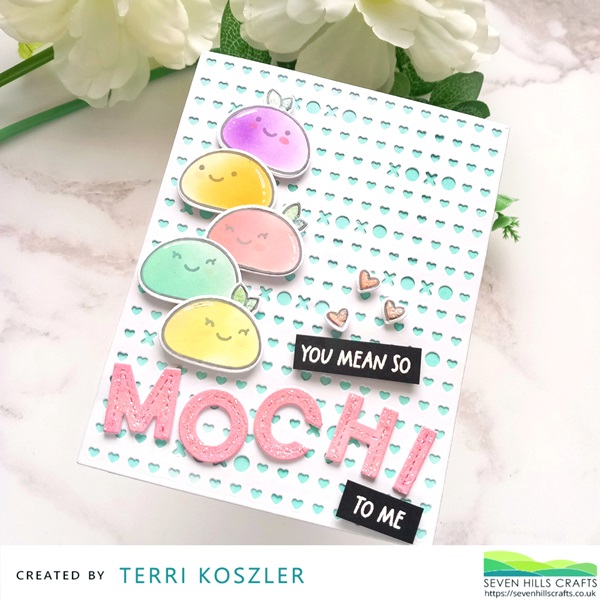
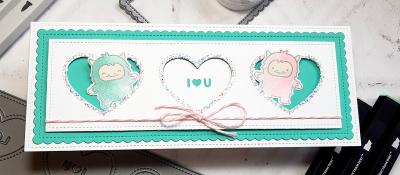
You mean so MOCHI to me

Hey, Terri here! Today I am sharing a cute Mochi card using the new "You mean so mochi"stamp set.
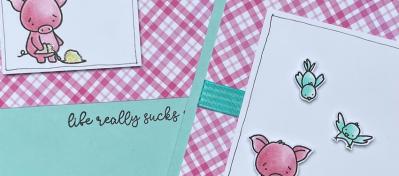
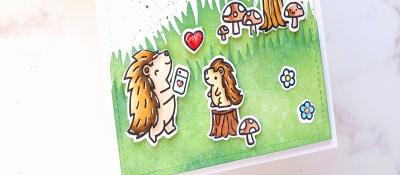
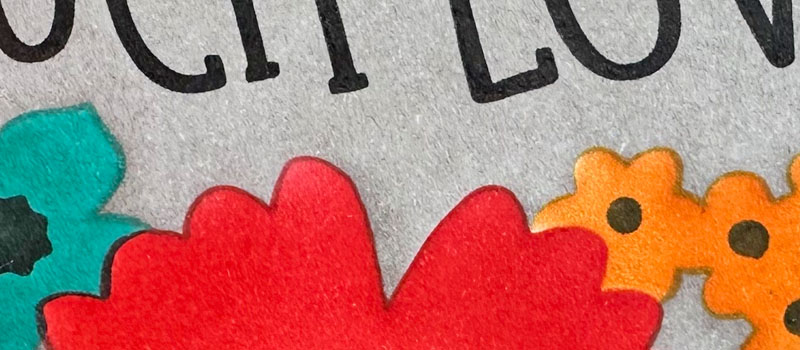
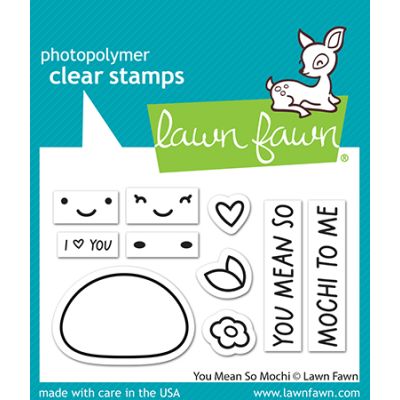
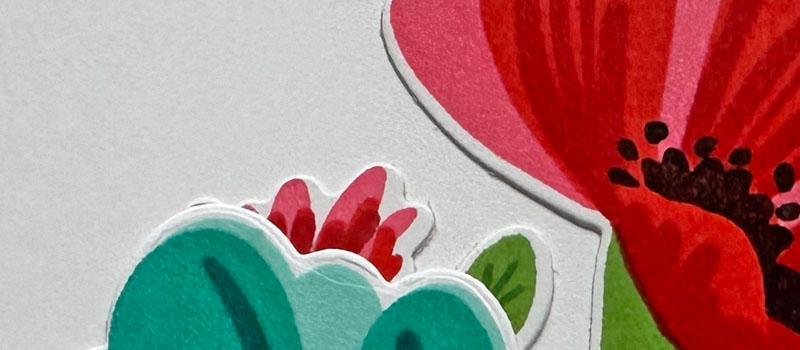
I started by stamping 5 of the Mochi stamps using a grey ink, onto super smooth 80lb cardstock. I then stamped a mochi onto a piece of masking paper and used my craft knife to cut it out, creating an stencil to ink blnd with. I chose 5 colours of Distress Oxide inks and blended then with a small brush.
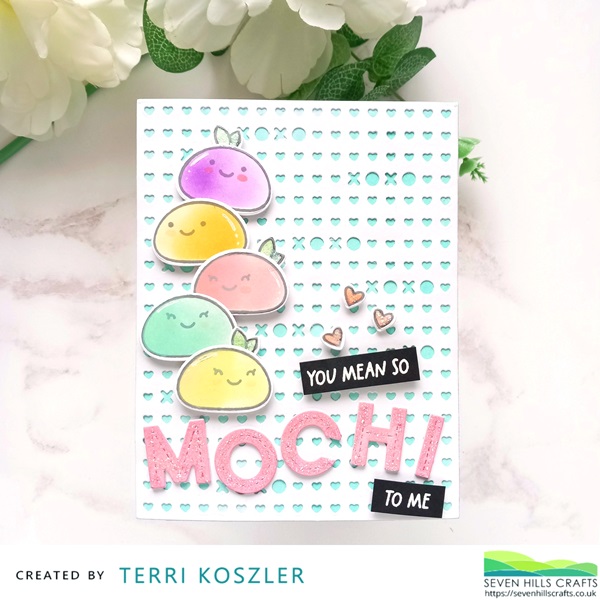
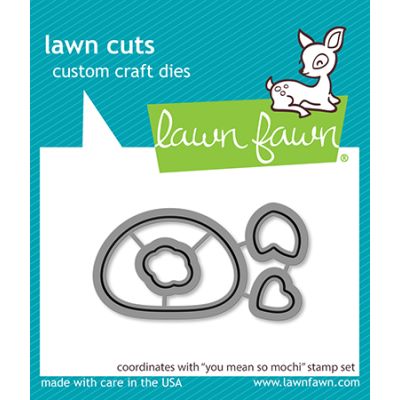
Ink blending through a stencil created from masking paper allows me to add ink quickly to the images and keeps the outer edge clean ready for die cutting. I used some of the images that come in the set to add faces to the mochi, this really adds personality to them. I also stamped and ink blended some of the leaves and hearts in the same way before using the coordinating You mean so mochi dies to cut the images.
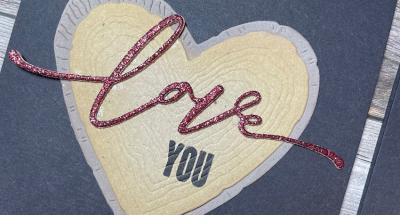
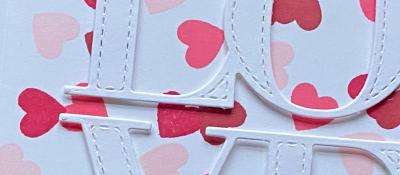
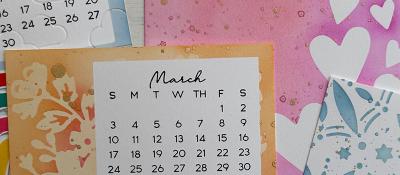
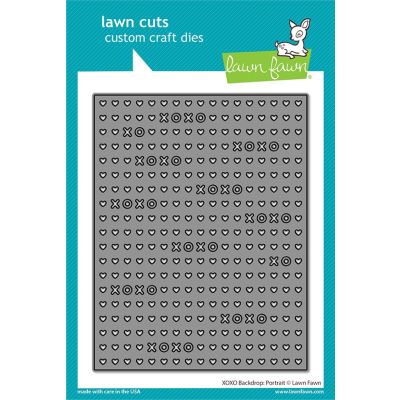
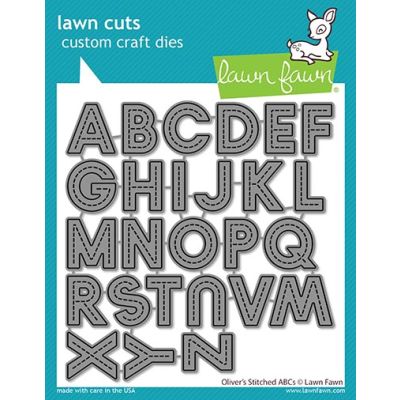
To create the backgorund I cut the xoxo backdrop portrait die from white 110lb cardstock and adhered it to an A2 cardbase that I had added a little ink to. I used Oliver's Stitched ABCs dies to cut the letters to spell out MOCHI, I cut them 3 times. Once from pink ink blended card and twice from white card, I then adhered them together to create a thicker die cut. I then added some stardust stickles to them and set them aside to dry.
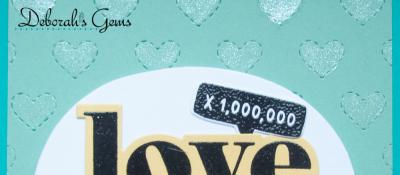
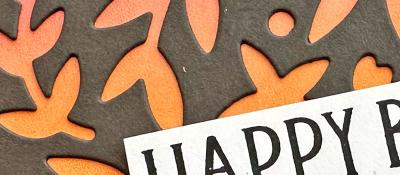
To create the rest of the sentiment I used the You mean so mochi stamp set, I white heat embossed my chosen sentiments onto black cardstock and trimmed them with my guillotine. Now it was time to put the card togehter.
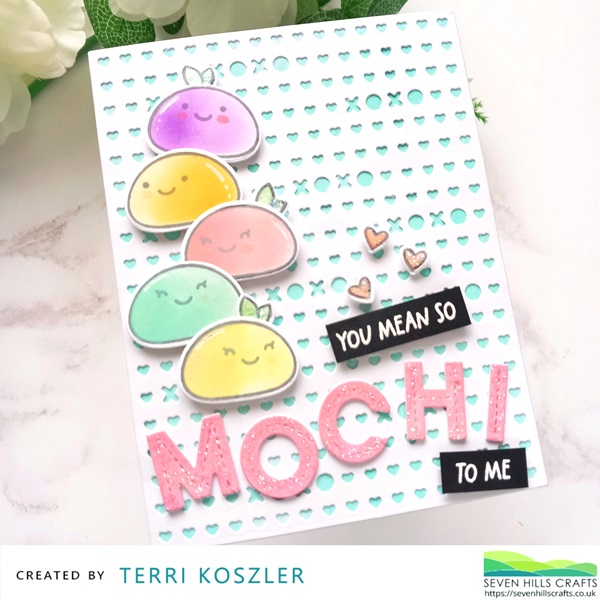
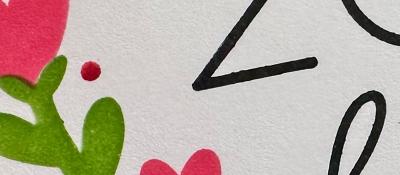
I added the die cut sentiment first as this acted as a place marker so that I knew where to add the other elements. I then stacked the Mochi using foam pads. I added leaves to some and embellishem them with glitter and white gel pen highlights. I then added the heat embossed sentiment pieces using foam tape before finally adding the 3 hearts.
Related Posts
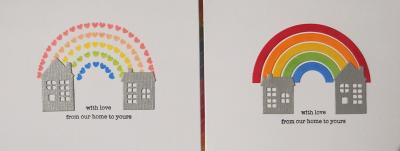
love from our home to yours
26/04/2020| Posted in Die Cutting, Stamping Techniques| 3| 584
No Stitch Stitching Dies
23/08/2020| Posted in Stitching/Embroidery| 1| 586

Merry Drink To Forgetmas
13/09/2020| Posted in Die Cutting| 2| 1455
What's New in Store plus Scary Movies!
04/10/2020| Posted in Copic Colouring, Die Cutting| 573
A Tale of Two Hearts
17/01/2021| Posted in Die Cutting| 1| 488
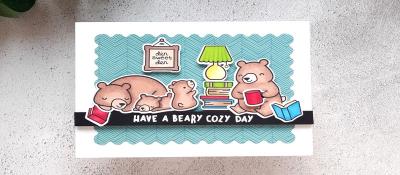
Have a Beary Cozy Day
19/01/2021| Posted in Colouring Stamped Images, Copic Colouring, Die Cutting, Card Making, Heat Embossing| 1| 209
Love You
28/01/2021| Posted in Stamping Techniques| 1| 228
More Hearts!
10/02/2021| Posted in Die Cutting, Stamping Techniques, Card Making, Stamped Background, Heat Embossing, turnabouts| 1| 217

Hi-Ya!!
26/04/2021| Posted in Colouring Stamped Images, Die Cutting, Ink Blending, sentiment Focal Points| 4| 710
Whale of a birthday
01/08/2021| Posted in Ink Blending, Stamp Layering| 227
Tangled With You
12/12/2021| Posted in Pencil Colouring, Masking| 373
LOVE You
27/01/2022| Posted in Die Cutting, Stamping Techniques, Card Making, Stamped Background, turnabouts, Stamping, Clean & Simple| 290

Life
12/02/2022| Posted in Copic Colouring, Sketches| 300
Cacti Crazy
26/02/2022| Posted in Die Cutting| 304
3 ways to Purrfection
09/04/2022| Posted in Stamped Background, Sketches| 275
Wanna Hang Out
16/04/2022| Posted in Copic Colouring, Clean & Simple| 296
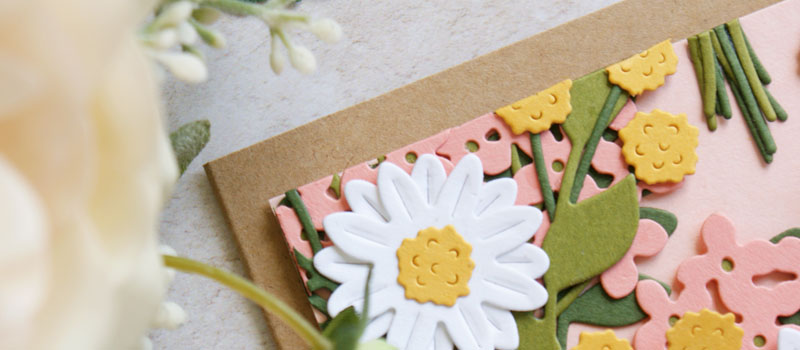
Stitched Florals
23/07/2022| Posted in Die Cutting, Card Making, Off The Page Projects, Stitching/Embroidery, Stamping, sentiment Focal Points, Clean & Simple| 449
To The Rescue
17/09/2022| Posted in Copic Colouring, Ink Blending, Stencilling with embossing paste, Fussy Cutting, Inky Backsides| 169

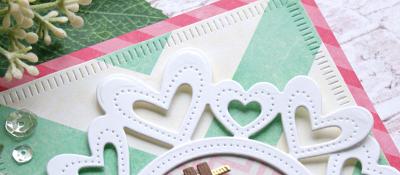
Plaid Hearts
12/01/2023| Posted in Die Cutting, Stamping Techniques, Card Making, Stamped Background, turnabouts, Shaker Cards| 242
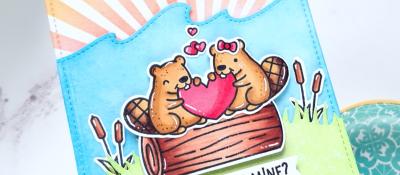
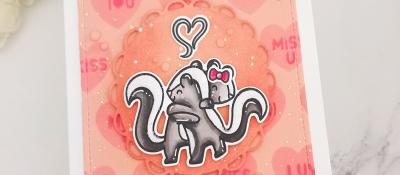
Valentines Beavers
24/01/2023| Posted in Colouring Stamped Images, Die Cutting, Ink Blending, Card Making, Stencilling| 160
Die Cut Love
10/02/2023| Posted in Die Cutting, Card Making| 221
Movies and Chill
09/04/2023| Posted in Die Cutting| 221
Hold on Tight
27/05/2023| Posted in Copic Colouring, Die Cutting| 222
Billowing Peonies
18/07/2023| Posted in Ink Blending, Card Making, Stencilling, Layering Stencils, Hot Foil, Stamp Wheel| 198
Cross the Ocean
29/07/2023| Posted in Copic Colouring| 146
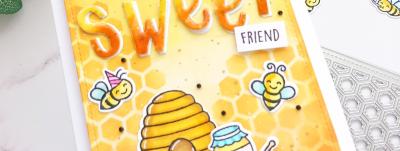
Happy Bee-Day
15/08/2023| Posted in Copic Colouring, Die Cutting, Ink Blending, Card Making, Stamping, Stencilled backgrounds| 168
Snow Much Love
05/12/2023| Posted in Die Cutting, Stamping Techniques, Card Making, Heat Embossing, Clean & Simple| 134
2024 Part One
07/12/2023| Posted in Die Cutting, Ink Blending, Stencilling, Gift Making, Stamping, Stencilled backgrounds| 148
Hello 2024
04/01/2024| Posted in Card Making, Stencilling, Layering Stencils, Clean & Simple, Clean and Simple (CAS)| 154
You're so Por-CUTE-Pine...
16/01/2024| Posted in Colouring Stamped Images, Copic Colouring, Die Cutting, Ink Blending, Card Making| 108
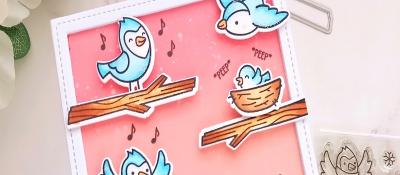
It's a Tweet Life
20/01/2024| Posted in Stencilling| 216
Legend-diary Birthday
04/02/2024| Posted in Copic Colouring, Die Cutting| 182

Pop Heart Hugs
08/02/2024| Posted in Die Cutting, Stamping Techniques, Card Making, Stamped Background, turnabouts, Stamp Wheel| 155
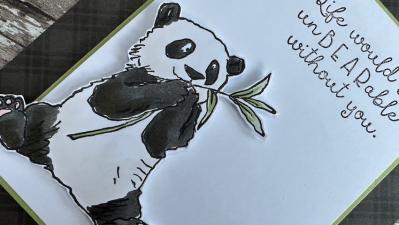
un BEAR able
10/02/2024| Posted in Colouring Stamped Images, Copic Colouring, Die Cutting, Fussy Cutting, Patterned Papers, Stamping| 218

Scent With Love - Valentine's Day Card
12/02/2024| Posted in Colouring Stamped Images, Copic Colouring, Die Cutting, Card Making, Interactive Cards| 146
All the Hearts
14/02/2024| Posted in Die Cutting, Card Making| 195
Scent With Love
13/02/2024| Posted in Colouring Stamped Images, Die Cutting, Ink Blending, Card Making, Stencilling| 131
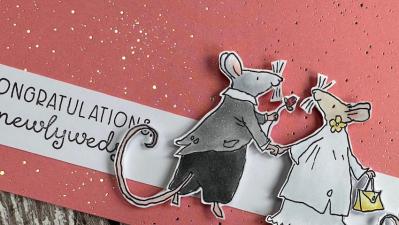
Newlyweds
17/02/2024| Posted in Copic Colouring, Fussy Cutting| 212
I Hope You Know...
07/03/2024| Posted in Stamping Techniques, Card Making| 563
Related Products

Controversial Santas
28/08/2022

Birthday Forecast
14/02/2022

Encouraging Leaves
15/03/2021

Framed Snowdrops
22/02/2021

Birthday Blossoms
25/04/2024
Paper Bouquet Take 2
24/04/2024
How to add dimension to your projects!
23/04/2024
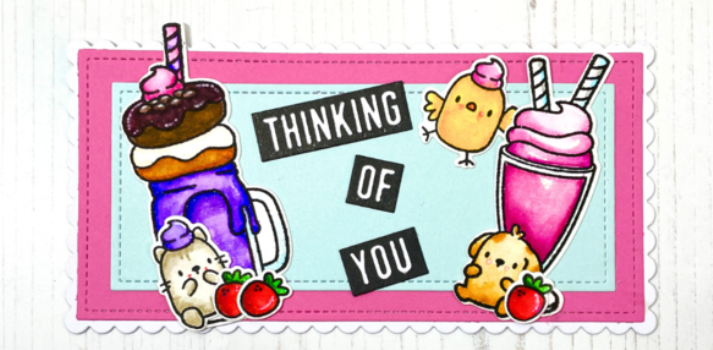
Cute Milkshake Card
22/04/2024