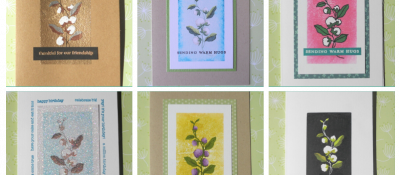
How to add dimension to your projects!

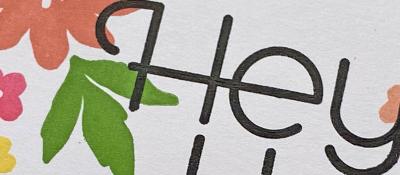
Hey there, Terri here! Today I am sharing a post all about adding dimension to your craft projects. When you think dimension, your mind probably thinks lots of layers and height... but I'm going to show how you can add dimension wihtout extra bulk (and higher postage costs)

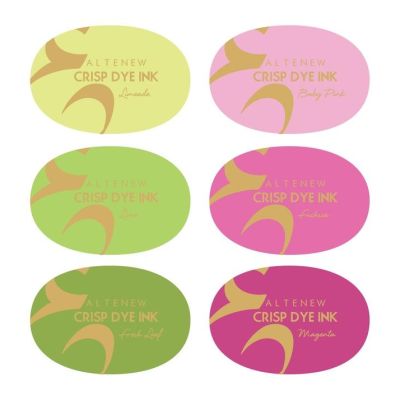
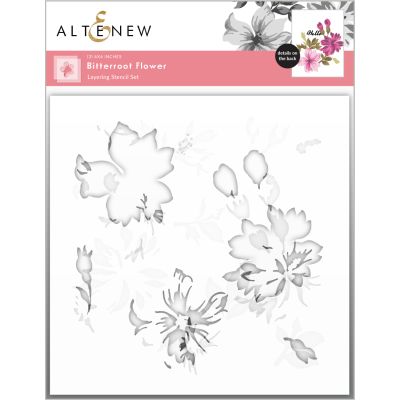
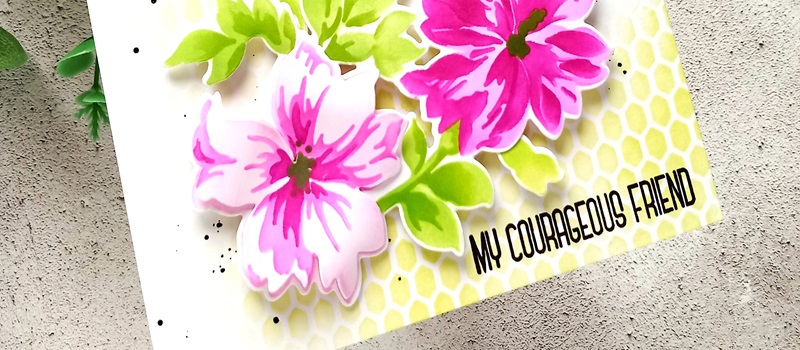
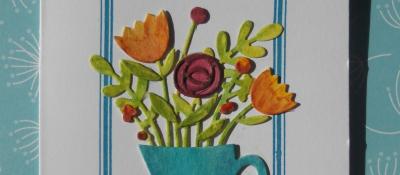
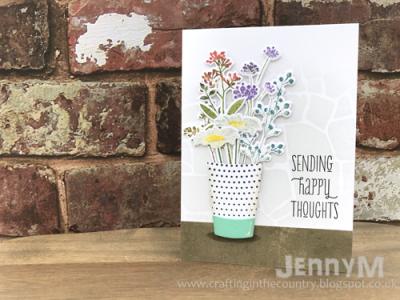
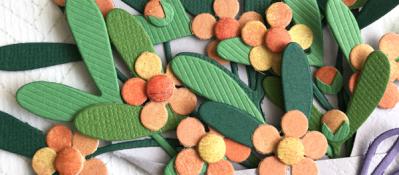
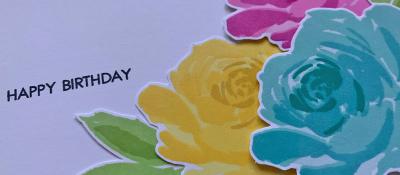
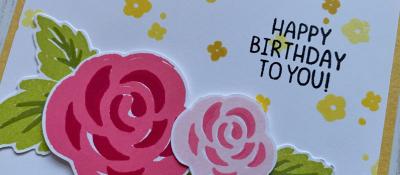
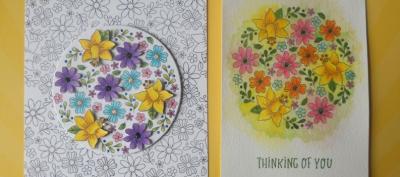
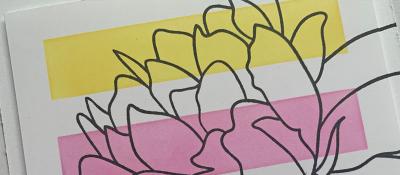
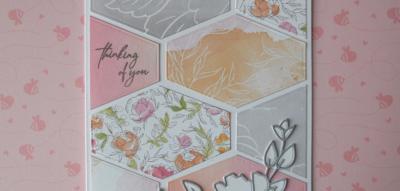
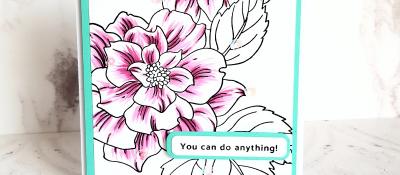
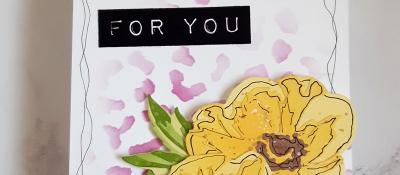
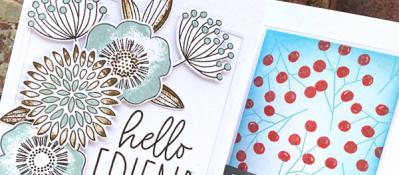
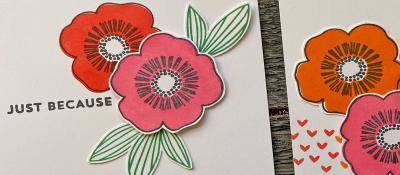
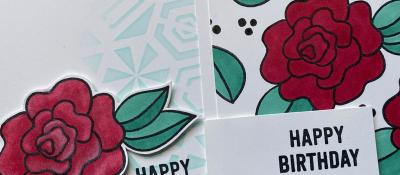
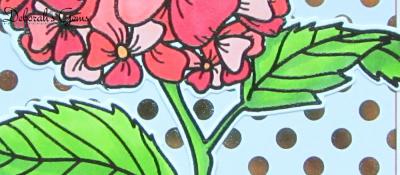
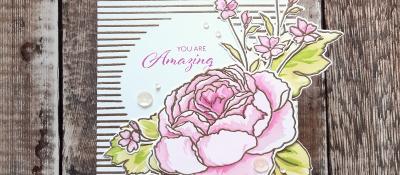
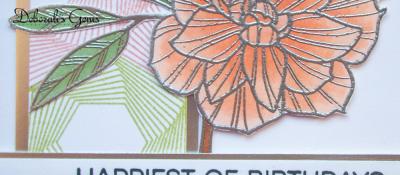
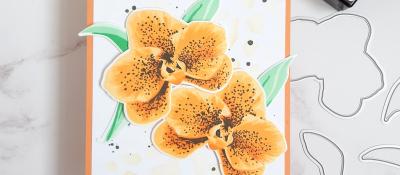
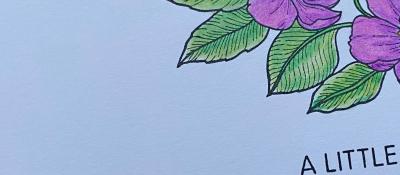
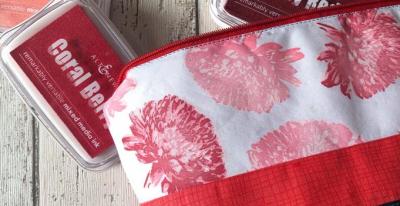
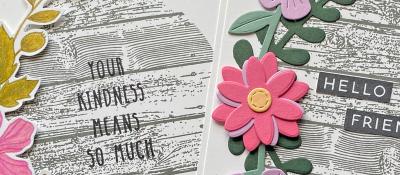
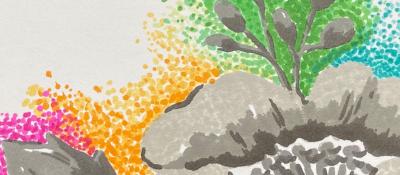
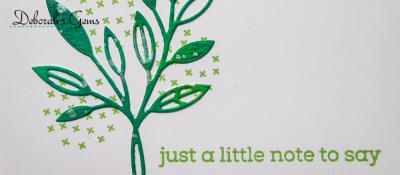
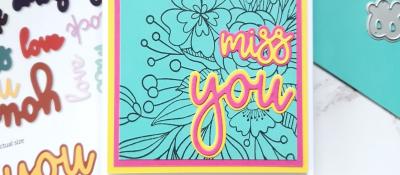
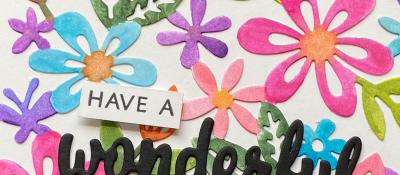
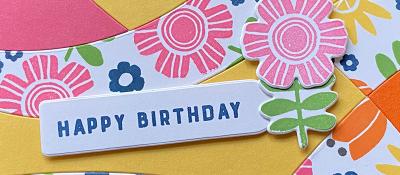
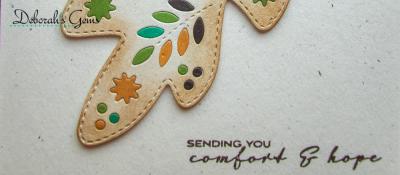
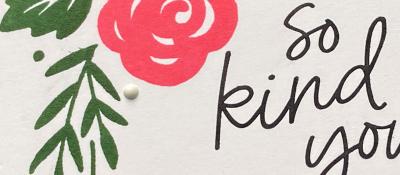
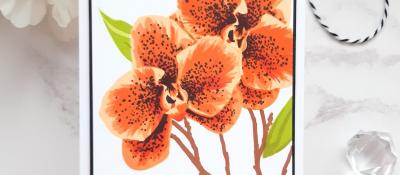
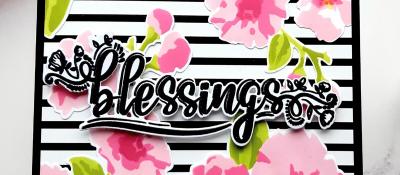
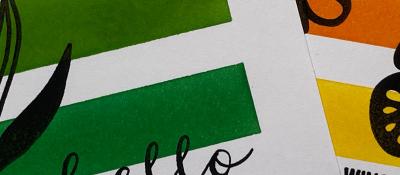
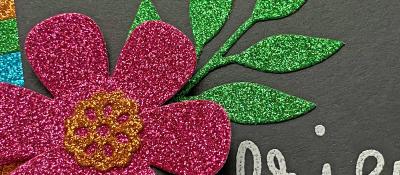
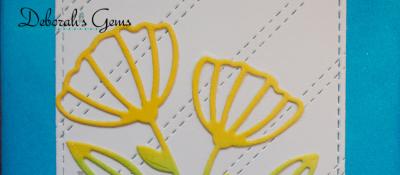
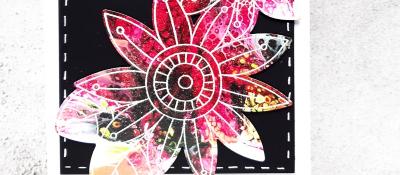
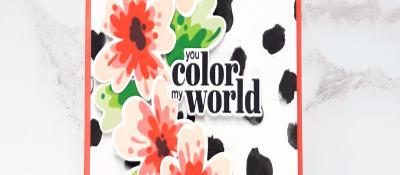
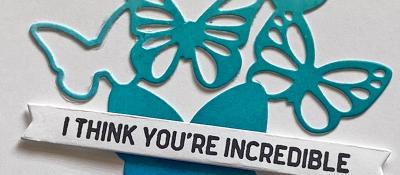
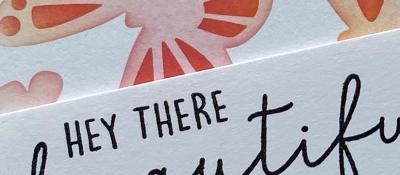
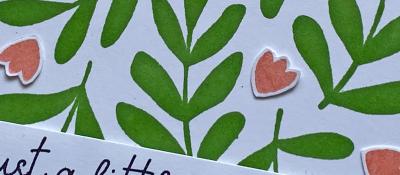
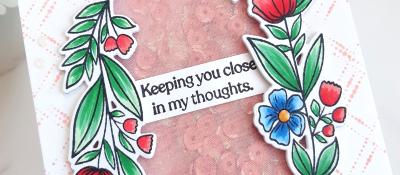
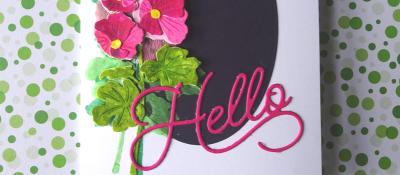
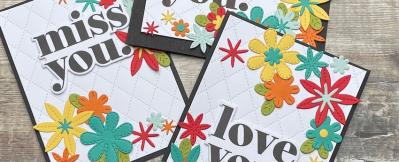
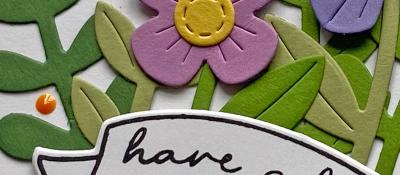
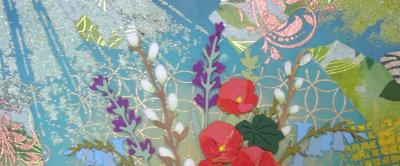
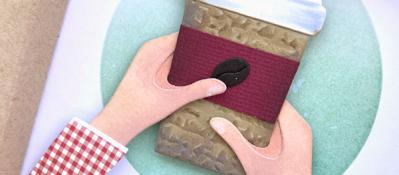
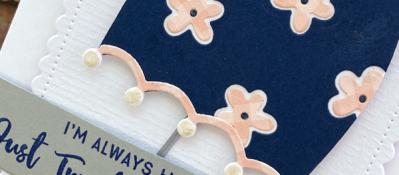
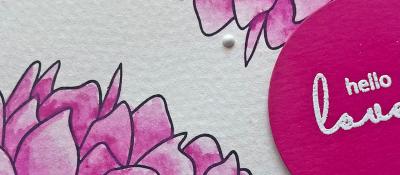
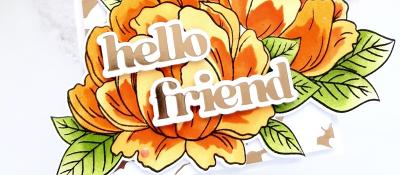
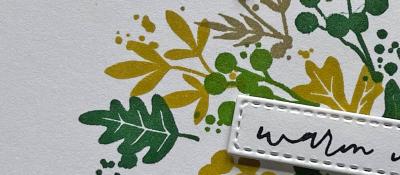
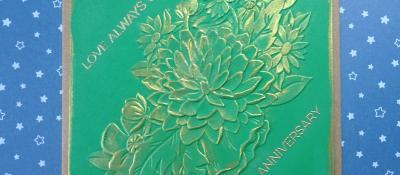
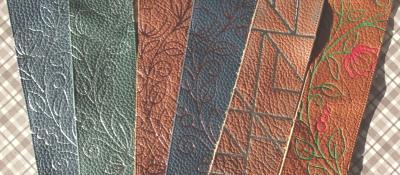
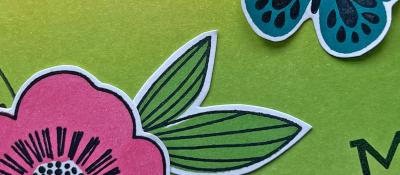
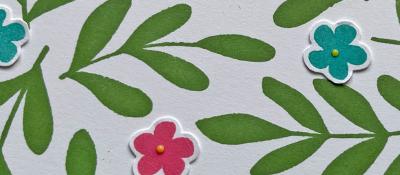
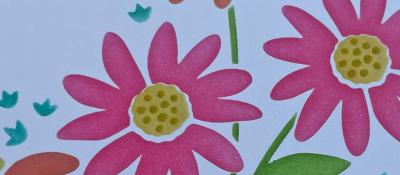
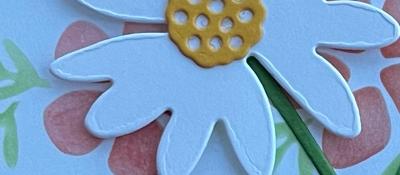
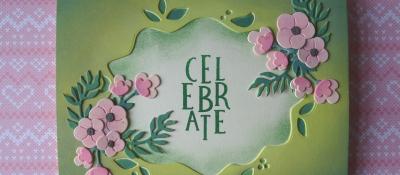
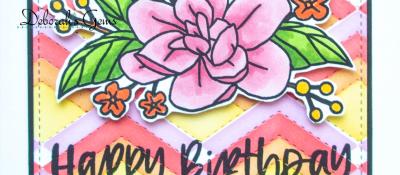
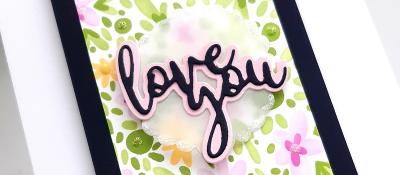
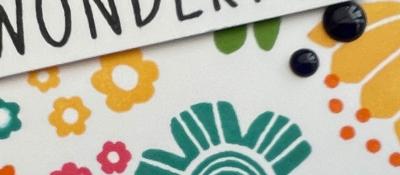
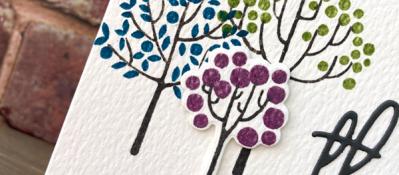
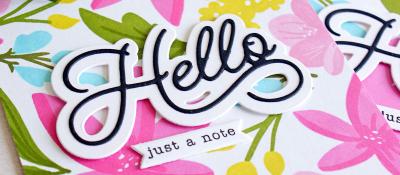
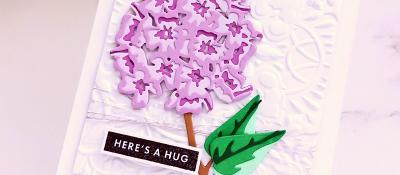
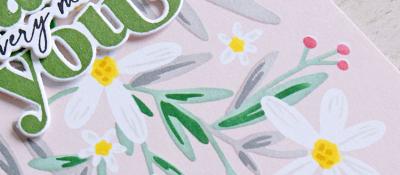
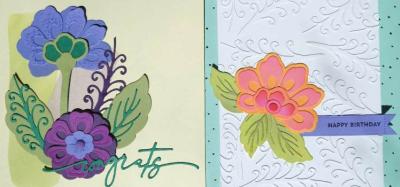
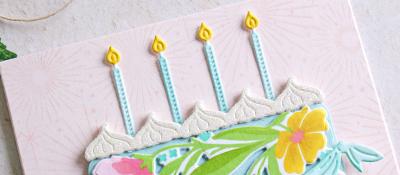
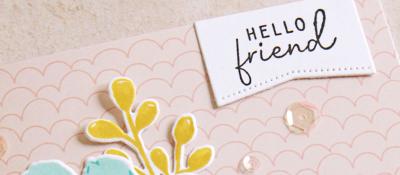
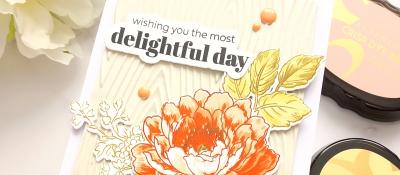
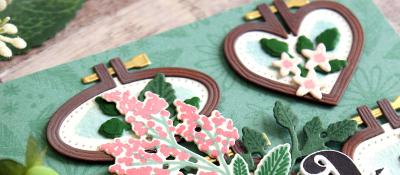
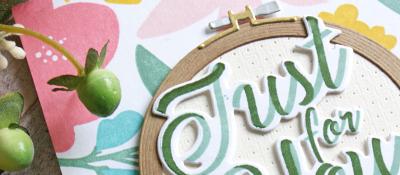
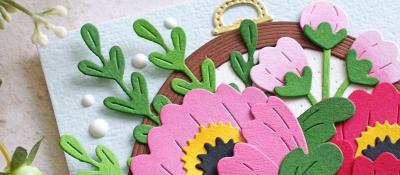
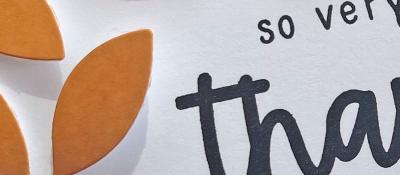
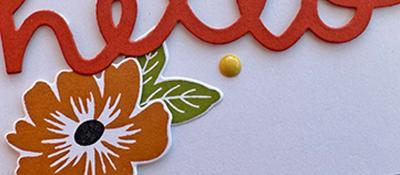
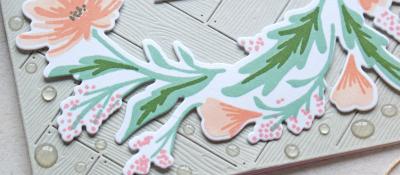
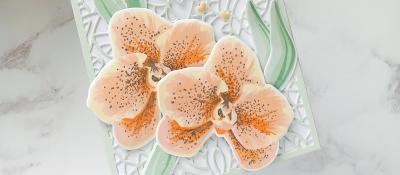
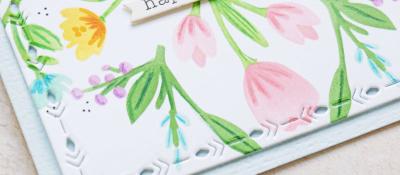
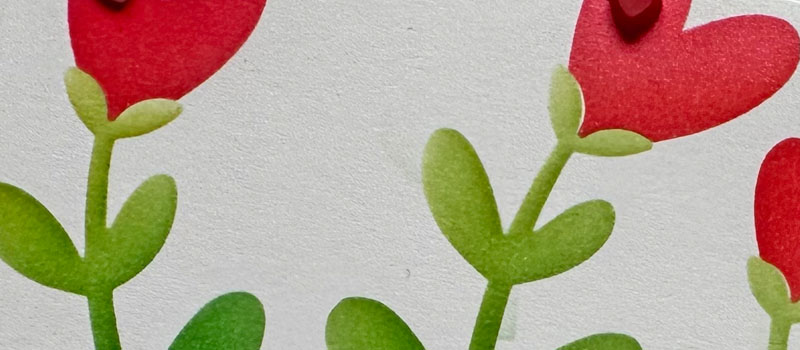
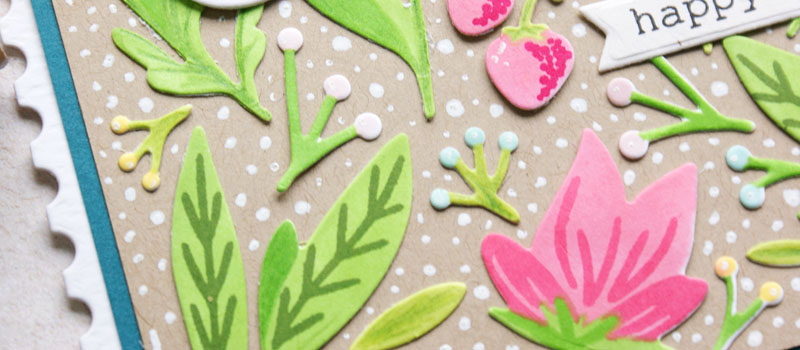
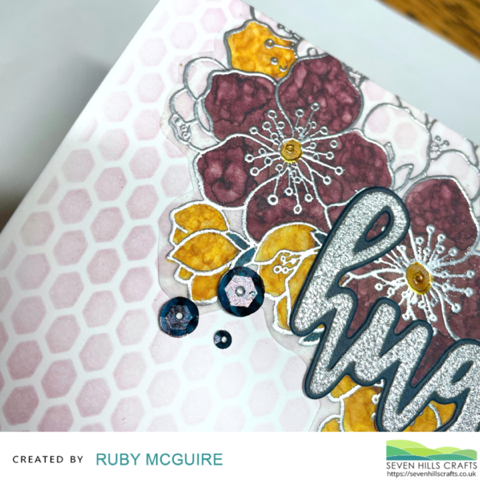
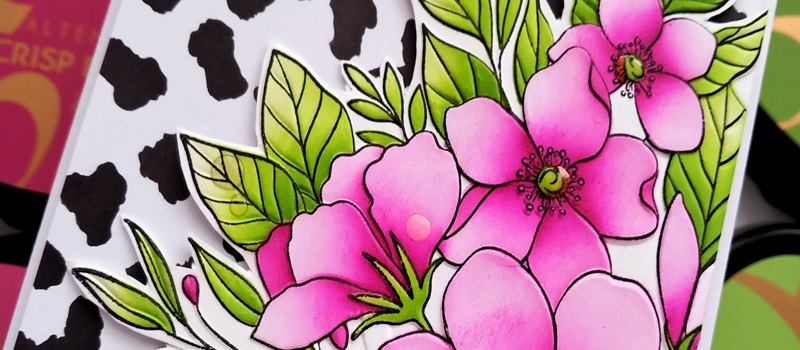
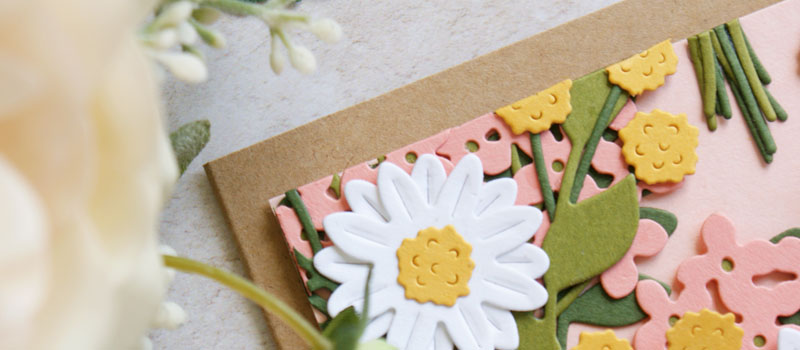
I started by stencilling my flowers, to do this I used the Bitterroot Flower Layering Stencil Set. This is a 3 piece stencil set, allowing you to add depth and dimension to your images. I used the Spring Bouquet Ink Pads along with small blending brushes and 80lb super smooth cardstock, as this allows the ink to blend better. I then used the coordinating Bitterroot Die Set to cut the flowers. The die set has a large die that allows you to cut the big floral arrangment, aswell as smaller dies for each of the flowers, this means that you can layer the cut images for a decoupage effect. I stencilled and cut one of the flowers for this purpose.

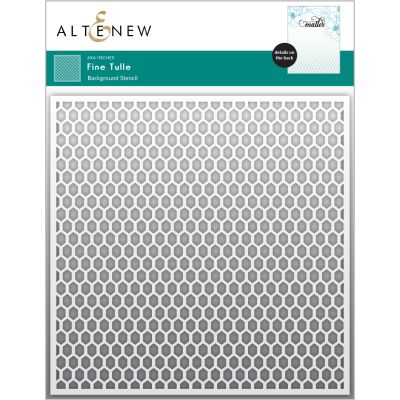
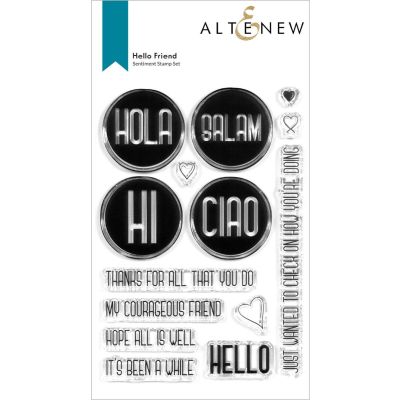
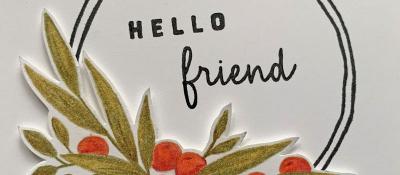
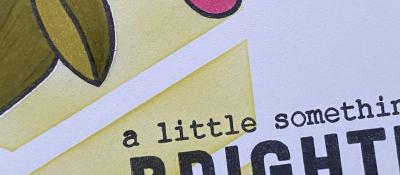
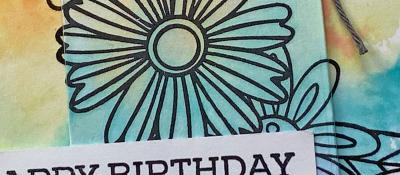
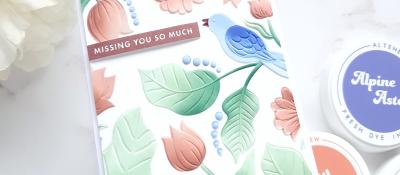
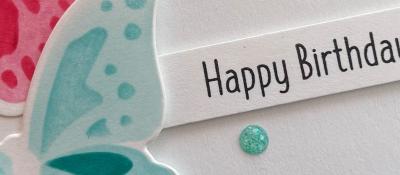
Working on an A2 cardblank, I used the Fine Tulle Stencil to add some green ink, I worked with a harder hand in the lower right, moving diagonally and getting lighter towards the top right. This is my base layer of dimension. I then added some black inky splatters. Using foam pads I adhered the large floral arrangment onto the card. I then used a pen to curl the petals of the single die cut flower, I added this on top of the floral arrangment with a little glue in the centre. Lastly I added a stamped sentiment form the Hello Friend Stamp Set.

By adding differnt layers, some flat ontop of others and some with foam tape or glue you start to cretae shadows and depth to the project, which in turn gives the impression of more dimension. This project was really quick to create and would be perfect for batch making, you could change up the sentiment or colours for a totally different feel/occasion.
Related Posts

Jug of Flowers
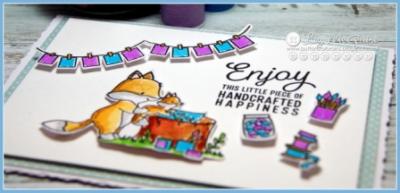
Handcrafted Happiness
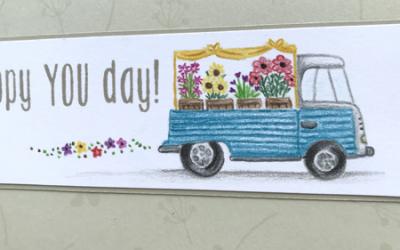
Flower Truck
Crafty Friends

Plant Kindness
Mistletoe.. but not as you know it!
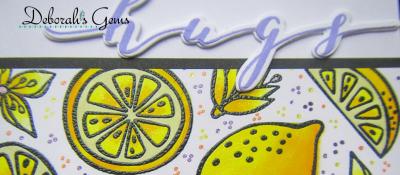
Hugs All Over
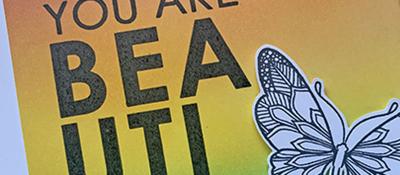
You Are Beautiful
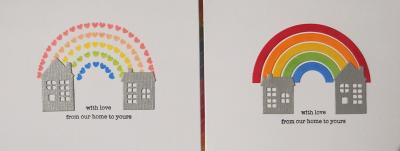
love from our home to yours
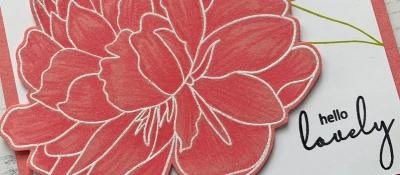
Hello Lovely
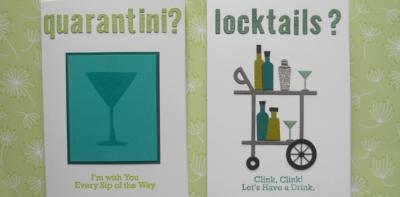
Every Hour is Happy Hour in Lockdown!
Hello Friend
A note of blossoms....
Quick and Easy Male Gift card
Birthday Blooms
Hanging with my Gnomies
2020 Spring/Summer Coffee Lovers Blog Hop
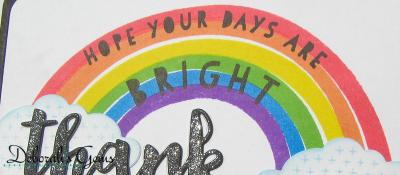
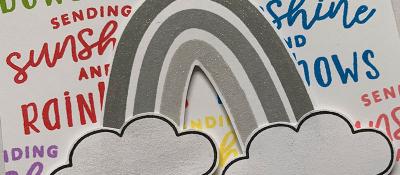
Rainbows on Cloudy Days
Sending Warm Hugs
Hello Friend
Fluttering By

Shine Like a Diamond
Bowl of Blooms
Distress Speckled Egg and Repeating Pattern Stamping
Bumping by to say..
Floral Splendour
Berry Sweet
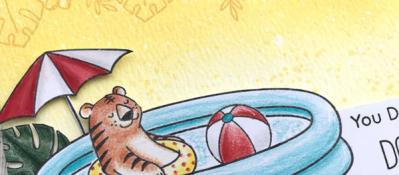
Aloha Sunshine
Paper Hugs
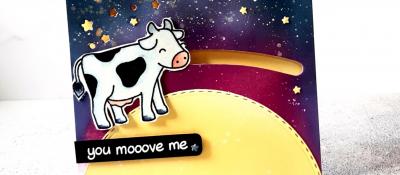
The Cow Jumps over the moon


For the love of pretty papers....
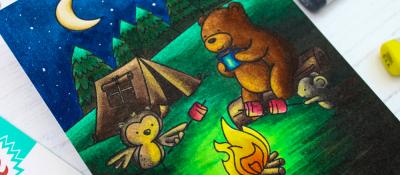
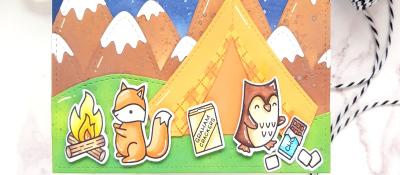
Camping Critters
Birthday Shakers
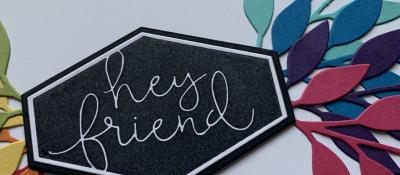
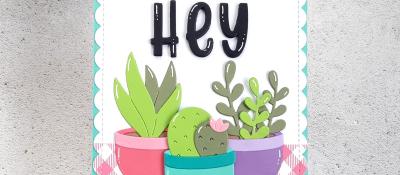
Hey Friend!
Sometimes keeping it simple is best
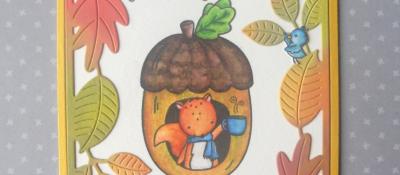
Autumn Acorns
Autumn Nuts
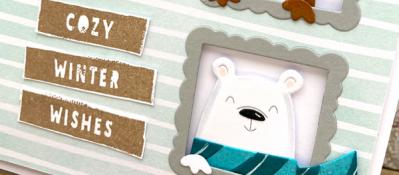
Cozy Friends
Colorado Craft Company Week!
Aloha, 3 ways to colour your stamps.
Delight in the Little Things
Big and Bold Peacocks
Blossoms and Berries

Friends and Christmas
A Winter Scene
Hello on this Rainy day
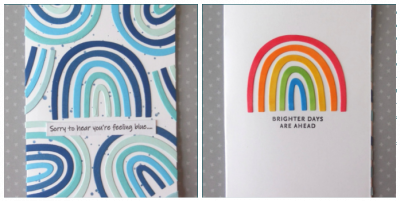
Feeling Blue
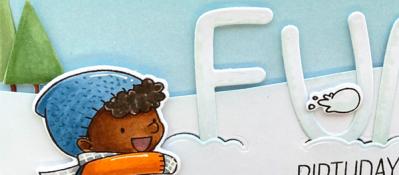
Snowball Fun
Floral Birthdays

All the THANKS
Birthday Roses
Going Dotty!
Magical Day
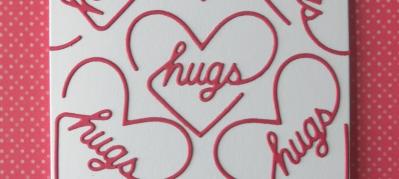
More Hearts!
A Little Something...

Trig 102
Birthday Blooms
Elephantastic
A Little Note
Every Friendship has a story
Hello Sunflowers
Fun Fabric Guest

Thinking of You
Floral Fancies
Hi-Ya!!
Eclectic Florals

Aloha
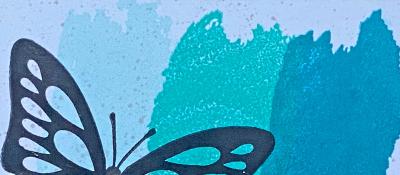
More Brilliant Butterflies

Botanical Branches
Going Dotty!
Cup of Friendship
Amazing Butterflies
Wild Paradise
Don't be afraid of colour!
Hey Friend!
Recharge with Watercolour
Flock of Seagulls
Shaking Up The World

All dies, No Stamps
Floating On By

Playful Patterns
Friend Like You
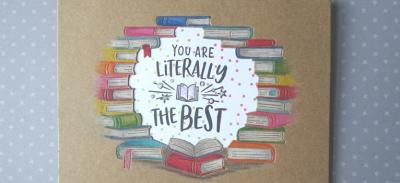
Literally The Best
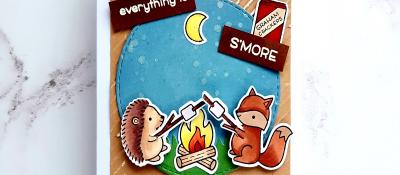
S'more fun with you
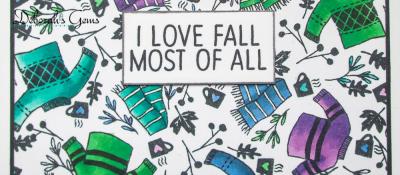
Sweater Weather!!
A Wreath for All Seasons
The Season In-Between!

The Little Things
Creating with restrictions
Festive One Layer
Snow Buddies
Autumn Leaves
Sweet Gingko
Mica Magic
Butterfly Dies

Alcohol Markers on Embossed metal
Caffeine Inspiration
All Stacked Up
Mini Superhero
Twinkle Twinkle


Life
One Layer Wonders!
Hang in There
Friends Fur-ever

Getting the most from foil plates
3 ways with CCC Teacups and Mice

Hello Dear Friend
Ink Blending on Solid Stamps
Smooshed Blooms
Tiny Flowers
You Raise Me Up

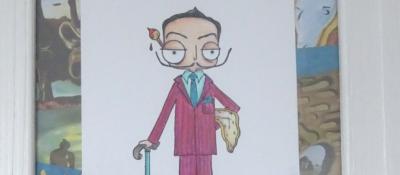
Dali
Friendship & Smiles
3 ways to Purrfection
Wanna Hang Out
Down On The Farm
One Layer Cards
Hey There Beautiful Friend
Chevron Pattern Play
Cut, Colour, Stick.. it's as easy as 1,2,3
3 ways with Castle Garden Stamp Set
Special Spot

More Sunshine, Less Umbrella's - Please!
Wildflowers and Weeds

Just Saying Hello
Super Duper
Magnolia Smiles
Circle Quad

Get Well Peonies
Greetings from the Couch
Happy Hollyhocks
Floral Calendar Page
Mini Gift Notes
Stitched Florals
One for the Guys & One for the Girls.
A Mixed Media Crafternoon
Cocktail Cheers
Maybe it's Coffee
Hey Possum
Pick A Pattern
I'll Be There
Reflective Florals
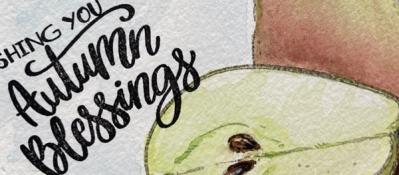
Autumnal Warm Wishes
Rainbow Cheer
Polar Opposites
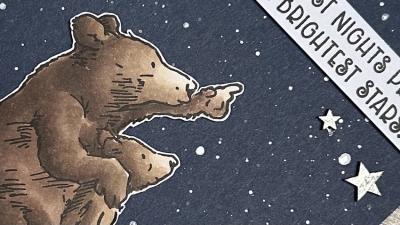
Star Gazing
Faux Rub-On Technique
Plant A Succulent - Hugs Card
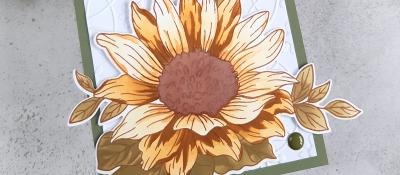
Autumn Sunflower
Month By Month - Part 2

Christmas with Friends
Fantasy Jungle
Month By Month - Part 4

One Background - Four Ways
Glorious Gouache
Simple Hot Foil Background
Encouraging Notecards
Abstract Gouache Greeting Card
Organic Cherry Blossom
Fabric that's a sweet as can bee
A Trio of Cards
Soak & Relax
Sunshine and Hugs

All The Thanks
Hot Dog!
Garden Goodness Birthday Blooms
Boho Butterflies
Howdy Raccoon
Llamas do Yoga
Hold on Tight
Threads Of Kindness
Rain or Shine - I'll Be There For You
Thank You Blossom

Daisy Days Two Ways
Ornate Florals
Takes the Cake!

Hey Beautiful
Adventure Awaits
Letterpress without a Betterpress? No problem!

Billowing Peonies

Bon Voyage

Ice Cream Helps
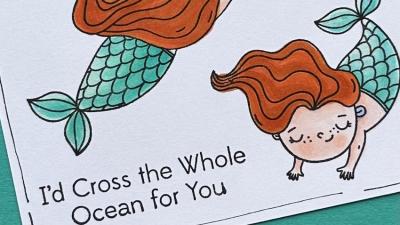
Cross the Ocean
Bloomin' Wonderful!
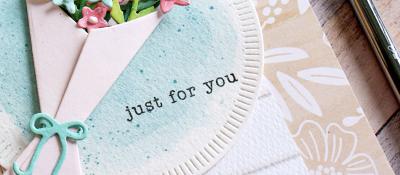
Just for You
Picked Posies - Just for You
Embossing Magic... 2 ways!
Friday Feel Good Floral
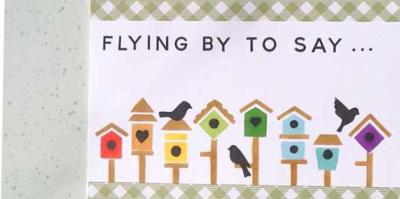
Flying By...
Fall Foliage
Hope Your Day Is Filled With Fun

Autumn Vibes
Gnomes in the sunflower patch
Wish Upon a Star Fish

Flashback Friday Bargains - Concord and 9th
2024 Part One
2024 Part Two
1 Stamp Set, 3 Looks.
2024 Part Three
Out with the old, in with the new!
Hello 2024
More than Merry Sprigs

It's a Tweet Life
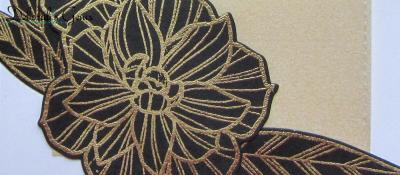
Metallic Magic: Crafting a Dramatic Black Floral Card
Endless Creativity: A Repeatable Card Design Gem!
Garden Goodness

Pop Heart Hugs
un BEAR able

Simple Mandala Card
You're Going Places...
Mother's Day Whirl
I Hope You Know...
A Sweet Duo
One panel two ways

Primrose Garden Greetings
Sweet Hello
A Basket Full of Care
Letterpressing Hotfoils
You Are Amazing!

Flashback Friday Bargains - Leaves and Flowers
Sending Hugs & Snuggles
Bouquet Wishes

Birthdays and Backgrounds

Paper Bouquet
Paper Bouquet Take 2
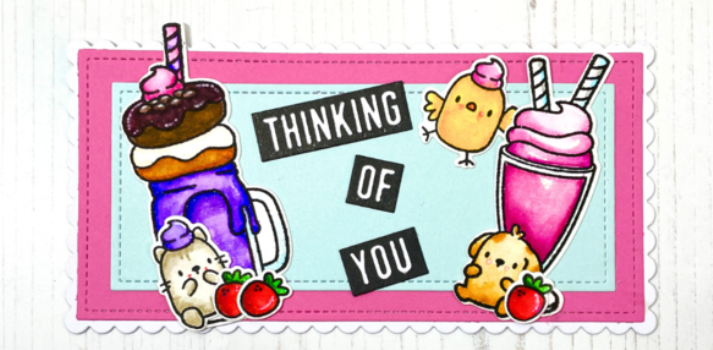
Cute Milkshake Card
Related Products