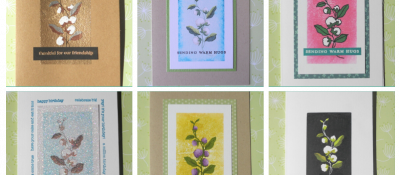
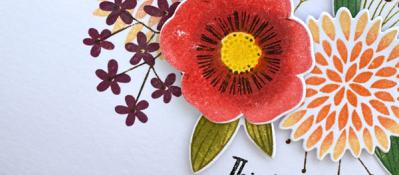
1 Stamp Set, 3 Looks.


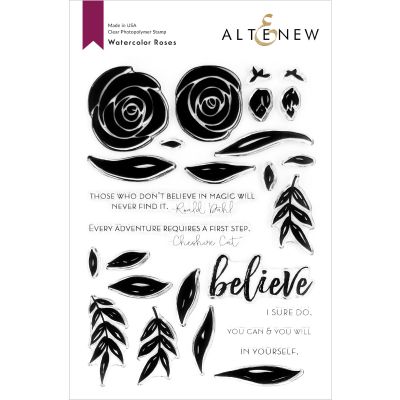
Hey there, Terri here! Today I am giving you a little break from all of the Christmas crafting with a fun set of 3 cards. I am using the Watercolor Roses Stamp Set (which jusy happens to be on sale at the moment) to create 3 different looks.
I always like to be able to create different looks and feels with each product I own, so today I am not only changin up the ink colours and layout but also looking at ways to step up those one layer stamped images.
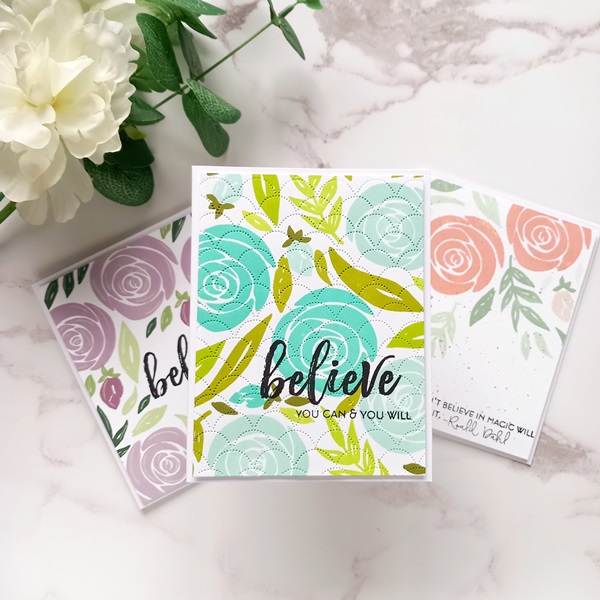
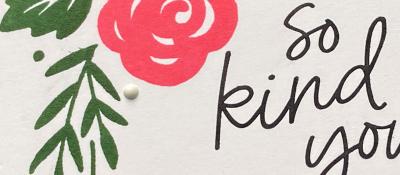
Just add splatters
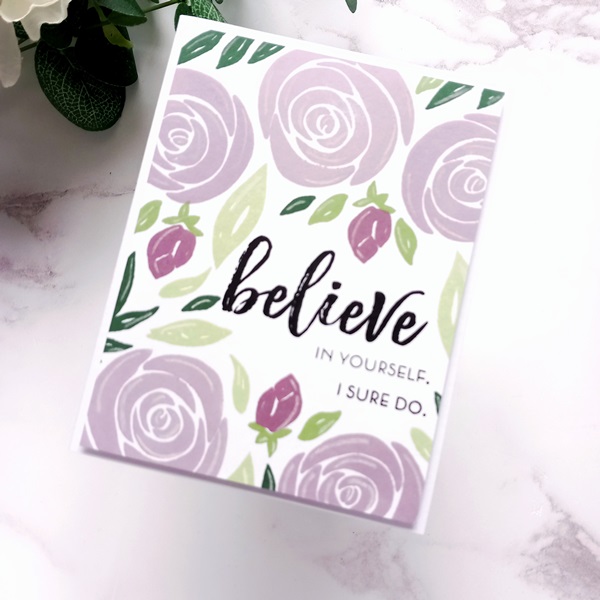
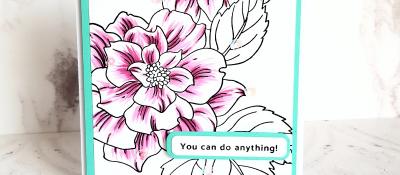
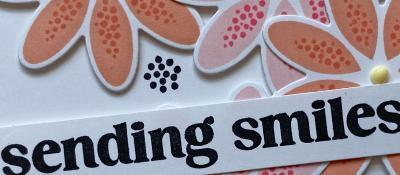
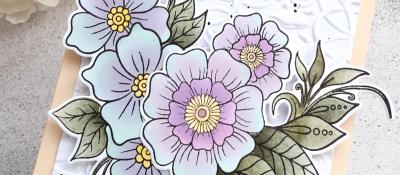
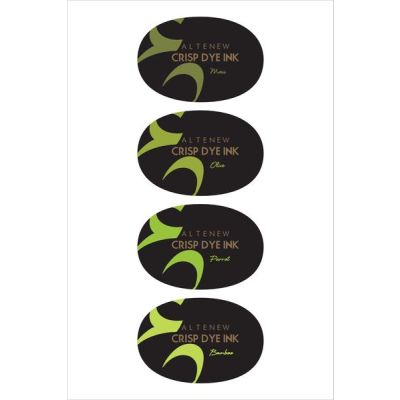
In this frist example I'm keeping it really simple, I stamped the floral images using the Woodland Escape Ink Bundle and the foliage using Frosted Foliage Ink Bundle. I made sure to use multiple shades from each set to give more depth and interest.

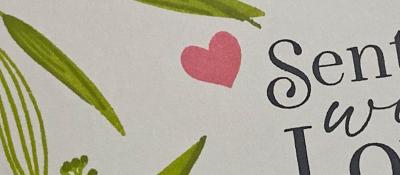
I then stamped the sentiment at the bottom of the card using black ink. To step this look up I chose to add gold ink splatters using a very fine paint brush tapped against an acrylic block. I then trimmed the stmaped panel to measure 4" by 5.25" and foam mounted it on to an A2 notecard. This is a really easy yet elegant look thats perfect for batch making.
Adding pencil highlights
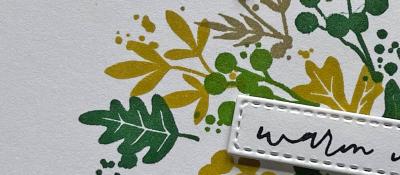
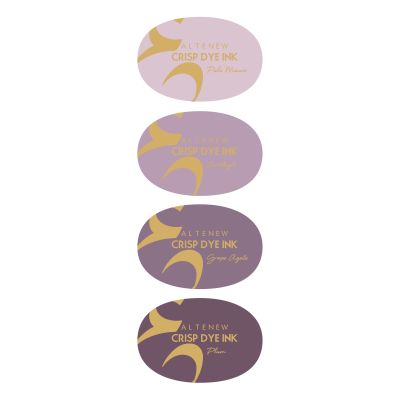
This card shows how adding just some white pencil highlights can really stemp up single layer stamped images. I started by stamping the sentiment and then filling around it with flowers and foliage using the Sugarplums Ink Bundle and Green Fields Ink Bundle.
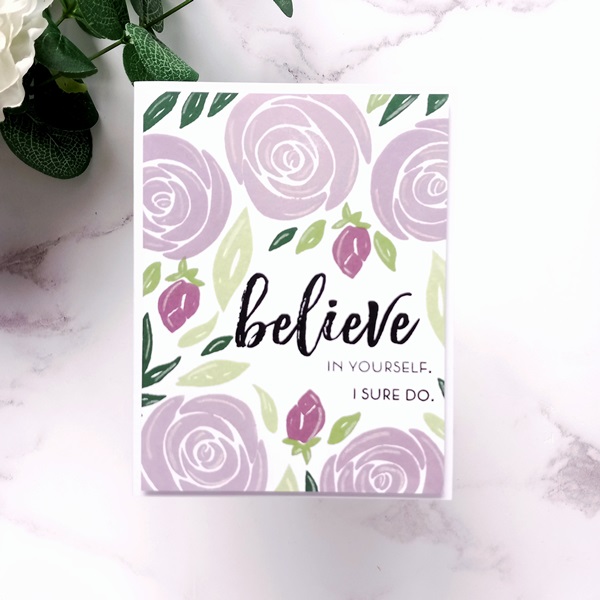
I then used a white pastel pencil to add a simple curved line to each petal and leaf. You could add more but this really is enough. I then trimmed the stmaped panel to measure 4" by 5.25" and foam mounted it on to an A2 notecard.
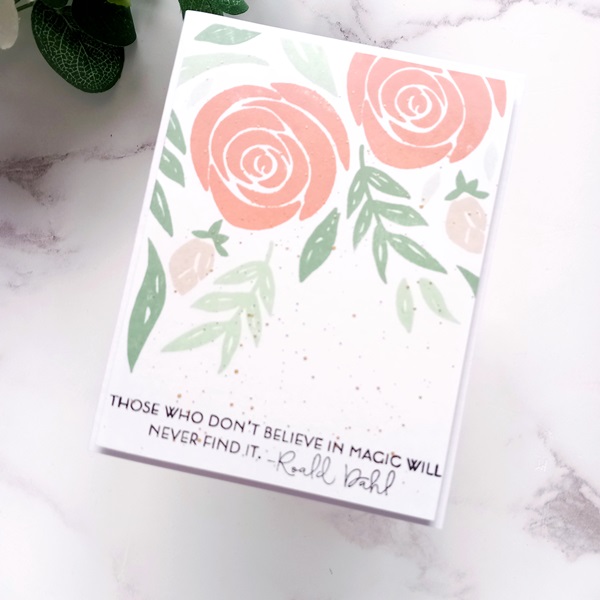
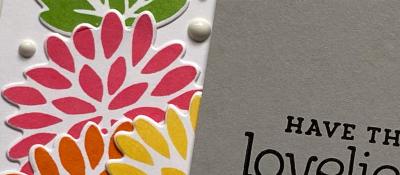
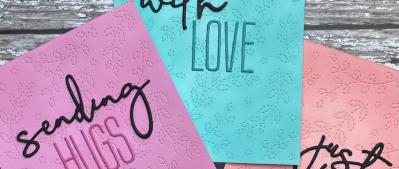
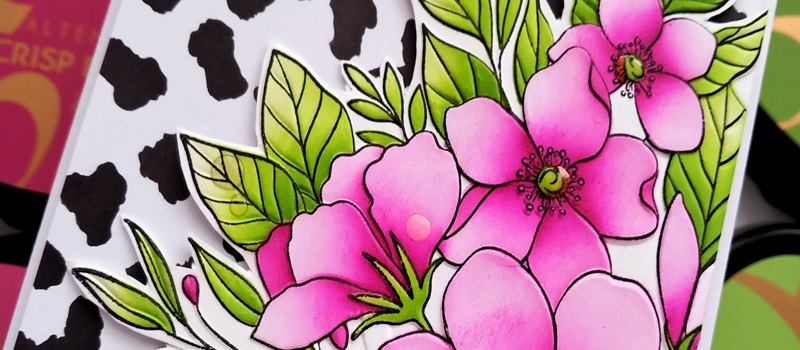
Adding Debossed Detail
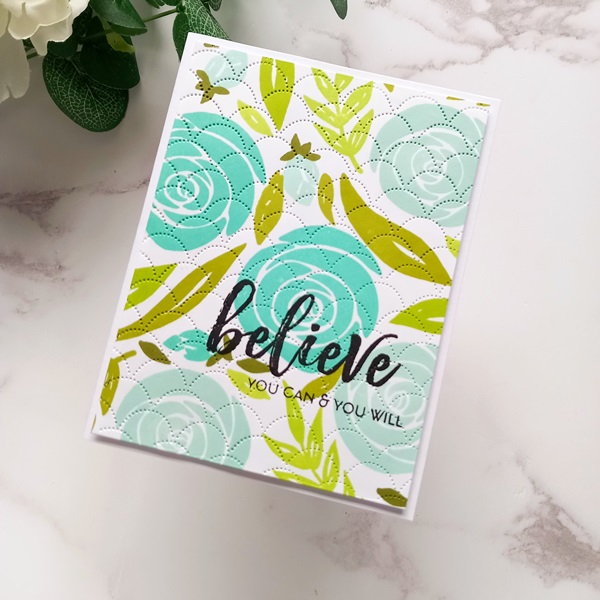
This card was actually my favorite to make. I started by stamping all of the flowers using the Sea Shore Ink Bundle and the filled in the space by stamping the leaves using the Tropical Forest Ink Bundle. Those colours are so nice together.
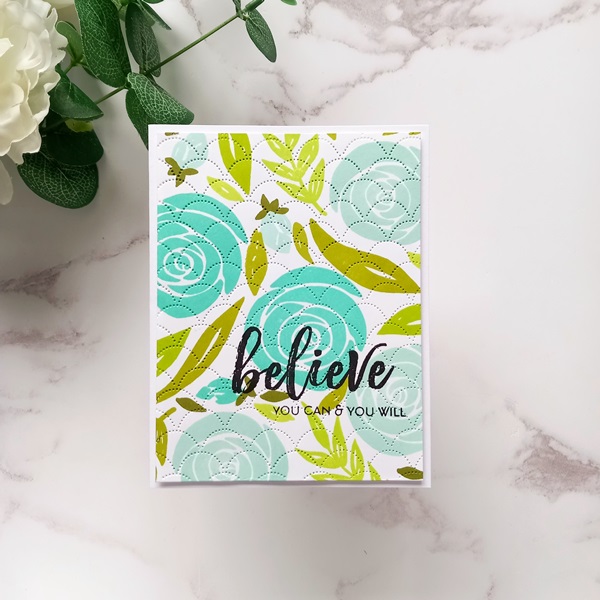
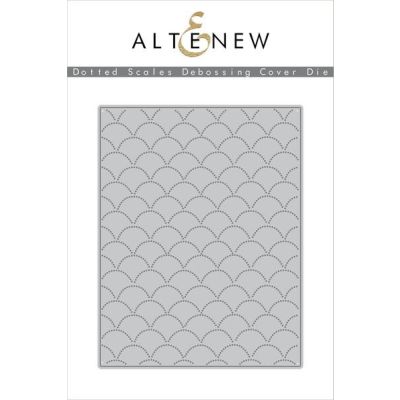
I then stamped the sentiment over the top of the images, I stamped 3 times to make sure it was nice and bold. I then ran the panel trough my die cutting machine with the Dotted Scales Debossing Cover Die. This adds a beautiful texture and lots of detail and interest to the card. I then trimmed the stmaped panel to measure 4" by 5.25" and foam mounted it on to an A2 notecard.
Each of these card took around 10mins to make, I really enjoyed making them and have so many more ideas for this stamp set in the future, including stamping it in red and green for Christmas next year.
Related Posts
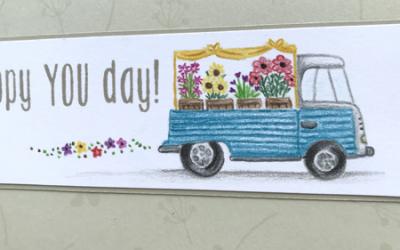
Flower Truck
09/03/2020| Posted in Pencil Colouring, Stamped Background| 356
Plant Kindness
22/03/2020| Posted in Copic Colouring| 334
Mistletoe.. but not as you know it!
13/04/2020| Posted in Die Cutting, Card Making| 1| 508

Hugs All Over
12/04/2020| Posted in Die Cutting| 418
You Are Beautiful
16/04/2020| Posted in Ink Blending, Fussy Cutting| 450
love from our home to yours
26/04/2020| Posted in Die Cutting, Stamping Techniques| 3| 583
A note of blossoms....
08/05/2020| Posted in Pencil Colouring, Stamping Techniques| 1| 523

Quick and Easy Male Gift card
12/05/2020| Posted in Ink Blending, Card Making| 1| 258
Hanging with my Gnomies
17/05/2020| Posted in Colouring Stamped Images, Pencil Colouring, Die Cutting, Ink Blending, Card Making| 565
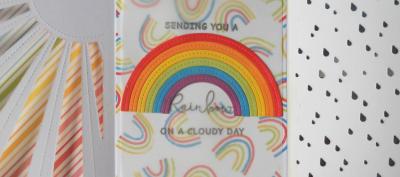
Rainbows on Cloudy Days
24/05/2020| Posted in Die Cutting, Stamping Techniques, Partial Die Cutting, turnabouts, Fancy Folds| 1| 491

Shine Like a Diamond
17/06/2020| Posted in Copic Colouring, Die Cutting, Card Making, Stamp Layering, Stamped Background, Heat Embossing| 338


For the love of pretty papers....
16/08/2020| Posted in Patterned Papers| 3| 500
Sometimes keeping it simple is best
01/09/2020| Posted in Copic Colouring, Card Making| 291
Autumn Acorns
28/09/2020| Posted in Water Colouring, Card Making| 302
Cozy Friends
19/10/2020| Posted in Die Cutting, Card Making| 479

Aloha, 3 ways to colour your stamps.
27/10/2020| Posted in Colouring Stamped Images, Copic Colouring, Pencil Colouring, Water Colouring, Card Making| 3| 396
Big and Bold Peacocks
30/10/2020| Posted in Copic Colouring, Card Making| 2| 415
Quick One-Layer Cards
04/11/2020| Posted in Stamping Techniques, Card Making| 1| 333
A Winter Scene
23/11/2020| Posted in Colouring Stamped Images, Copic Colouring, Card Making, Interactive Cards, Shaped Cards| 2| 383
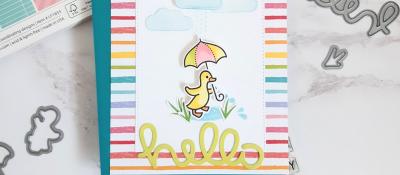
Hello on this Rainy day
24/11/2020| Posted in Copic Colouring, Die Cutting| 2| 294
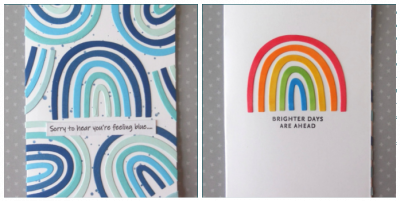
Feeling Blue
29/11/2020| Posted in Die Cutting| 2| 381
Elephantastic
25/03/2021| Posted in Colouring Stamped Images, Pencil Colouring, Card Making, Stamped Background, Masking| 2| 345

Thinking of You
23/04/2021| Posted in Pencil Colouring, Die Cutting| 1| 227
Eclectic Florals
29/04/2021| Posted in Colouring Stamped Images, Pencil Colouring, Die Cutting, Card Making, No Line Colouring, Fussy Cutting| 1| 366
More Brilliant Butterflies
12/05/2021| Posted in Die Cutting, Stamping Techniques, Card Making, Stamp Layering, Heat Embossing, Stamping| 1| 298
Amazing Butterflies
17/06/2021| Posted in Colouring Stamped Images, Copic Colouring, Die Cutting, Stamping Techniques, Card Making, Stencilling, Heat Embossing, Stamping| 307

Don't be afraid of colour!
29/06/2021| Posted in Die Cutting, Card Making| 228

Recharge with Watercolour
03/07/2021| Posted in Water Colouring, Card Making| 350
Shaking Up The World
10/07/2021| Posted in Shaker Cards| 268
So Very Proud of You
07/08/2021| Posted in Copic Colouring, Stamping Techniques| 822

Literally The Best
13/08/2021| Posted in Pencil Colouring, Die Cutting| 337
Sweater Weather!!
25/08/2021| Posted in Copic Colouring, Die Cutting, Stamping Techniques, Card Making, Stamped Background, Stamping, Embossing Folders| 414

Snow Buddies
13/09/2021| Posted in Colouring Stamped Images, Stencilling| 246
Mica Magic
12/10/2021| Posted in Stencilling| 439
Butterfly Dies
14/10/2021| Posted in Die Cutting, Card Making, Special Effects, Fancy Folds, Stamping, Clean & Simple| 1| 240
Alcohol Markers on Embossed metal
26/10/2021| Posted in Card Making, Embossing Folders| 306
All Stacked Up
27/11/2021| Posted in Copic Colouring, Card Making, Interactive Cards, Fussy Cutting, Patterned Papers, Stamping, Clean & Simple| 338
Mini Superhero
04/12/2021| Posted in Copic Colouring, Fussy Cutting| 363


Life
12/02/2022| Posted in Copic Colouring, Sketches| 300
One Layer Wonders!
17/02/2022| Posted in Ink Blending, Card Making, Stencilling, Stamping, Clean & Simple, Stencilled backgrounds| 322

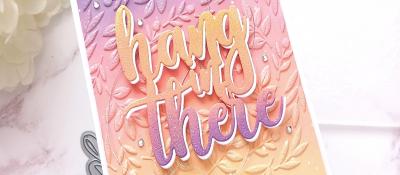
Hang in There
23/02/2022| Posted in Copic Colouring, Ink Blending, Card Making, Fussy Cutting, Clean & Simple| 429


Friends Fur-ever
25/02/2022| Posted in Copic Colouring, Card Making, Partial Die Cutting, Fussy Cutting, Stamping, Clean & Simple| 1| 302
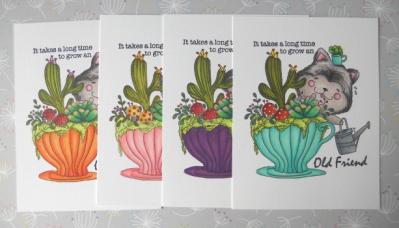
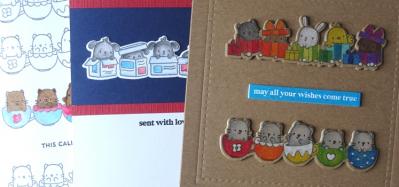
3 ways with CCC Teacups and Mice
01/03/2022| Posted in Colouring Stamped Images| 475

Hello Dear Friend
10/03/2022| Posted in Stamping Techniques, Card Making, Stamped Background, Fussy Cutting, Stamping, Clean & Simple| 233
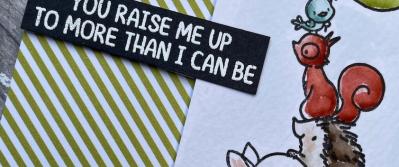
You Raise Me Up
19/03/2022| Posted in Water Colouring| 253

Dali
03/04/2022| Posted in Pencil Colouring, Gift Making| 374

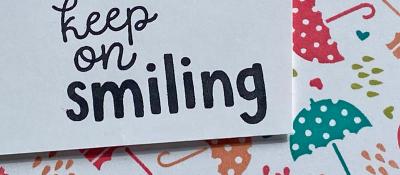
Friendship & Smiles
07/04/2022| Posted in Card Making, Stamped Background, Stamping, sentiment Focal Points, Clean & Simple| 298

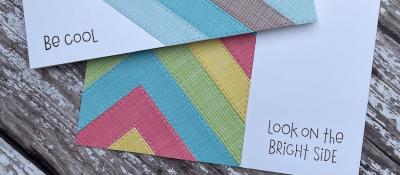
Chevron Pattern Play
23/04/2022| Posted in Paper Piecing, Card Making, Patterned Papers, Stitching/Embroidery, Clean & Simple| 381
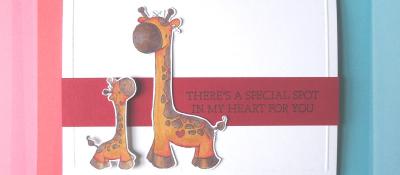
Special Spot
06/05/2022| Posted in Copic Colouring, Clean & Simple| 252
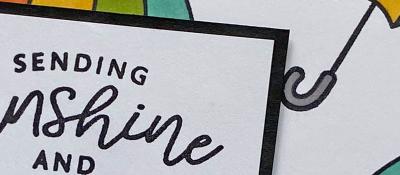
More Sunshine, Less Umbrella's - Please!
12/05/2022| Posted in Colouring Stamped Images, Copic Colouring, Stamping Techniques, Card Making, Stamped Background, Clean & Simple| 246

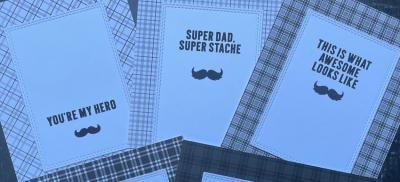
Monochrome Moustache
28/05/2022| Posted in Patterned Papers| 222

Three Little Pigs
04/06/2022| Posted in Copic Colouring, Card Making, Stamping, Clean & Simple, Clean and Simple (CAS)| 265
Magnolia Smiles
07/06/2022| Posted in Water Colouring, Stamping Techniques, Card Making, Fussy Cutting, Heat Embossing| 324

Stitched Florals
23/07/2022| Posted in Die Cutting, Card Making, Off The Page Projects, Stitching/Embroidery, Stamping, sentiment Focal Points, Clean & Simple| 449
One for the Guys & One for the Girls.
28/07/2022| Posted in Die Cutting, Card Making, Stamped Background, Stamping, Inlaid Die Cutting| 451
Pick A Pattern
25/08/2022| Posted in Stamping Techniques, Card Making, Stamping, Clean & Simple, Clean and Simple (CAS)| 300
I'll Be There
29/08/2022| Posted in Die Cutting| 263
To The Rescue
17/09/2022| Posted in Copic Colouring, Ink Blending, Stencilling with embossing paste, Fussy Cutting, Inky Backsides| 169
Reflective Florals
19/09/2022| Posted in Die Cutting, Stamping Techniques| 212

Autumnal Warm Wishes
10/11/2022| Posted in Stamping Techniques, Card Making, turnabouts, Clean & Simple, Clean and Simple (CAS)| 334

Rainbow Cheer
17/11/2022| Posted in Die Cutting, Stamping Techniques, Card Making, Stamped Background, Clean & Simple| 222
Plant A Succulent - Hugs Card
29/11/2022| Posted in Die Cutting, Card Making| 186
Fantasy Jungle
13/12/2022| Posted in Ink Blending, Card Making, Stencilling, Embossing Folders, Layering Stencils| 200
Month By Month - Part 4
22/12/2022| Posted in Die Cutting, Ink Blending, Stencilling, turnabouts, Gift Making, Layering Stencils| 357

Encouraging Notecards
06/02/2023| Posted in Die Cutting, Card Making| 1| 224
Eat, Sleep, Rink, Repeat
25/02/2023| Posted in Copic Colouring, Die Cutting| 195

Sunshine and Hugs
07/03/2023| Posted in Die Cutting, Card Making| 288

All The Thanks
23/03/2023| Posted in Stamping Techniques, Card Making| 249
Howdy Raccoon
15/04/2023| Posted in Colouring Stamped Images, Copic Colouring, Stamping Techniques, Stamped Background, Fussy Cutting, Stamping| 297
Llamas do Yoga
13/05/2023| Posted in Copic Colouring| 199
Hold on Tight
27/05/2023| Posted in Copic Colouring, Die Cutting| 221


Hey Beautiful
29/06/2023| Posted in Colouring Stamped Images, Copic Colouring, Stamping Techniques, Card Making, Heat Embossing, Clean & Simple| 174
Adventure Awaits
04/07/2023| Posted in Colouring Stamped Images, Copic Colouring, Die Cutting, Ink Blending, Card Making, Stencilling, Stamping, Stencilled backgrounds| 147


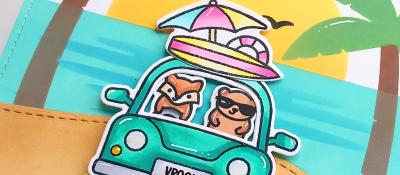
Bon Voyage
25/07/2023| Posted in Die Cutting, Ink Blending, Card Making, Stencilling, Stencilled backgrounds| 417
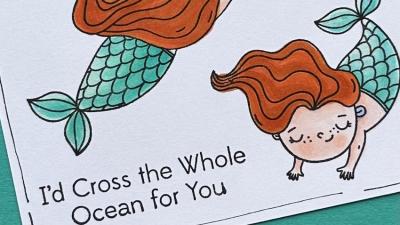
Cross the Ocean
29/07/2023| Posted in Copic Colouring| 146
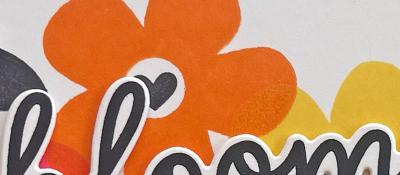
Bloomin' Wonderful!
03/08/2023| Posted in Die Cutting, Stamping Techniques, Card Making, Stamped Background, Clean & Simple| 184
Embossing Magic... 2 ways!
22/08/2023| Posted in Die Cutting, Ink Blending, Card Making, Heat Embossing, Embossing Folders| 191

Friday Feel Good Floral
25/08/2023| Posted in Ink Blending, Stencilling, Clean & Simple, Stencilled backgrounds, Stamp Wheel| 220

Autumn Vibes
25/09/2023| Posted in Die Cutting, Card Making| 263
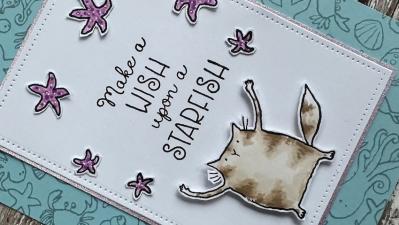
Wish Upon a Star Fish
04/11/2023| Posted in Copic Colouring, Card Making, Stamped Background, Fussy Cutting, Stamping, Sketches, Clean & Simple, Clean and Simple (CAS)| 220


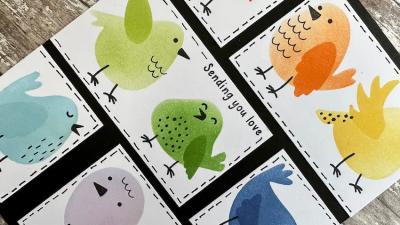
It's a Tweet Life
20/01/2024| Posted in Stencilling| 216

Pop Heart Hugs
08/02/2024| Posted in Die Cutting, Stamping Techniques, Card Making, Stamped Background, turnabouts, Stamp Wheel| 155
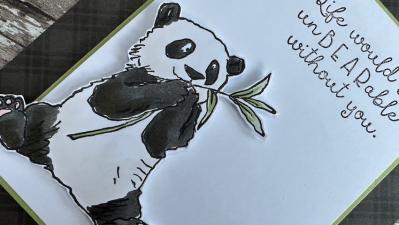
un BEAR able
10/02/2024| Posted in Colouring Stamped Images, Copic Colouring, Die Cutting, Fussy Cutting, Patterned Papers, Stamping| 215
You're Going Places...
27/02/2024| Posted in Colouring Stamped Images, Copic Colouring, Die Cutting, Ink Blending, Card Making, Stencilling, 3D| 173
I Hope You Know...
07/03/2024| Posted in Stamping Techniques, Card Making| 563
A Sweet Duo
14/03/2024| Posted in Colouring Stamped Images, Die Cutting, Stamping Techniques, Card Making, Stencilling, colouring die cuts| 192
Sweet Hello
21/03/2024| Posted in Die Cutting, Card Making, Partial Die Cutting, Stencilling, Stencilled backgrounds| 138
Sending Hugs & Snuggles
09/04/2024| Posted in Die Cutting, Ink Blending, Card Making, Stencilling, Stamping, Embossing Folders| 142
How to add dimension to your projects!
23/04/2024| Posted in Die Cutting, Ink Blending, Card Making, Stencilling, Stamping, Layering Stencils| 65
Related Products

Controversial Santas
28/08/2022

Birthday Forecast
14/02/2022

Encouraging Leaves
15/03/2021

Framed Snowdrops
22/02/2021

Birthday Blossoms
25/04/2024
Paper Bouquet Take 2
24/04/2024
How to add dimension to your projects!
23/04/2024
Cute Milkshake Card
22/04/2024