
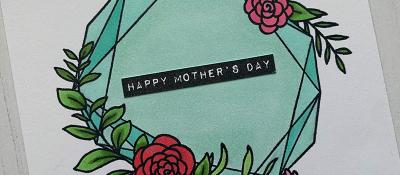
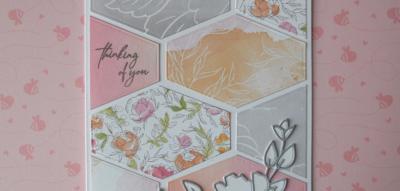
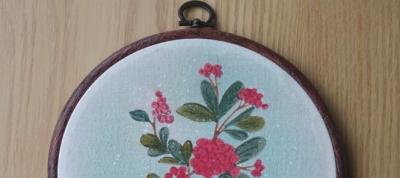
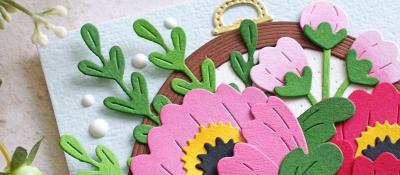
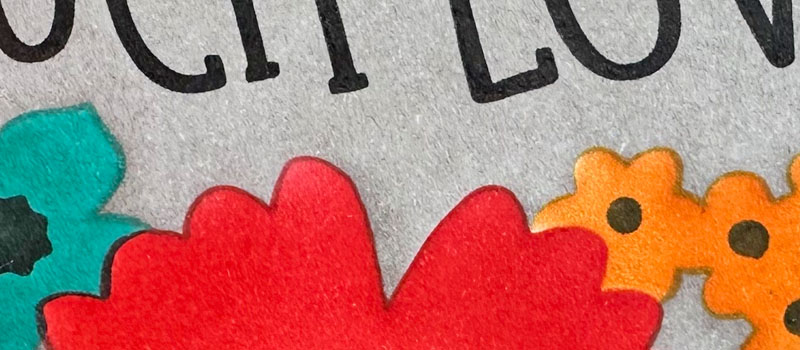
Rainbow Ranunculus Wreath


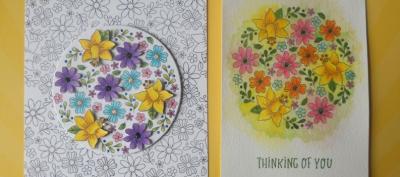
I recently took the Online Card Class Spring Card Camp Class and was really inspired by the wreath building technique Laura Bassen shared so I thought I'd give it a go. It's really easy to create a wreath on a square card, with our without a stamping plaform.
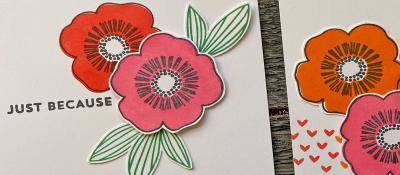
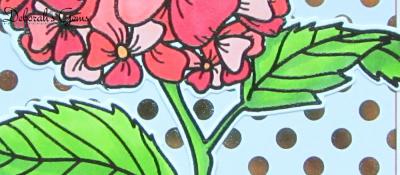
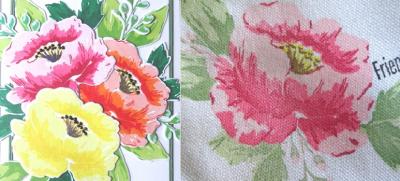
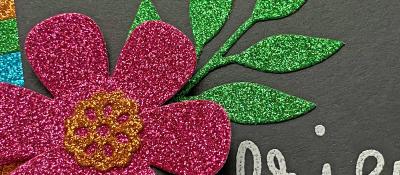
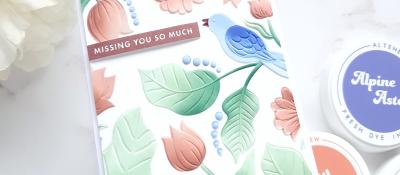
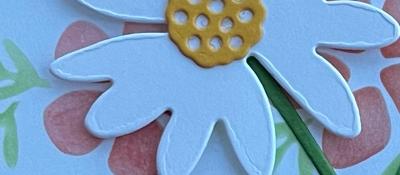
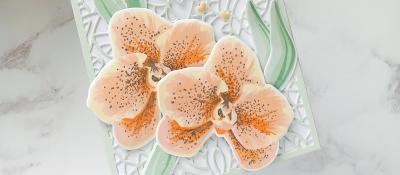
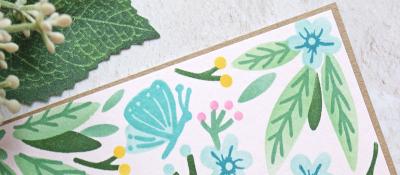
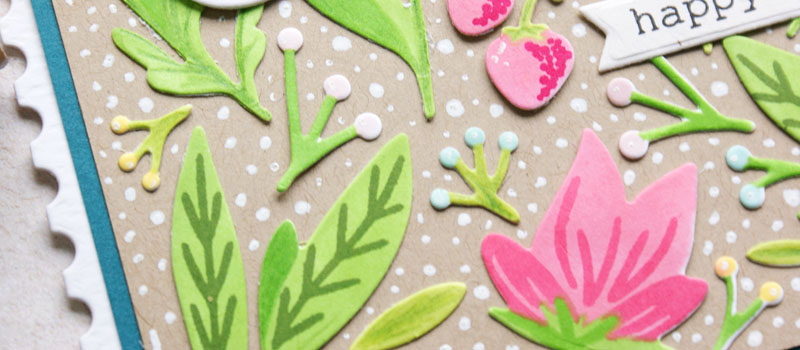
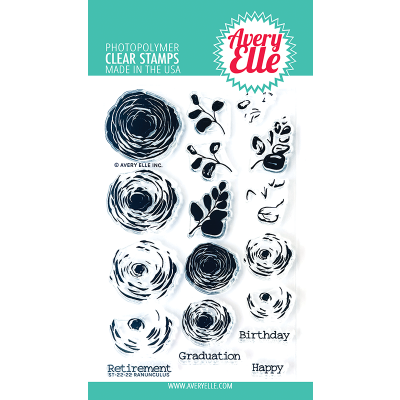
I thought the beautiful new Ranunculus layering stamp from Avery Elle was the perfect choice to create a wreath so I selected the largest flower and selected my rainbow of inks - you need 4 colours per flower and I found it easiest to pick my colours and stack them in piles of 4 so I could work down the colours from lightest for the base layer to the darkest for the top layer. I used Distress Oxides - I won't list the colours as there 34 shades! Just pick your favourite inks and colours. I missed green out of my rainbow deliberately so I could used it for the leaves. If you don't want to do a rainbow, why not pick two sets of colours and alternate as you work around the wreath.
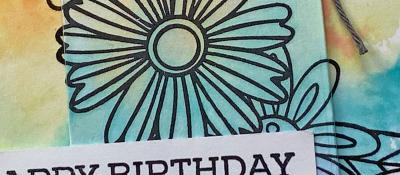
Laura showed the technique using a platform - I rarely use mine as I never have enough space on my desk to get it out and I find I'm slower with it than my blocks, but the principles of creating the wreath are the same whichever method you choose. Start with a square piece of card and draw a very light pencil line from corner to corner, and then through the middle top to bottom and left and right. You will then stamp the centre of your flower (or whatever image you want to make a wreath from - a wreath of cupcakes could be fun!) I stamped my base layers first to get all the flowers in the right place before I did the layers. Here's my "scrap" version - I dropped the block on the orange so I used it as a practice piece and I've therefore made one of the lines really dark so you can see how I line it up with a block. I used my Lawn Fawn 3.5 cm block which has a great vertical line as well as 3 horizontal ones. I popped my stamp where I wanted it without ink, and then lined up the point on the centre line of the block with the centre of the card and made sure the line on the block lined up with the line on the card. That way, when you pick up the stamp, you can ensure you are stamping at the same distance all the way around the card. This also makes lining up the layers easy - just repeat the process and it's just as easy as using a platform. If you want to use a plaform, then just leave the stamp in place and rotate your card.

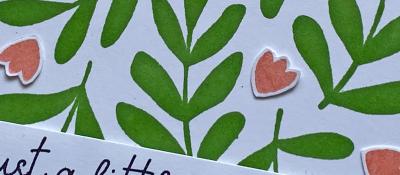
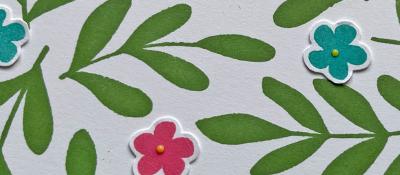
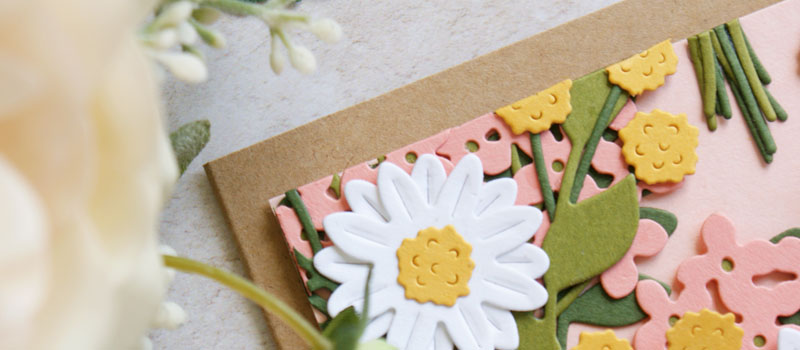
Once I'd completed the flowers, I cut two masks of the first layer of the flower so I could stamp the leaves in between each flower. I stamped both layers of one, then moved the mask on the left to the next flower around the wreath and worked my way around until all the leaves were stamped.
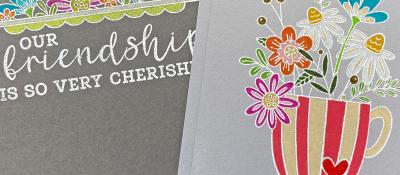
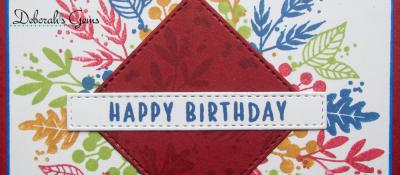
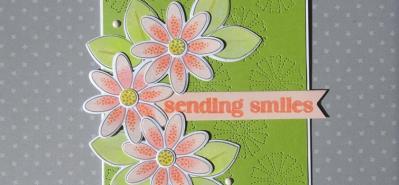
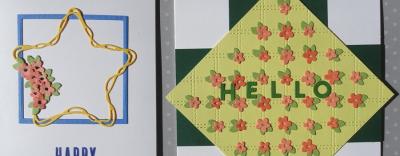
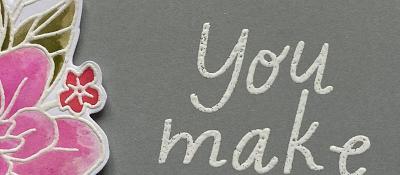
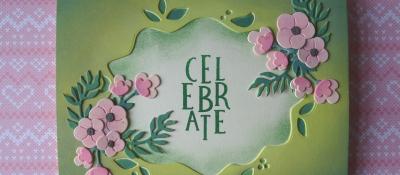
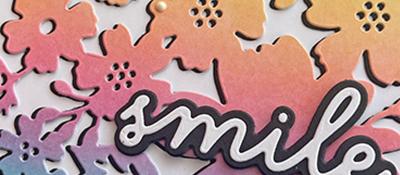
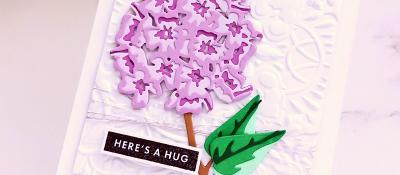
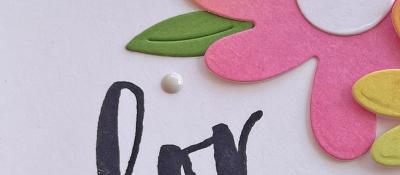
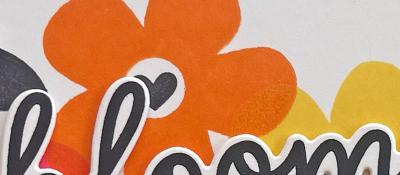
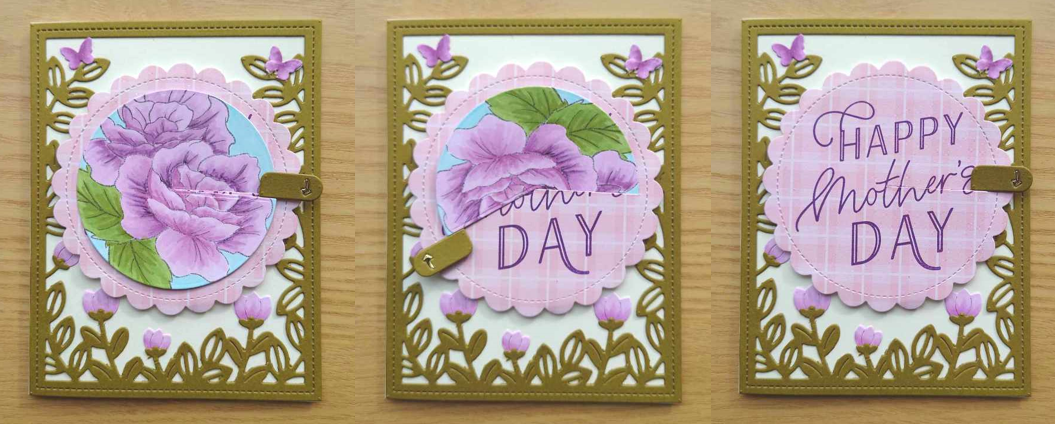
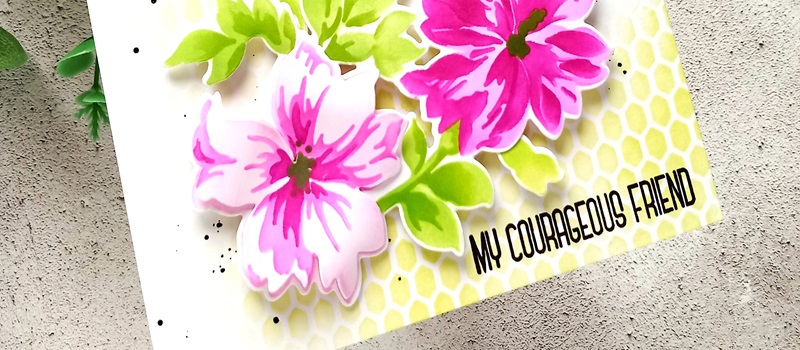
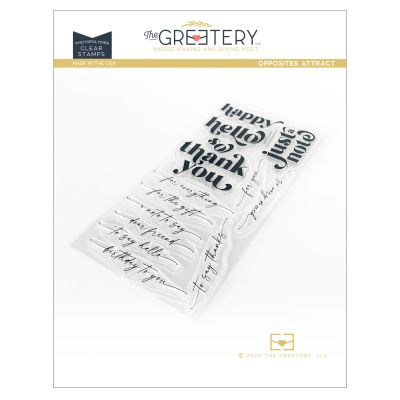
I finished with a nice bold sentiment in the centre - this one is from one of the most useful sentiment sets I own - I use it often - Opposites Attract from The Greetery - I love that you can pair the big sentiments with a smaller scripty font to make a double statement. There are dies to match both the big and scripty fonts as well as foiling dies for the big words. I popped my card panel onto a larger grey pearl base.

Hope that inspired you to get creative with wreath building - the possibilities are endless!
Happy Crafting!
Tara
22/06/2022
|
View: 239
|
Categories: Repeat Pattern Building, Masking, Wreath Building
|
Tags: Avery Elle, The Greetery
Related Posts
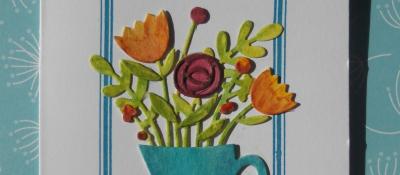
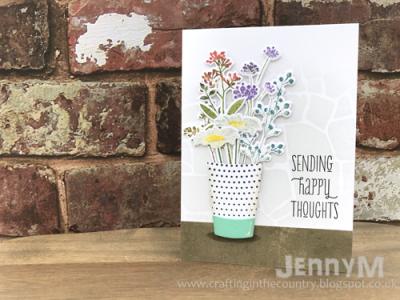
Jug of Flowers
01/03/2020| Posted in Water Colouring, Die Cutting| 1| 397


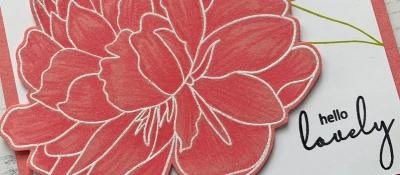
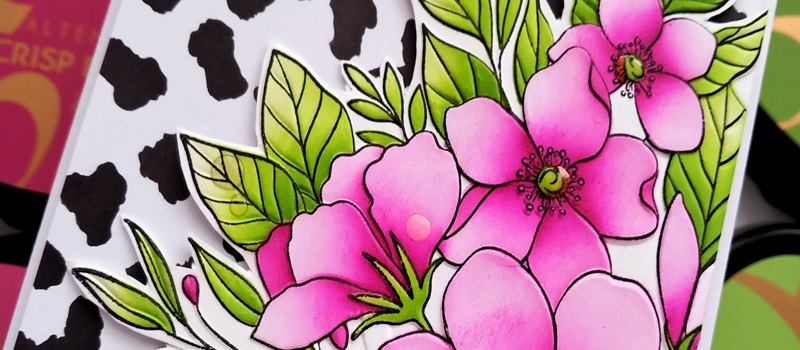
Hello Lovely
30/04/2020| Posted in Pencil Colouring, Card Making| 1| 358
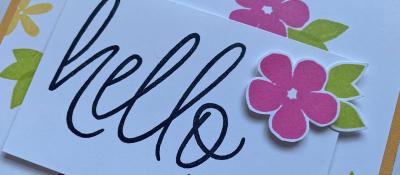
Hello Friend
07/05/2020| Posted in Card Making, Fussy Cutting| 249
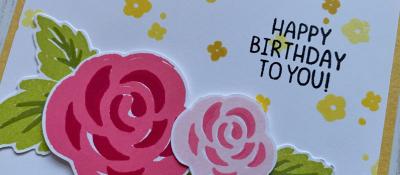
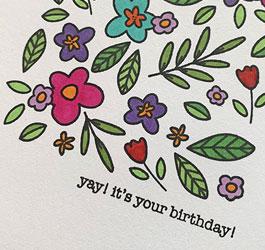
Birthday Blooms
14/05/2020| Posted in Card Making, Stamped Background| 2| 249

Bowl of Blooms
18/06/2020| Posted in Colouring Stamped Images, Card Making| 347
Distress Speckled Egg and Repeating Pattern Stamping
21/06/2020| Posted in Stamping Techniques, Repeat Pattern Building| 546
Floral Splendour
28/06/2020| Posted in Pencil Colouring| 366
Aloha Sunshine
23/07/2020| Posted in Card Making| 296
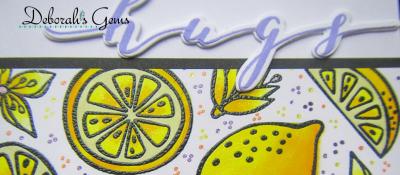
Paper Hugs
05/08/2020| Posted in Copic Colouring, Die Cutting, Ink Blending, Card Making, Stamped Background, Interactive Cards, Heat Embossing| 421
For the love of pretty papers....
16/08/2020| Posted in Patterned Papers| 3| 501

Birthday Shakers
26/08/2020| Posted in Die Cutting, Stamping Techniques, Card Making, Stamped Background, Fussy Cutting, Heat Embossing, turnabouts, Repeat Pattern Building, Stamping on non paper surfaces| 425
Colorado Craft Company Week!
25/10/2020| Posted in Water Colouring| 2| 463

Delight in the Little Things
29/10/2020| Posted in Ink Blending, Card Making| 2| 257

Friends and Christmas
18/11/2020| Posted in Stamping Techniques, Card Making, Stamp Layering, Stamped Background, Masking| 1| 380
Floral Birthdays
09/12/2020| Posted in Colouring Stamped Images, Die Cutting, Stamping Techniques, Card Making, Stamped Background, Heat Embossing| 1| 238

All the THANKS
10/12/2020| Posted in Die Cutting, Card Making| 2| 432
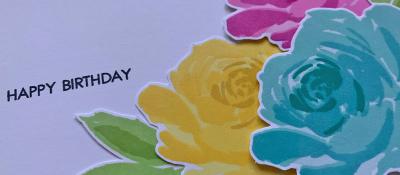
Birthday Roses
07/01/2021| Posted in Colouring Stamped Images, Copic Colouring, Card Making, Stencilling, Stamped Background| 1| 272
Magical Day
27/01/2021| Posted in Copic Colouring, Die Cutting, Card Making, Fussy Cutting, Heat Embossing| 1| 226
A Little Something...
18/02/2021| Posted in Colouring Stamped Images, Copic Colouring, Stamping Techniques, Card Making, Stencilling, Masking| 1| 266

Birthday Blooms
04/03/2021| Posted in Die Cutting, Card Making| 1| 278

A Little Note
01/04/2021| Posted in Colouring Stamped Images, Pencil Colouring, Card Making, Special Effects, Fussy Cutting| 1| 389
Hello Sunflowers
08/04/2021| Posted in Colouring Stamped Images, Pencil Colouring, Card Making, Fussy Cutting| 1| 328
Fun Fabric Guest
09/04/2021| Posted in Stamped Background, Repeat Pattern Building, Stamping on non paper surfaces, fabric, mixed media| 1| 327
Floral Fancies
25/04/2021| Posted in Off The Page Projects, Stamp Layering, Partial Die Cutting, Gift Making, Stamping on non paper surfaces| 2| 407
Eclectic Florals
29/04/2021| Posted in Colouring Stamped Images, Pencil Colouring, Die Cutting, Card Making, No Line Colouring, Fussy Cutting| 1| 366

Aloha
06/05/2021| Posted in Colouring Stamped Images, Copic Colouring, Card Making, Fussy Cutting, Stamping| 1| 282

Botanical Branches
13/05/2021| Posted in Water Colouring, Die Cutting, Stamping Techniques, Card Making, Stamped Background| 1| 314
Going Dotty!
20/05/2021| Posted in Colouring Stamped Images, Copic Colouring, Stamping Techniques, Card Making, Stamp Layering, Stamping, sentiment Focal Points| 2| 330

Cup of Friendship
10/06/2021| Posted in Colouring Stamped Images, Pencil Colouring, Stamping Techniques, Card Making, Heat Embossing, Stamping| 306


A Wreath for All Seasons
01/09/2021| Posted in Copic Colouring, Die Cutting, Card Making, Stamped Background, Fussy Cutting, Heat Embossing, turnabouts, Stamping| 464
The Season In-Between!
02/09/2021| Posted in Ink Blending, Card Making| 249

Festive One Layer
09/09/2021| Posted in Colouring Stamped Images, Copic Colouring, Stamping Techniques, Card Making, Masking, Stamping| 250


One Layer Wonders!
17/02/2022| Posted in Ink Blending, Card Making, Stencilling, Stamping, Clean & Simple, Stencilled backgrounds| 324

Getting the most from foil plates
27/02/2022| Posted in Hot Foil, Letterpress| 1| 363

Hello Dear Friend
10/03/2022| Posted in Stamping Techniques, Card Making, Stamped Background, Fussy Cutting, Stamping, Clean & Simple| 234
Ink Blending on Solid Stamps
13/03/2022| Posted in Die Cutting, Ink Blending Direct on Stamps| 688
Smooshed Blooms
17/03/2022| Posted in Colouring Stamped Images, Water Colouring, Die Cutting, Stamping Techniques, Card Making, Special Effects, Stamping, Clean & Simple| 294
Tiny Flowers
18/03/2022| Posted in Die Cutting| 300


Friendship & Smiles
07/04/2022| Posted in Card Making, Stamped Background, Stamping, sentiment Focal Points, Clean & Simple| 299
Cut, Colour, Stick.. it's as easy as 1,2,3
26/04/2022| Posted in Die Cutting, Card Making| 160
3 ways with Castle Garden Stamp Set
03/05/2022| Posted in Colouring Stamped Images, Water Colouring, Die Cutting, Card Making, Stencilling, Heat Embossing, Stamping, Embossing Folders| 361
Wildflowers and Weeds
13/05/2022| Posted in Water Colouring| 1| 363
Magnolia Smiles
07/06/2022| Posted in Water Colouring, Stamping Techniques, Card Making, Fussy Cutting, Heat Embossing| 325

Get Well Peonies
23/06/2022| Posted in Stamping Techniques, Card Making, Stamp Layering, Repeat Pattern Building, Masking| 295
Happy Hollyhocks
06/07/2022| Posted in Water Colouring, Die Cutting| 847
Floral Calendar Page
15/07/2022| Posted in Stamp Layering, Homeware/Decorations| 388
One for the Guys & One for the Girls.
28/07/2022| Posted in Die Cutting, Card Making, Stamped Background, Stamping, Inlaid Die Cutting| 454

A Mixed Media Crafternoon
07/08/2022| Posted in Die Cutting, Stencilling with embossing paste, Heat Embossing, mixed media, Hot Foil, Die Cut Felt and Fabric| 389
Pick A Pattern
25/08/2022| Posted in Stamping Techniques, Card Making, Stamping, Clean & Simple, Clean and Simple (CAS)| 302

Faux Rub-On Technique
27/11/2022| Posted in Embossing Folders| 301
Month By Month - Part 2
08/12/2022| Posted in Ink Blending, turnabouts| 225
Fantasy Jungle
13/12/2022| Posted in Ink Blending, Card Making, Stencilling, Embossing Folders, Layering Stencils| 200
Month By Month - Part 4
22/12/2022| Posted in Die Cutting, Ink Blending, Stencilling, turnabouts, Gift Making, Layering Stencils| 363

One Background - Four Ways
20/01/2023| Posted in Copic Colouring, Die Cutting, Card Making, Stamped Background, Heat Embossing, Stamping| 244
Glorious Gouache
01/02/2023| Posted in gouache painting| 280

Simple Hot Foil Background
02/02/2023| Posted in Die Cutting, Stamping Techniques, Card Making, Stamp Layering, Clean & Simple, Hot Foil| 246
Organic Cherry Blossom
08/02/2023| Posted in Die Cutting, Ink Blending| 208
Fabric that's a sweet as can bee
19/02/2023| Posted in Stencilling, fabric| 221
A Trio of Cards
24/02/2023| Posted in Copic Colouring, Card Making, Stencilling, Fussy Cutting, Stamping, Stencilled backgrounds| 329

Garden Goodness Birthday Blooms
12/04/2023| Posted in Die Cutting, Card Making, Stamp Layering, Stencilling, Layering Stencils, Stencilled backgrounds| 339
Threads Of Kindness
20/04/2023| Posted in Die Cutting, Card Making, Stencilling, mixed media, Layering Stencils, Clean & Simple| 297
Thank You Blossom
27/04/2023| Posted in Stamping Techniques, Card Making, Stamped Background, Clean and Simple (CAS)| 1| 230

Daisy Days Two Ways
10/05/2023| Posted in Die Cutting, Card Making, Stamp Layering, Stamping, sentiment Focal Points, Layering Stencils, Clean & Simple, Stencilled backgrounds, Clean and Simple (CAS)| 281

Ornate Florals
02/06/2023| Posted in Die Cutting, Faux Embossing| 181
Takes the Cake!
12/06/2023| Posted in Die Cutting, Card Making, Stamped Background, Stamping, Layering Stencils| 199

Hey Beautiful
29/06/2023| Posted in Colouring Stamped Images, Copic Colouring, Stamping Techniques, Card Making, Heat Embossing, Clean & Simple| 175
Letterpress without a Betterpress? No problem!
07/07/2023| Posted in Letterpress| 1| 424
Billowing Peonies
18/07/2023| Posted in Ink Blending, Card Making, Stencilling, Layering Stencils, Hot Foil, Stamp Wheel| 199

Bloomin' Wonderful!
03/08/2023| Posted in Die Cutting, Stamping Techniques, Card Making, Stamped Background, Clean & Simple| 185
Just for You
16/08/2023| Posted in Die Cutting, Card Making, Stamp Layering, Stamped Background, Stamping, sentiment Focal Points| 212
Picked Posies - Just for You
23/08/2023| Posted in Die Cutting, Card Making| 203
Friday Feel Good Floral
25/08/2023| Posted in Ink Blending, Stencilling, Clean & Simple, Stencilled backgrounds, Stamp Wheel| 224
Gnomes in the sunflower patch
29/09/2023| Posted in Pencil Colouring| 201


Flashback Friday Bargains - Concord and 9th
01/12/2023| Posted in Flashback Friday Bargains| 443
2024 Part One
07/12/2023| Posted in Die Cutting, Ink Blending, Stencilling, Gift Making, Stamping, Stencilled backgrounds| 149
2024 Part Two
14/12/2023| Posted in Ink Blending, Stencilling, Stamped Background, turnabouts, Gift Making, Stamping, Layering Stencils, Stencilled backgrounds, Stamp Wheel| 201
2024 Part Three
21/12/2023| Posted in Ink Blending, Stamping Techniques, Stamp Layering, Stencilling, turnabouts, Gift Making, Masking, mixed media, Wreath Building| 209
Out with the old, in with the new!
03/01/2024| Posted in Card Making, sentiment Focal Points| 170
Hello 2024
04/01/2024| Posted in Card Making, Stencilling, Layering Stencils, Clean & Simple, Clean and Simple (CAS)| 156
More than Merry Sprigs
10/01/2024| Posted in Stamping Techniques, Card Making, Stamp Layering, Stamped Background, Stamping| 158

Metallic Magic: Crafting a Dramatic Black Floral Card
29/01/2024| Posted in Water Colouring, Die Cutting, Stamping Techniques, Card Making, Flashback Friday Bargains| 184
Endless Creativity: A Repeatable Card Design Gem!
05/02/2024| Posted in Copic Colouring, Card Making, Stencilling, Fussy Cutting, Stamping, Embossing Folders, Flashback Friday Bargains| 179
Garden Goodness
07/02/2024| Posted in Card Making, Stamp Layering, Stencilling, Layering Stencils, Clean & Simple, Stencilled backgrounds, Clean and Simple (CAS)| 185
Mother's Day Whirl
03/03/2024| Posted in Copic Colouring, Interactive Cards| 476
I Hope You Know...
07/03/2024| Posted in Stamping Techniques, Card Making| 565
A Sweet Duo
14/03/2024| Posted in Colouring Stamped Images, Die Cutting, Stamping Techniques, Card Making, Stencilling, colouring die cuts| 196
One panel two ways
17/03/2024| Posted in Die Cutting| 213

Primrose Garden Greetings
20/03/2024| Posted in Die Cutting, Card Making| 232
Sweet Hello
21/03/2024| Posted in Die Cutting, Card Making, Partial Die Cutting, Stencilling, Stencilled backgrounds| 146
A Basket Full of Care
24/03/2024| Posted in Die Cutting| 198
Letterpressing Hotfoils
31/03/2024| Posted in Letterpress| 161

Flashback Friday Bargains - Leaves and Flowers
05/04/2024| Posted in Flashback Friday Bargains| 511
Sending Hugs & Snuggles
09/04/2024| Posted in Die Cutting, Ink Blending, Card Making, Stencilling, Stamping, Embossing Folders| 147
Bouquet Wishes
10/04/2024| Posted in Die Cutting, Card Making| 156


Birthdays and Backgrounds
14/04/2024| Posted in Die Cutting| 187

Paper Bouquet
17/04/2024| Posted in Die Cutting, Card Making| 127
Paper Bouquet Take 2
24/04/2024| Posted in Die Cutting, Card Making| 131
How to add dimension to your projects!
23/04/2024| Posted in Die Cutting, Ink Blending, Card Making, Stencilling, Stamping, Layering Stencils| 94
Related Products

Controversial Santas
28/08/2022

Birthday Forecast
14/02/2022

Encouraging Leaves
15/03/2021

Framed Snowdrops
22/02/2021

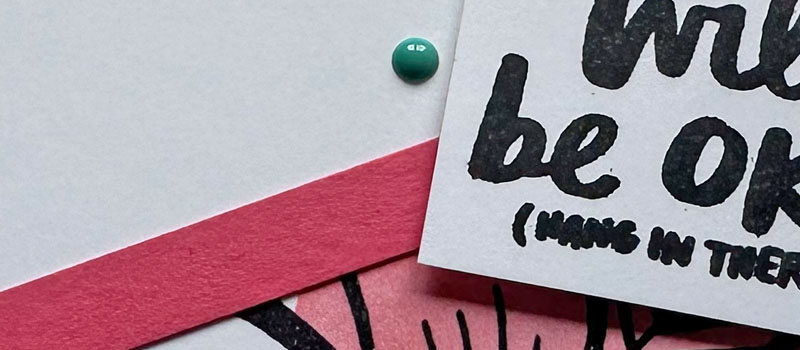
It Will Be Ok
02/05/2024
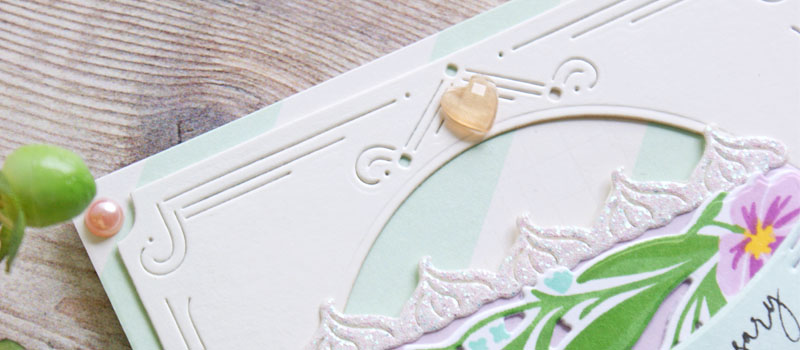
Floral Anniversary Wishes
01/05/2024
Congratulations!
30/04/2024
Flowers - The Language of Love
29/04/2024
Sky High Birthday Balloons and Store News
28/04/2024