Letterpressing Hotfoils

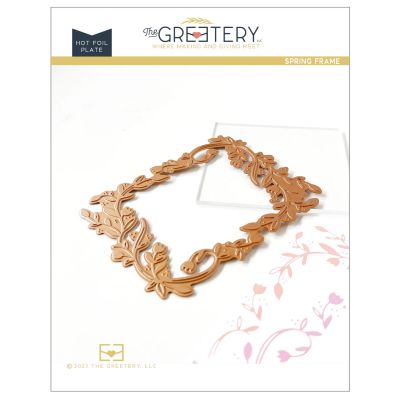
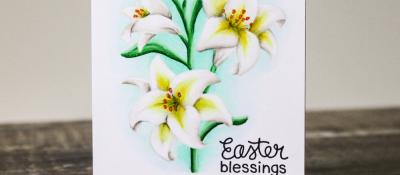
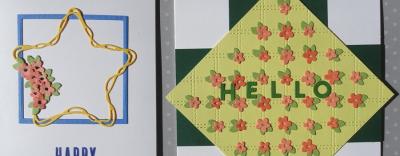
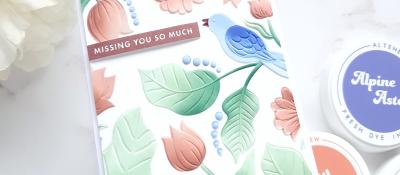
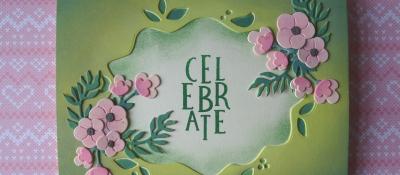
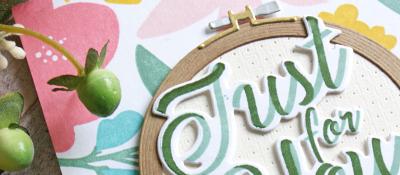
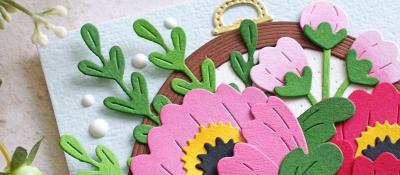
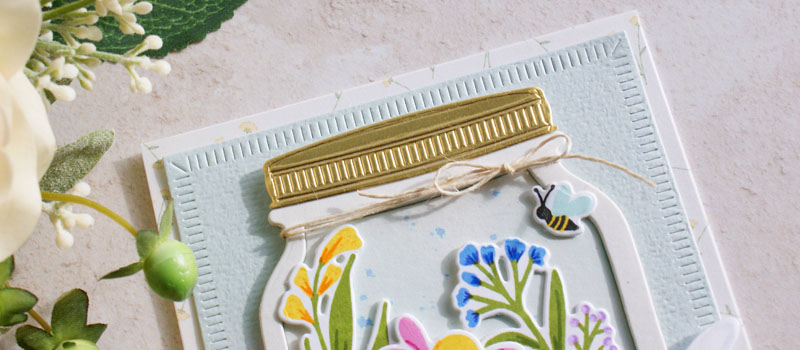
I really love the new fancy hotfoil plate from The Greetery - the spring frame is really pretty and fine detailed so will be lovely to frame lots of designs. I wanted to foil it today but I ran out of time to get the foiler out as we've family for Easter lunch. So instead I thought I'd show how it can be used to create a letterpress frame too (foiling to follow soon with a video as I have tips to share for foil frustrations!)
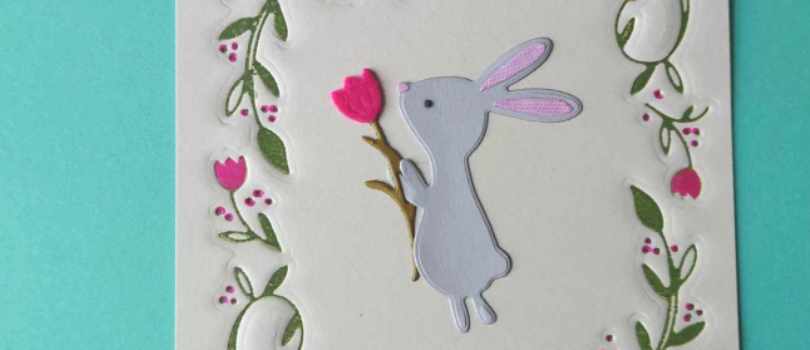
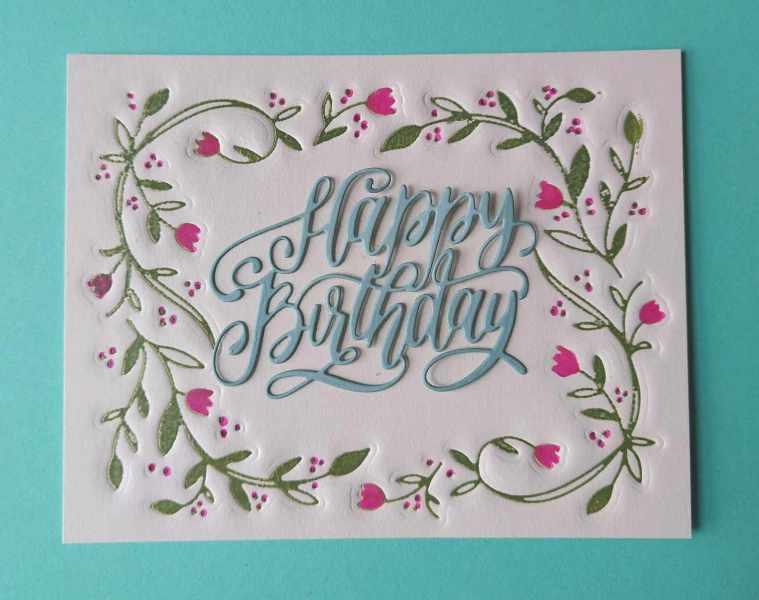
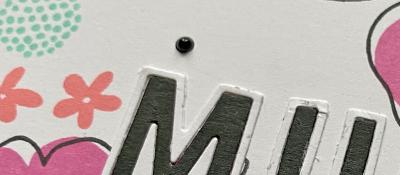
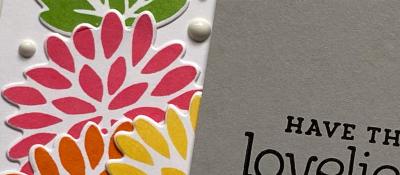
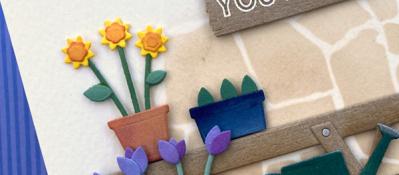
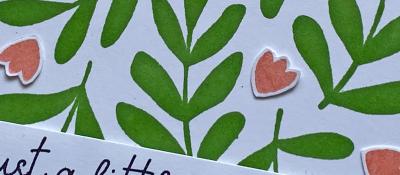
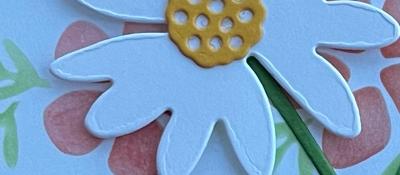
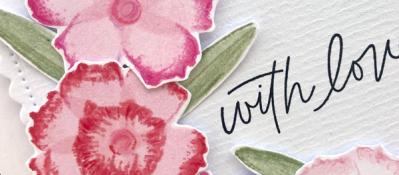
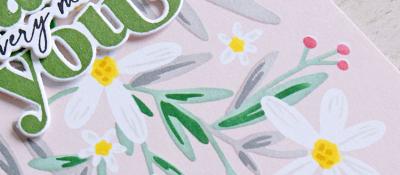
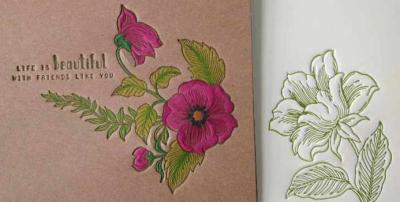
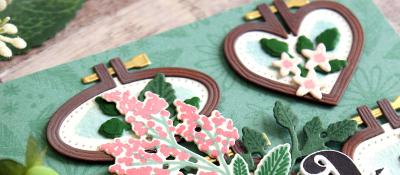
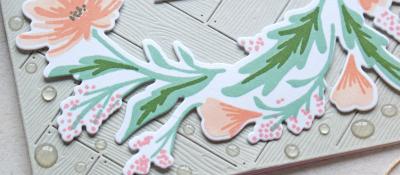
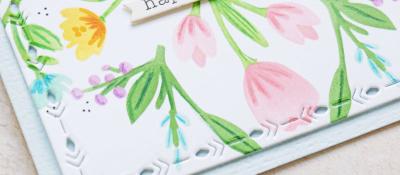
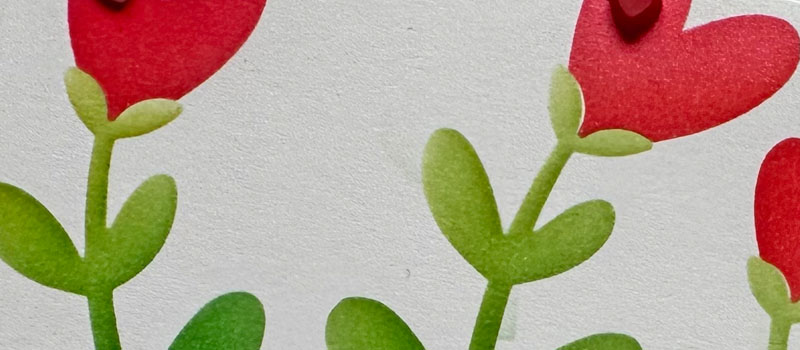
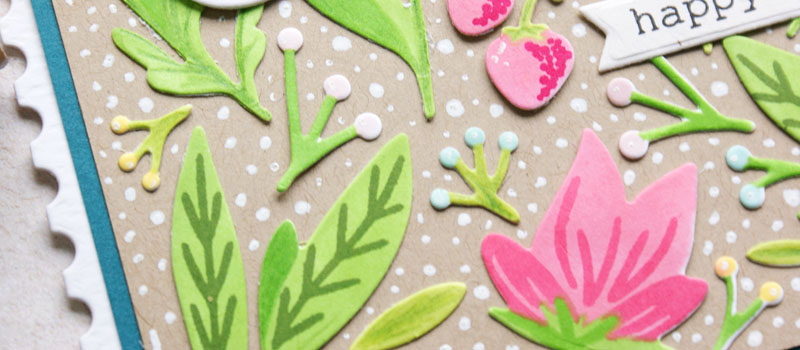
You can do letterpress techniques with press plates and hotfoil plates with either an embossing mat or crease plate in your die cut machine. The new and improved foil plates from The Greetery are thicker than some other brands so whereas I've shown over on our YouTube channel how to use a crease plate to letterpress, with this plate I found it was a bit too much and the plate pierced the paper. So for this version I used my embossing mat with an extra cardboard shim and found that to have just enough pressure that way to get a detailed impression. I used versafine clair ink in green to cover the whole plate, then used a cue-tip to remove the ink from the tulips so I could colour them in after. I then ran it through my big shot and trimmed the panel to fit my card after.
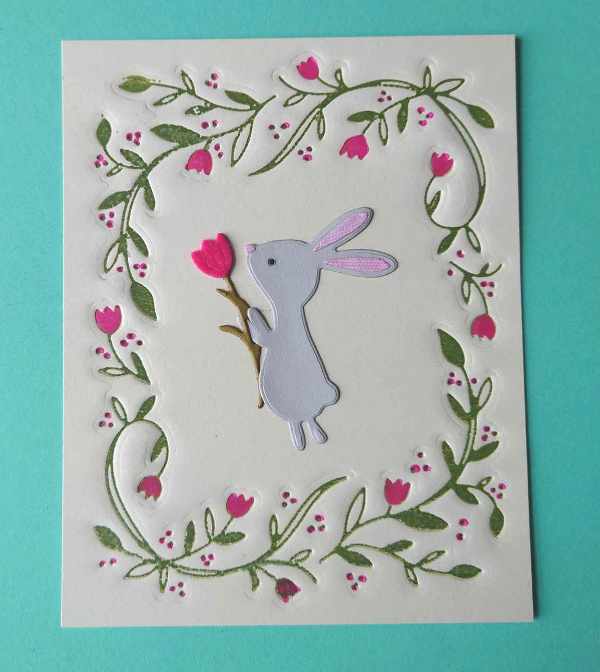
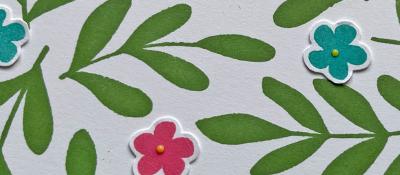
You get nice debossed designs this way. You could go back in with a second ink colour if preferred before making the pass but I found it quicker to colour with a copic on this version. I over coloured the dots in the same pink too.
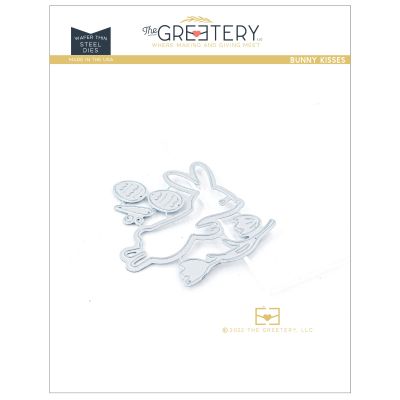
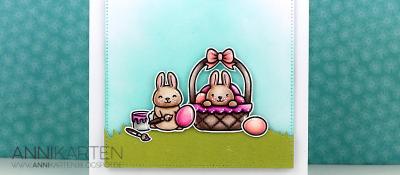
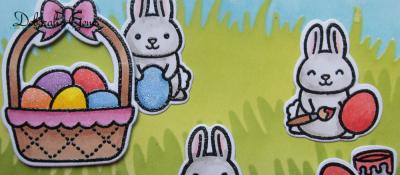
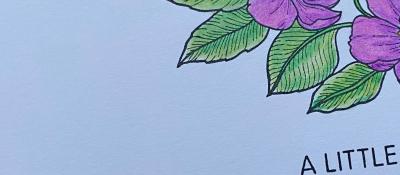
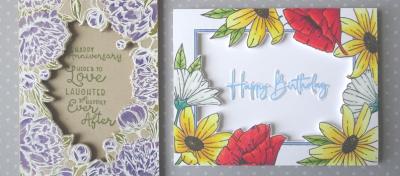
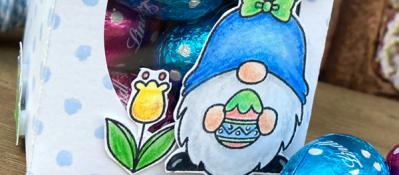
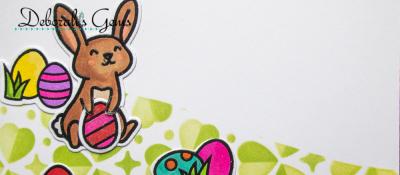
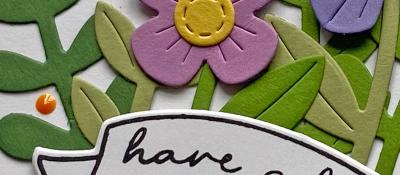
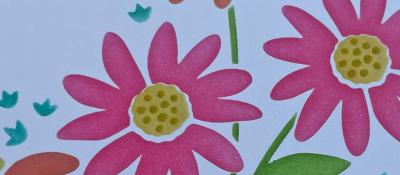
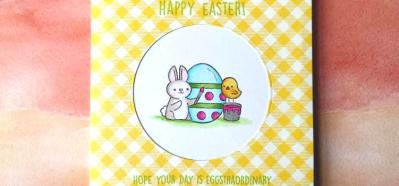
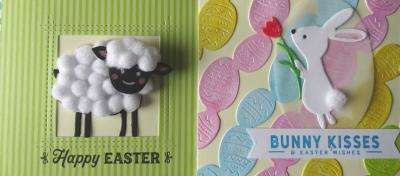
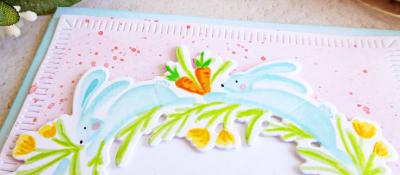
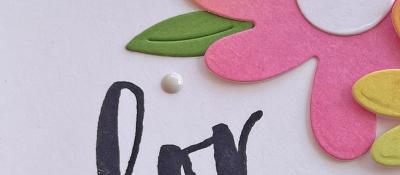
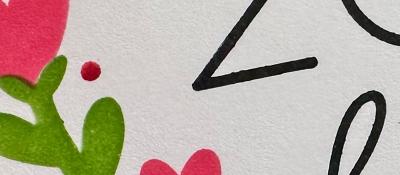
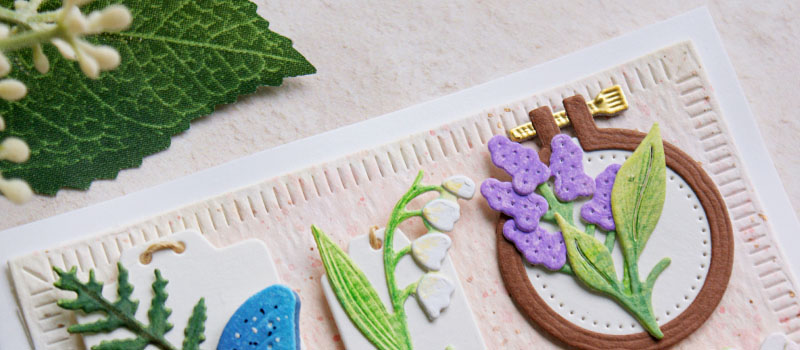
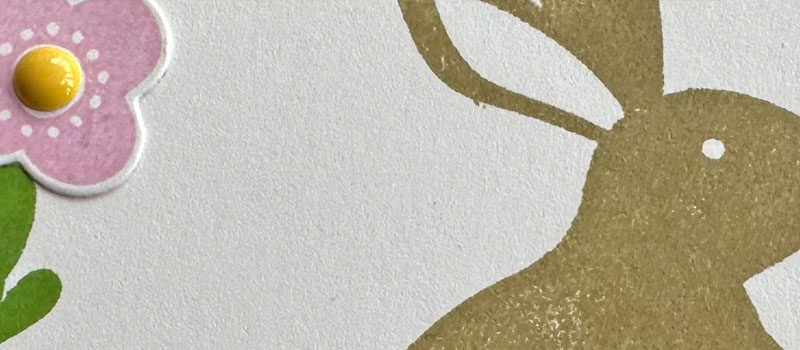
I thought, it being Easter, I'd add the bunny from Bunny Kisses die in the middle - and one of the things he can hold is a very similar tulip. I left it blank as even though he's easter-ish, I think a bunny holding a flower could work for get well or sending love too.
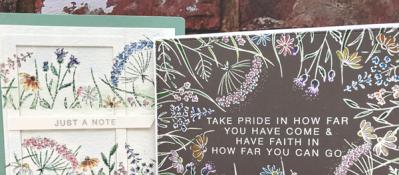
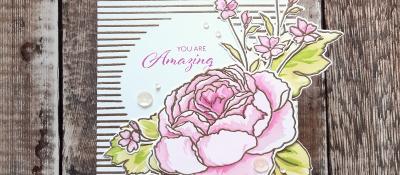
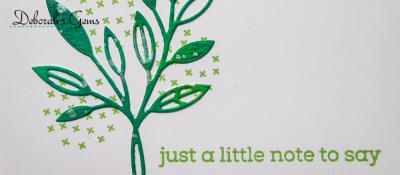
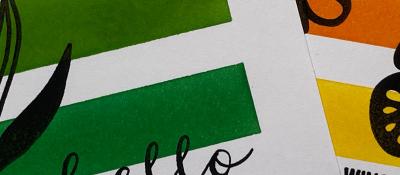
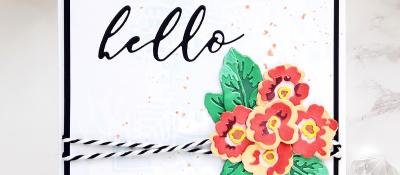
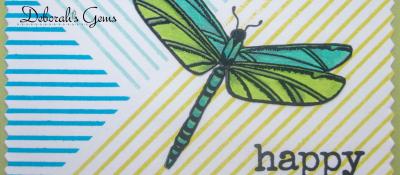
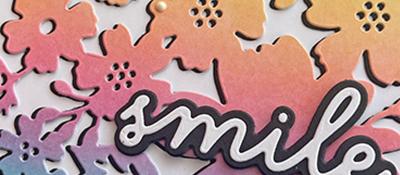
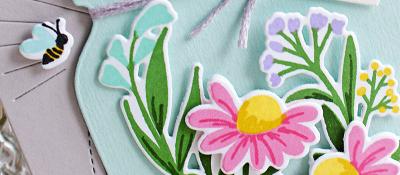
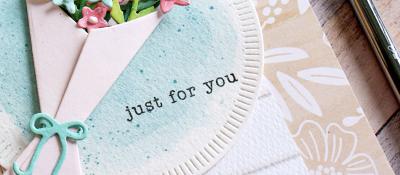
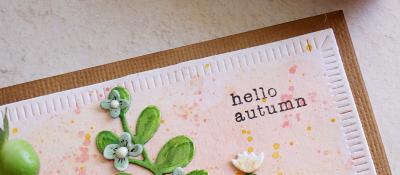
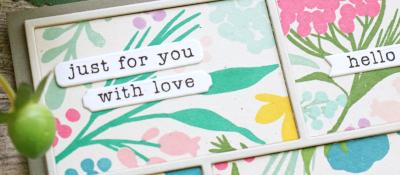
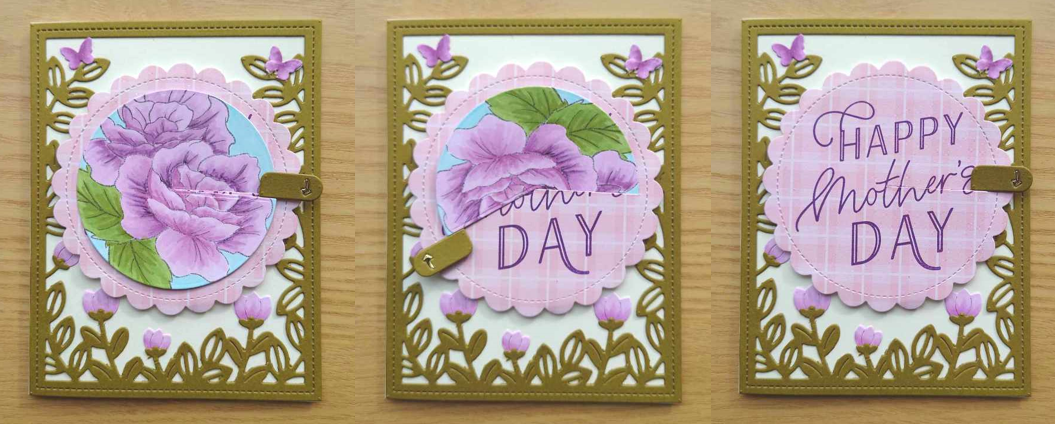
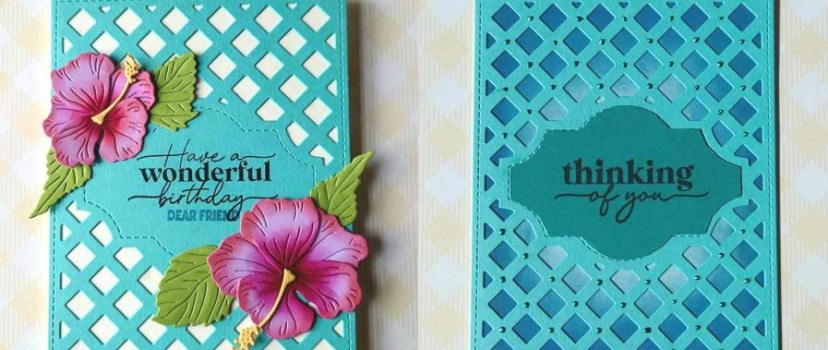
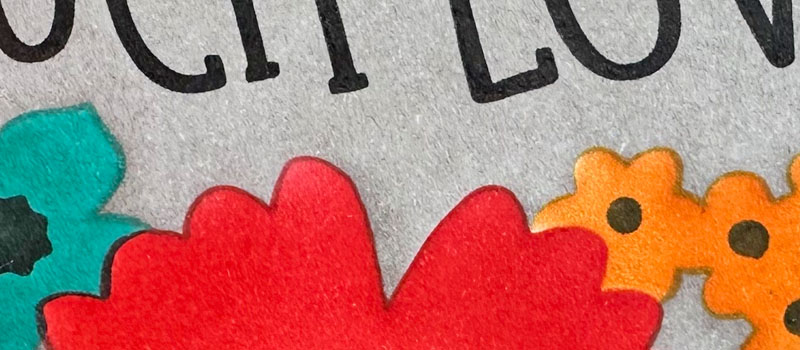
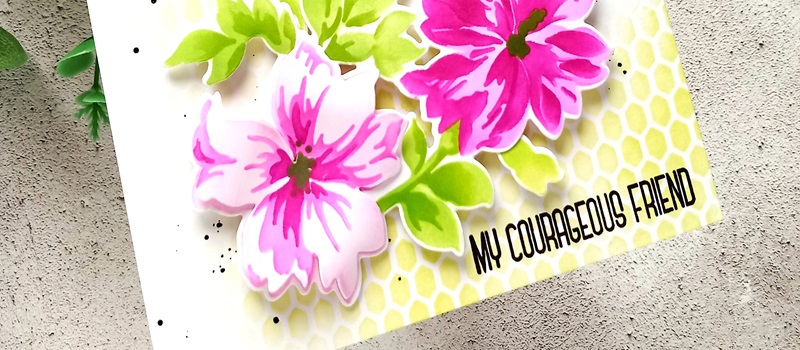
The frame is really detailed so you don't need much, here's the same frame turned on its side with a simple die cut sentiment in the middle.
That's all for now.
Happy Easter
Tara x
Related Posts
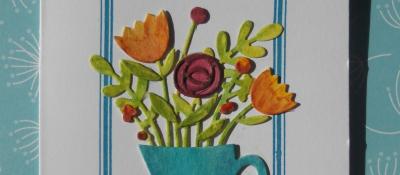
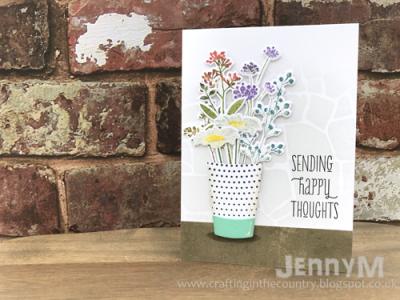
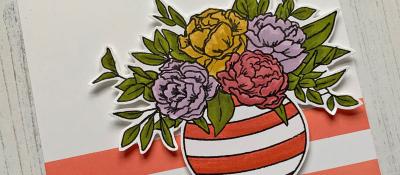
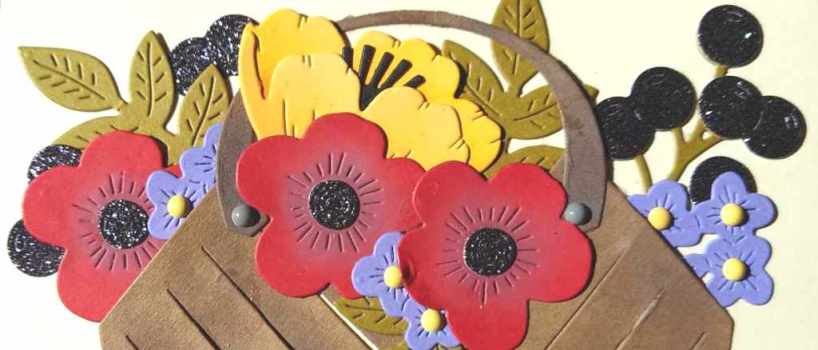
Jug of Flowers


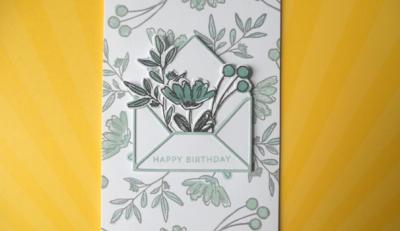
Hello Lovely
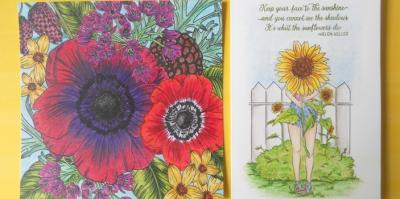
Hello Friend
Birthday Blooms
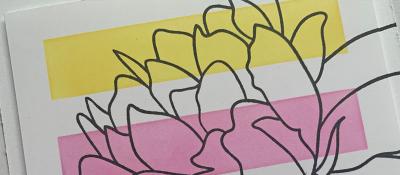
Bowl of Blooms
Distress Speckled Egg and Repeating Pattern Stamping
Floral Splendour
Aloha Sunshine
Paper Hugs
For the love of pretty papers....

Birthday Shakers
Colorado Craft Company Week!

Delight in the Little Things

Friends and Christmas
Floral Birthdays

All the THANKS
Birthday Roses
Magical Day
A Little Something...

Easter Bunnies
Birthday Blooms
Happy Easter!
A Little Note
Easter Lilies
Hello Sunflowers
Fun Fabric Guest
Floral Fancies
Eclectic Florals

Aloha

Botanical Branches

Going Dotty!
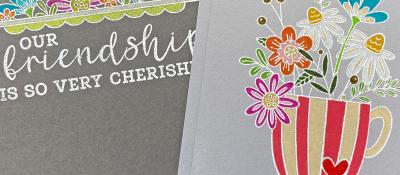
Cup of Friendship

A Wreath for All Seasons
The Season In-Between!
Festive One Layer


One Layer Wonders!

Getting the most from foil plates

Hello Dear Friend
Ink Blending on Solid Stamps
Smooshed Blooms
Tiny Flowers
Spring Gnomes

Friendship & Smiles
Cut, Colour, Stick.. it's as easy as 1,2,3
3 ways with Castle Garden Stamp Set
Wildflowers and Weeds
Magnolia Smiles

Get Well Peonies
Happy Hollyhocks
Floral Calendar Page
One for the Guys & One for the Girls.

A Mixed Media Crafternoon
Pick A Pattern

Faux Rub-On Technique
Month By Month - Part 2
Fantasy Jungle
Month By Month - Part 4

One Background - Four Ways
Glorious Gouache

Simple Hot Foil Background
Organic Cherry Blossom
Fabric that's a sweet as can bee
A Trio of Cards
Lawn Fawn Spring Release is Here!
Easter Animals
Easter Chicks
Hippity-Hoppity Happy Easter
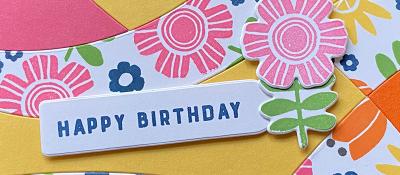
Garden Goodness Birthday Blooms
Threads Of Kindness
Thank You Blossom

Daisy Days Two Ways

Ornate Florals
Takes the Cake!

Hey Beautiful
Letterpress without a Betterpress? No problem!
Billowing Peonies

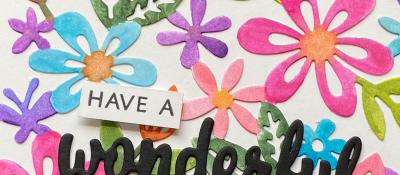
Bloomin' Wonderful!
Just for You
Picked Posies - Just for You

Friday Feel Good Floral
Gnomes in the sunflower patch


Flashback Friday Bargains - Concord and 9th

2024 Part One
2024 Part Two
2024 Part Three
Out with the old, in with the new!
Hello 2024
More than Merry Sprigs

Metallic Magic: Crafting a Dramatic Black Floral Card
Endless Creativity: A Repeatable Card Design Gem!
Garden Goodness
Mother's Day Whirl
I Hope You Know...
A Sweet Duo
One panel two ways

Primrose Garden Greetings
Sweet Hello
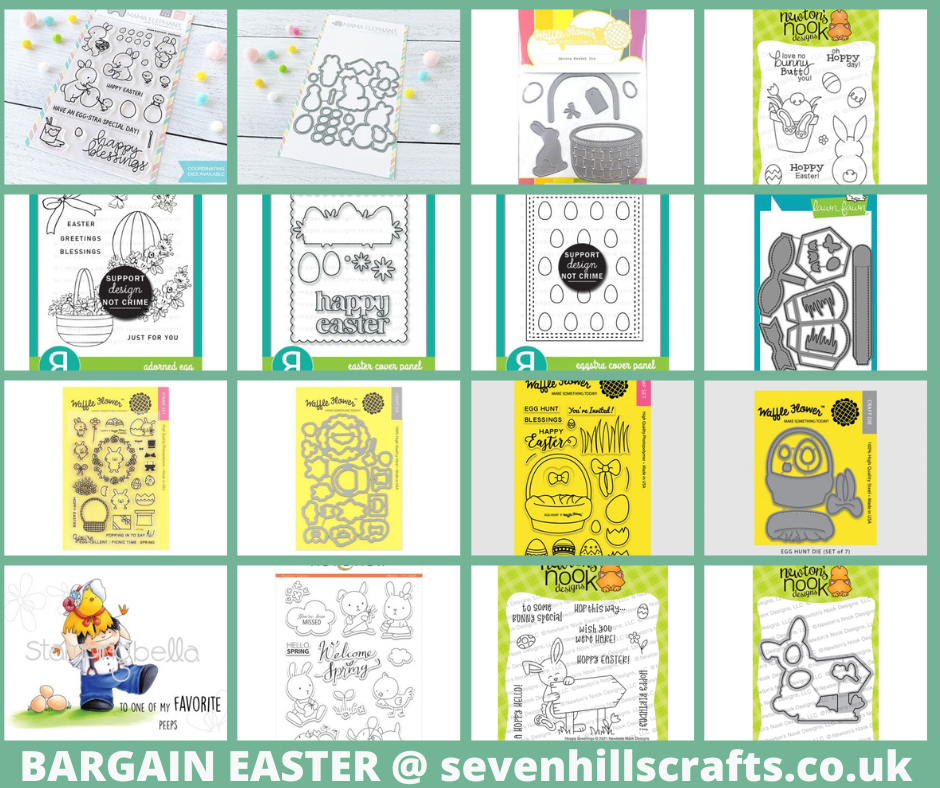
Flashback Friday Bargains - Easter
A Basket Full of Care

Flashback Friday Bargains - Leaves and Flowers
Sending Hugs & Snuggles
Bouquet Wishes


Birthdays and Backgrounds

Paper Bouquet
Paper Bouquet Take 2
How to add dimension to your projects!
Related Products