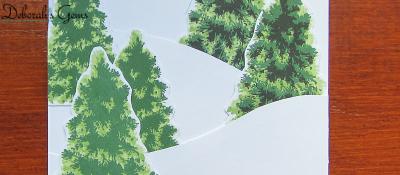
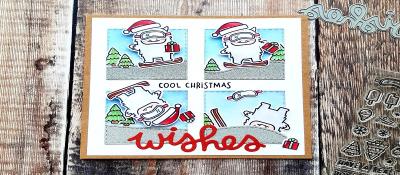
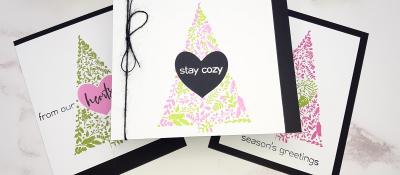
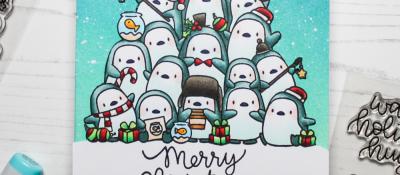
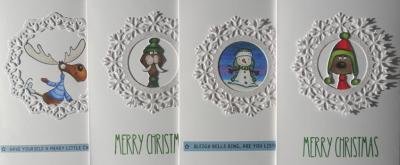
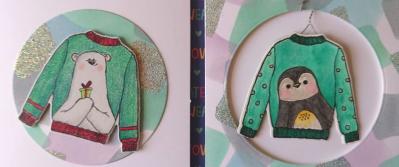
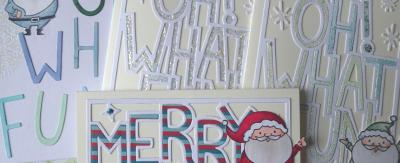
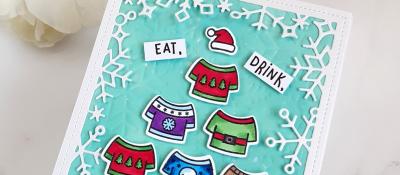
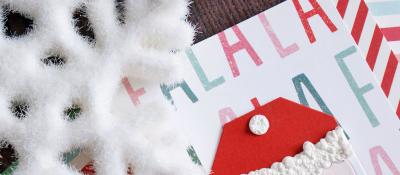
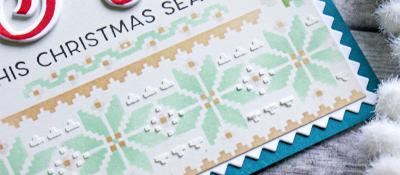
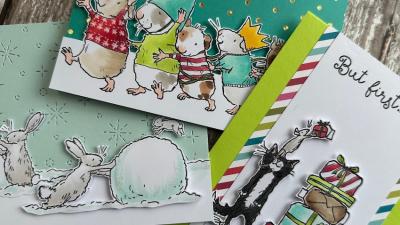
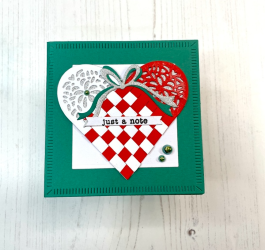
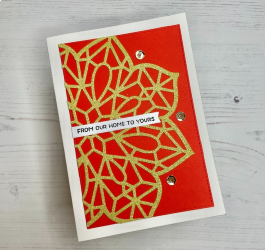
Grid Pattern Card


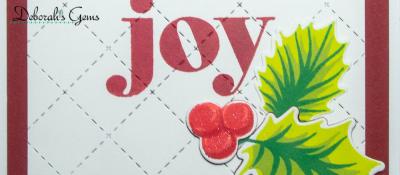
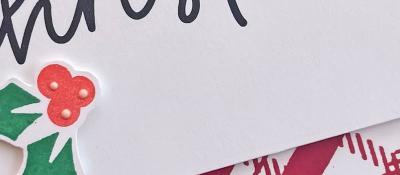
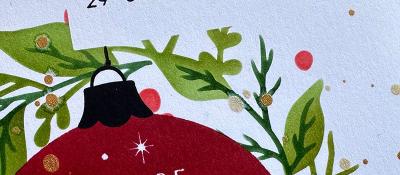
Hey there, with just over 12 weeks till the big day, I thought another christmas card was in order. I've been a bit slow with them this year so wanted to use a tried and tested technique that I could batch make if i'm pushed for time and inspiration. That's where the Grid Pattern comes in, Basically you line up your images/die cuts in a grid. It's easy and always looks good.
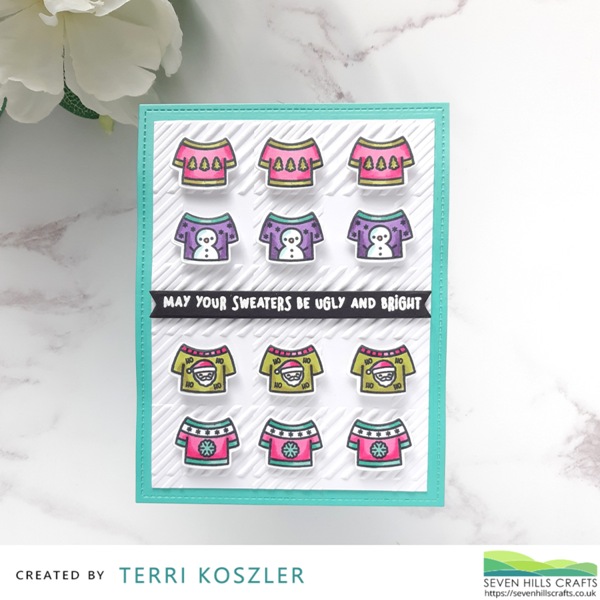
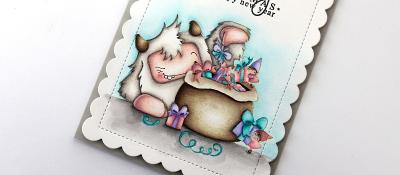
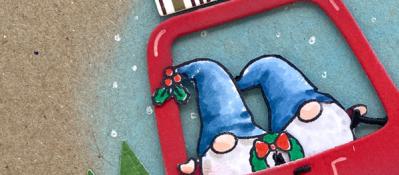
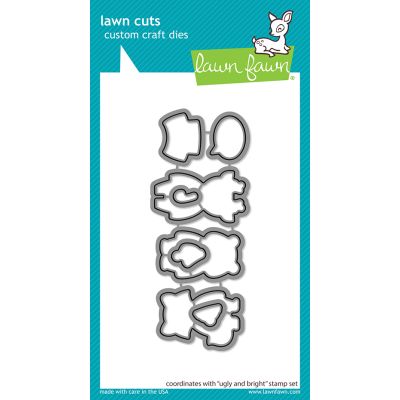
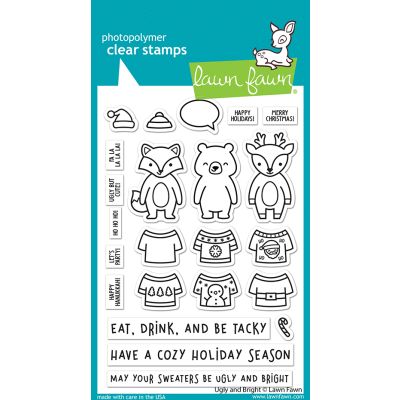
I will be using the Ugly and Bright Stamp and Die Set from Lawn Fawn. I just love ow adorbale the images are, and as they are small it's easy and quick colouring! I stamped out 3 of each of my chosen Jumpers and coloured them using non traditional Christmas colours. I then cut them with the matching die.
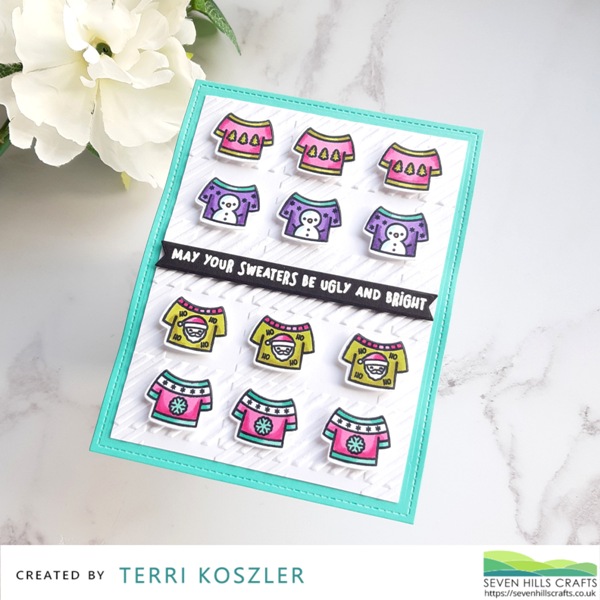
I cut a piece of Teal card using a large Stitched Rectangle, I then embossed a piece of white card using the Buffalo Plaid 3D embossing folder. I then trimmed this to measure 9.5 by 13cm. I always cut embossed card to size after embossing as the pattern can warp the dimensions of the cardstock and you end up with wonky panels.
I adhered the embossed panel to the teal rectangle and then set about working on the sentiment. I chose to white heat emboss onto black card using Lawn Fawn's White Embossing Powder. I then used a Pretext Banner Die to cut it. All that was left to do was add all the elements to the embossed panel.
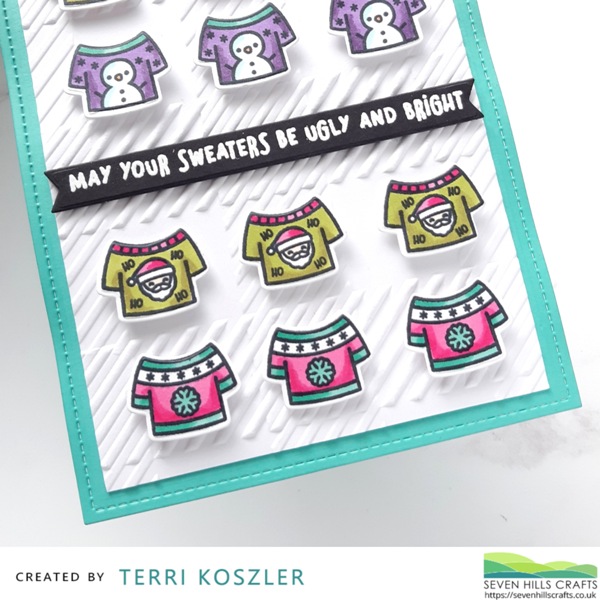
I started by adding the sentiment banner in the centre of the card using black foam tape. I then decided on the order of the images, as two sets were mainly pink I decided to keep them apart by placing them at the top and bottom. I started by adding the centre images and the added the ones to either side, this helps to keep them spaced evenly. I also chose to use silicone glue for this, it gives height, wiggle time and works well on the embossed bakground.
27/09/2022
|
View: 506
|
Categories: Colouring Stamped Images, Die Cutting, Card Making
|
Tags: Altenew, Lawn Fawn, The Greetery
Related Posts


Shine Like a Diamond
17/06/2020| Posted in Copic Colouring, Die Cutting, Card Making, Stamp Layering, Stamped Background, Heat Embossing| 338

Retro Christmas
01/07/2020| Posted in Copic Colouring, Die Cutting, Card Making, Stamped Background, Heat Embossing| 256
Xmas in July: Hey Winter
03/07/2020| Posted in Copic Colouring, Card Making| 426

Snowflake Flurry
15/07/2020| Posted in Card Making| 290
Christmas Cards
20/08/2020| Posted in Copic Colouring, Die Cutting, Card Making, Stamped Background, Heat Embossing| 235
Merry, Bright & Joyful!
19/08/2020| Posted in Card Making| 293

Birthday Shakers
26/08/2020| Posted in Die Cutting, Stamping Techniques, Card Making, Stamped Background, Fussy Cutting, Heat Embossing, turnabouts, Repeat Pattern Building, Stamping on non paper surfaces| 421
A Baubling Merry Christmas
07/09/2020| Posted in Die Cutting, Heat Embossing| 582
Holly, but no ivy ..
09/09/2020| Posted in Colouring Stamped Images, Copic Colouring, Water Colouring, Paper Piecing, Card Making| 1| 481
Lawn Fawn is Live!
10/09/2020| Posted in Pencil Colouring| 661

Let it Snow!
11/09/2020| Posted in Die Cutting, Card Making| 335

Merry Drink To Forgetmas
13/09/2020| Posted in Die Cutting| 2| 1455

Little Framing Tricks
20/09/2020| Posted in Pencil Colouring, Die Cutting| 511
Christmas Joy
25/09/2020| Posted in Die Cutting| 630

Sweet Christmas Wishes
01/10/2020| Posted in Colouring Stamped Images, Copic Colouring, Card Making, Stamped Background, Fussy Cutting| 1| 328

Merry Christmas
07/10/2020| Posted in Die Cutting, Card Making| 433
Merry Kissmas!
12/10/2020| Posted in Die Cutting, Card Making| 356

Iconic Christmas and More!
14/10/2020| Posted in Copic Colouring, Die Cutting, Card Making, Stamped Background, Heat Embossing, turnabouts| 323

Cozy Friends
19/10/2020| Posted in Die Cutting, Card Making| 479
Cool Christmas Wishes
20/10/2020| Posted in Colouring Stamped Images, Copic Colouring, Die Cutting, Ink Blending, Card Making| 263

BIG Snow Flurry
22/10/2020| Posted in Die Cutting, Ink Blending, Card Making, Stamped Background, turnabouts, Masking| 286
Blossoms and Berries
02/11/2020| Posted in Stamping Techniques, Card Making| 2| 546

Quick One-Layer Cards
04/11/2020| Posted in Stamping Techniques, Card Making| 1| 332
O' Christmas Tree
05/11/2020| Posted in Card Making, Stamped Background| 236


'Tis the Season
10/11/2020| Posted in Colouring Stamped Images, Pencil Colouring| 3| 291

Friends and Christmas
18/11/2020| Posted in Stamping Techniques, Card Making, Stamp Layering, Stamped Background, Masking| 1| 380

Reindeer, plaid and stars
15/11/2020| Posted in Copic Colouring, Die Cutting| 2| 281

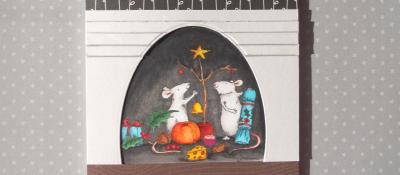
Even the Mice Were Stirring
22/11/2020| Posted in Copic Colouring| 2| 481
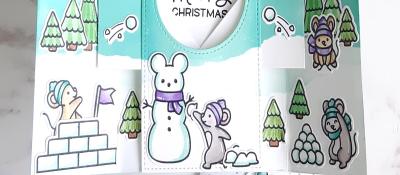
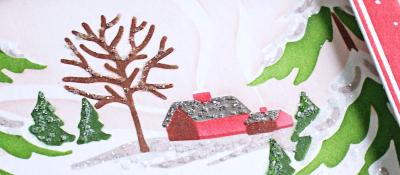
A Winter Scene
23/11/2020| Posted in Colouring Stamped Images, Copic Colouring, Card Making, Interactive Cards, Shaped Cards| 2| 383
Christmas Trees Galore!!
25/11/2020| Posted in Die Cutting, Card Making, Stamp Layering, Special Effects, Shaped Cards, Heat Embossing| 1| 562
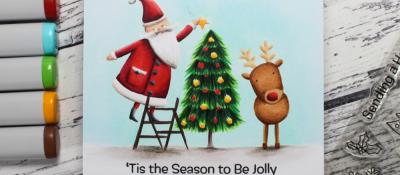
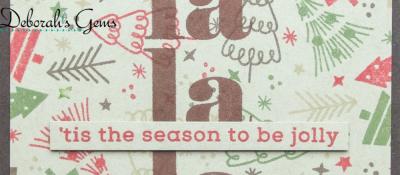
'Tis the Season to Be Jolly
27/11/2020| Posted in Copic Colouring, Card Making| 3| 456

Jingle All the Way
04/12/2020| Posted in Copic Colouring, Card Making| 2| 446

A modern twist on the Christmas Tree
01/12/2020| Posted in Stamping Techniques, Card Making| 2| 366
Trimming the Christmas Tree!
03/12/2020| Posted in Die Cutting, Card Making| 1| 320


Festive Decorations
06/12/2020| Posted in Die Cutting, Off The Page Projects, Stamped Background, Heat Embossing| 1| 365

Choosing a Tree!
07/12/2020| Posted in Colouring Stamped Images, Partial Die Cutting, Fussy Cutting, Shaped Cards| 2| 302
Tartan Christmas Wishes
08/12/2020| Posted in Stamping Techniques, Card Making, Heat Embossing, Repeat Pattern Building| 2| 233
The Classic Christmas Half Tree
11/12/2020| Posted in Die Cutting| 1| 350

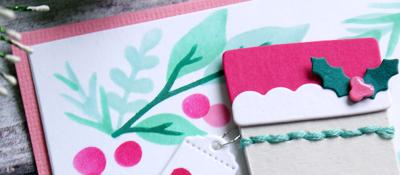
Festive Gift Tags
12/12/2020| Posted in Colouring Stamped Images, Die Cutting, Stamping Techniques, Card Making, Heat Embossing| 3| 504
5 Minute Christmas make
15/12/2020| Posted in Heat Embossing| 3| 481

Oh Penguin Tree
18/12/2020| Posted in Copic Colouring, Card Making| 1| 784
Merry Christmas
19/12/2020| Posted in Colouring Stamped Images, Pencil Colouring, Water Colouring, Die Cutting, Card Making| 1| 450
Last Minute Die Cuts
20/12/2020| Posted in Die Cutting| 3| 619

A Topping Christmas
23/12/2020| Posted in Copic Colouring, Card Making, Stamped Background, Fussy Cutting, turnabouts| 440
Happy New Year!
03/01/2021| Posted in Pencil Colouring, Water Colouring| 2| 651

Here Comes Santa Jaws
05/03/2021| Posted in Copic Colouring, Card Making| 2| 441
Lovely Christmas Legs
07/04/2021| Posted in Water Colouring, Card Making| 1| 308


Christmas Cards in the Sun
04/06/2021| Posted in Die Cutting| 213


Christmas in July - 2
14/07/2021| Posted in Copic Colouring, Die Cutting, Card Making, Stamped Background, Heat Embossing, Stamping| 258

Christmas in July 4
28/07/2021| Posted in Copic Colouring, Die Cutting, Ink Blending, Card Making, Heat Embossing, Stamping| 275

Wonderful Christmas
31/07/2021| Posted in Die Cutting, Stamping| 252

Here Comes Santa Jaws
21/08/2021| Posted in Copic Colouring, Fussy Cutting| 412
A Wreath for All Seasons
01/09/2021| Posted in Copic Colouring, Die Cutting, Card Making, Stamped Background, Fussy Cutting, Heat Embossing, turnabouts, Stamping| 460

Gone But Not Forgotten
08/09/2021| Posted in Copic Colouring, Die Cutting, Card Making, Stamped Background, Repeat Pattern Building, Stamping| 500

Festive One Layer
09/09/2021| Posted in Colouring Stamped Images, Copic Colouring, Stamping Techniques, Card Making, Masking, Stamping| 250

Nordic Inspired Poinsettias
25/09/2021| Posted in Die Cutting, Ink Blending| 229
Playing With Paste
26/09/2021| Posted in Die Cutting, Stencilling with embossing paste| 327
Christmas Time
28/09/2021| Posted in Copic Colouring, Water Colouring, Die Cutting, Ink Blending, Card Making, Stamped Background, Stamping| 378

Clean & Simple Christmas
09/10/2021| Posted in Copic Colouring| 284
Classic Christmas Scene
10/10/2021| Posted in Pencil Colouring, Masking| 295

Bright Florals
25/10/2021| Posted in Card Making, Stamped Background| 234

Let It Snow
30/10/2021| Posted in Die Cutting, Die Embossing| 285


Santa Duo
06/11/2021| Posted in Copic Colouring, Card Making, Fussy Cutting, Patterned Papers, Stamping, Clean & Simple| 548
What's in a snowflake?
07/11/2021| Posted in Pencil Colouring, Die Cutting| 773
Vintage Christmas
09/11/2021| Posted in Stamp Layering| 250

From All Of Us
13/11/2021| Posted in Copic Colouring| 335


Snowy Friends
19/11/2021| Posted in Pencil Colouring, No Line Colouring| 371

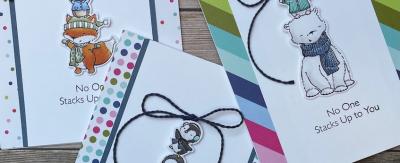
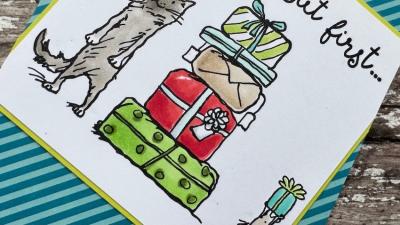
All Stacked Up
27/11/2021| Posted in Copic Colouring, Card Making, Interactive Cards, Fussy Cutting, Patterned Papers, Stamping, Clean & Simple| 338

Destination North Pole
28/11/2021| Posted in Die Cutting, Stamping Techniques| 1| 278

Tree-mendous Christmas!
03/12/2021| Posted in Copic Colouring, No Line Colouring| 342


December Calendar
01/12/2021| Posted in Stamped Background, Layering Stencils| 296

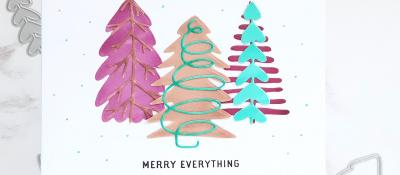
Merry Everything
07/12/2021| Posted in Die Cutting, Card Making| 254
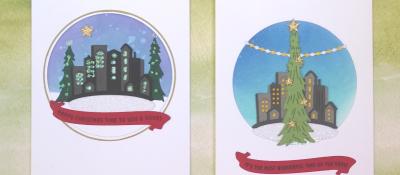
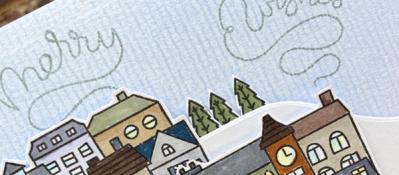
City Christmas
10/12/2021| Posted in Die Cutting| 1| 239
Rustic Christmas
11/12/2021| Posted in Stencilling, Layering Stencils| 289

Winter Wreath
13/12/2021| Posted in Pencil Colouring, Card Making| 369
Tangled With You
12/12/2021| Posted in Pencil Colouring, Masking| 373

Mice on Ice
14/12/2021| Posted in Colouring Stamped Images, Die Cutting, Ink Blending, Card Making, Stencilling| 401

Fall Foliage All Year Round - Part 2
16/12/2021| Posted in Stamping Techniques, Card Making, Fussy Cutting, Stamping, Clean & Simple| 1| 279

Beastly Christmas
17/12/2021| Posted in Pencil Colouring, No Line Colouring| 3| 575

Twinkle Twinkle
18/12/2021| Posted in Copic Colouring, Off The Page Projects| 1| 936

Let there be Peas on Earth
21/12/2021| Posted in Colouring Stamped Images, Die Cutting| 638

Under The Mistletoe
23/12/2021| Posted in Colouring Stamped Images, Copic Colouring, Card Making, Stamping, Clean & Simple| 368
Christmas in May
18/05/2022| Posted in Die Cutting, Stamping Techniques, Card Making, Stamped Background, turnabouts| 367

Last Years Christmas Stocking
16/07/2022| Posted in Copic Colouring, Card Making, Fussy Cutting, Patterned Papers, Stamping, Clean & Simple, Clean and Simple (CAS)| 294

Christmas in July
22/07/2022| Posted in Stamped Background| 400

More Christmas in July
24/07/2022| Posted in No Line Colouring| 294

Striped Sentiments
27/07/2022| Posted in Ink Blending, sentiment Focal Points| 341

Not Exactly Sweater Weather
10/08/2022| Posted in Pencil Colouring, Water Colouring, Die Cutting, Stencilling, Stencilled backgrounds| 244
Controversial Santas
28/08/2022| Posted in Copic Colouring, Pencil Colouring, Die Cutting, Stencilling, Heat Embossing| 5264
Holiday Greetings
29/08/2022| Posted in Colouring Stamped Images, Die Cutting, Ink Blending, Card Making, Interactive Cards, Heat Embossing| 342
Ugly Sweaters
06/09/2022| Posted in Colouring Stamped Images, Copic Colouring, Die Cutting, Card Making, Interactive Cards, Heat Embossing| 227

Tipsy Santa
07/09/2022| Posted in Copic Colouring, Die Cutting| 194


All Is Bright
01/10/2022| Posted in Copic Colouring, Card Making, Off The Page Projects, Stamped Background, Patterned Papers, Stamping, Clean & Simple, Clean and Simple (CAS)| 280


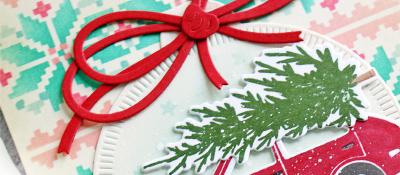
Bright Christmas
07/10/2022| Posted in Die Cutting, Card Making| 258
Cool Christmas
14/10/2022| Posted in Die Cutting, Card Making| 428
Bloom in Winter
08/10/2022| Posted in Copic Colouring| 204
Aurora Penguin
09/10/2022| Posted in Water Colouring| 343
Curio Attic Ornaments
12/10/2022| Posted in Die Cutting| 345
O' Christmas Tree
24/10/2022| Posted in Die Cutting, Stencilling with embossing paste| 452
Coffee Lovers Blog Hop Fall 22
11/11/2022| Posted in Stamp Layering| 19| 385
Snowy Day Fun
25/10/2022| Posted in Colouring Stamped Images, Die Cutting, Ink Blending, Card Making, Interactive Cards| 190
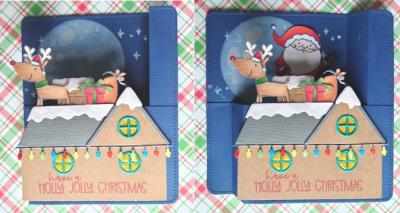
Santa Chimney Pop Up
26/10/2022| Posted in Die Cutting, Interactive Cards| 324


Krafty Noel
06/11/2022| Posted in Die Cutting| 2| 391
Meowy Christmas
12/11/2022| Posted in Copic Colouring| 254
Christmas Garnish
14/11/2022| Posted in Die Cutting, Clean & Simple| 381

Christmas Snowflake
18/11/2022| Posted in Card Making, Stamping| 1| 318

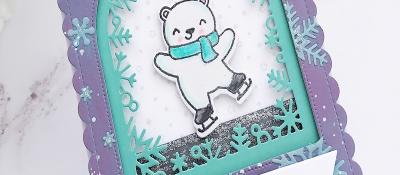
Polar Opposites
19/11/2022| Posted in Water Colouring, Card Making, Heat Embossing, Stamping, Clean & Simple, Clean and Simple (CAS)| 342

Bella's Tangled Kitty
23/11/2022| Posted in Copic Colouring| 230


Star Gazing
26/11/2022| Posted in Copic Colouring, Fussy Cutting| 263
Winter Pine
05/12/2022| Posted in Colouring Stamped Images, Stamping| 271
Month By Month - Part 1
01/12/2022| Posted in Colouring Stamped Images, Copic Colouring, Die Cutting, Stencilling, Stamped Background, Gift Making| 279


Christmas with Friends
10/12/2022| Posted in Copic Colouring, Die Cutting, Stamping Techniques, Partial Die Cutting, Fussy Cutting| 235
Polar Pals
17/12/2022| Posted in Copic Colouring, Die Embossing| 338

A whole lot of baubles going on......
19/12/2022| Posted in Die Cutting| 469

Last minute Robins
21/12/2022| Posted in Pencil Colouring| 363

Peaceful Olive Two Ways
26/04/2023| Posted in Die Cutting, Card Making, Stamp Layering, Stamped Background, Stamping, Layering Stencils, Clean & Simple, Stencilled backgrounds, Inlaid Die Cutting, Clean and Simple (CAS)| 256
Tips and Tricks for Easy Paper Piecing with Large Dies
09/07/2023| Posted in Die Cutting, Paper Piecing| 242
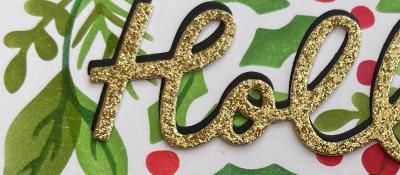
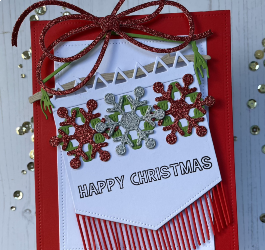
Holly Jolly Sparkly Christmas!
27/07/2023| Posted in Die Cutting, Stencilling| 277
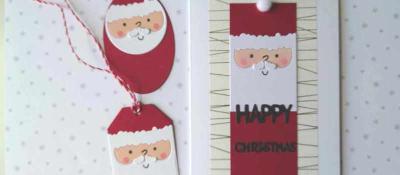
Santa Tagging
04/08/2023| Posted in Die Cutting| 177
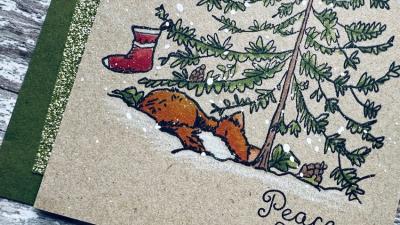
Peaceful Fox
12/08/2023| Posted in Copic Colouring, Card Making, Stamping, Clean & Simple, Clean and Simple (CAS)| 294
'Tis the Season...
30/08/2023| Posted in Die Cutting, Card Making| 287
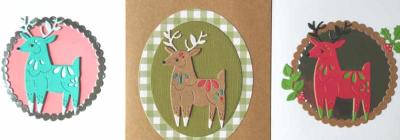
Folk Art Reindeer
10/09/2023| Posted in Die Cutting| 214
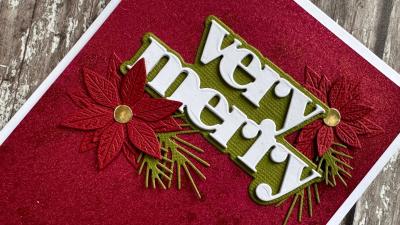
Very Merry
16/09/2023| Posted in Die Cutting, Inky Backsides| 1| 207
Hang a Stocking
20/09/2023| Posted in Die Cutting, Card Making, Stitching/Embroidery, Layering Stencils, Stencilled backgrounds| 241

Let's Be Merry
21/09/2023| Posted in Die Cutting, Stamping Techniques, Card Making, Heat Embossing, Shaker Cards| 184

'Tis the Season
28/09/2023| Posted in Die Cutting, Card Making| 262

Light Up Your Christmas
01/10/2023| Posted in Die Cutting, Homeware/Decorations| 1| 284
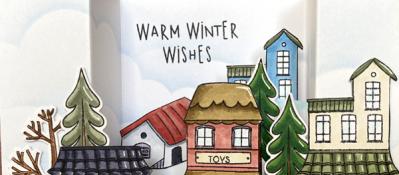
Tiny Houses
04/10/2023| Posted in Die Cutting, Card Making| 269

Gift Exchange
14/10/2023| Posted in Copic Colouring| 161
All aboard the Cheer Mobile!
18/10/2023| Posted in Die Cutting, Card Making, Stencilling, Stamping, Layering Stencils, Stencilled backgrounds| 215

Introducing Flashback Friday Bargains
20/10/2023| Posted in Copic Colouring| 1| 1004
Christmas Cloche
25/10/2023| Posted in Die Cutting, Card Making| 208
Big Beautiful Bow
01/11/2023| Posted in Die Cutting, Card Making| 495

Pretty CAS Gift
02/11/2023| Posted in Die Cutting, Ink Blending, Card Making, Clean & Simple, Clean and Simple (CAS)| 268
Figgy Pudding
08/11/2023| Posted in Die Cutting, Card Making, Stencilling, Layering Stencils, Stencilled backgrounds| 216
Hot Cocoa Anyone?
06/11/2023| Posted in Copic Colouring, Die Cutting, Card Making, Stamping, Clean & Simple, Clean and Simple (CAS), sales and giveaways, Flashback Friday Bargains| 211
Ta-Da! Seasons Tweetings.
07/11/2023| Posted in Colouring Stamped Images, Copic Colouring, Die Cutting, Card Making, Interactive Cards| 177
Joyful Christmas Sampler
15/11/2023| Posted in Card Making, Stencilling, Stencilling with embossing paste, Stencilled backgrounds| 208
Mini Christmas Gift Notebook & Co-Ordinating Card
13/11/2023| Posted in Die Cutting, Card Making, Gift Making, Stamping, Flashback Friday Bargains| 2| 211

Over the Rooftops
22/11/2023| Posted in Die Cutting, Card Making| 2| 258

Lil' Tags A Plenty and Store News
19/11/2023| Posted in Water Colouring| 247


Dashing Through the Snow
25/11/2023| Posted in Copic Colouring, Stencilling, Stencilling with embossing paste, Fussy Cutting| 184
Glitter & Snowflakes
30/11/2023| Posted in Die Cutting, Card Making, Stencilling, Stencilling with embossing paste, Clean and Simple (CAS)| 147

Flashback Friday Bargains - Concord and 9th
01/12/2023| Posted in Flashback Friday Bargains| 442
Simple 'Poinsettia' Card
04/12/2023| Posted in Copic Colouring, Pencil Colouring, Die Cutting, Stamping Techniques, Card Making, Stencilling with embossing paste| 122
Bulk Making Christmas Cards
03/12/2023| Posted in Die Cutting, Heat Embossing| 1| 252


Snow Much Love
05/12/2023| Posted in Die Cutting, Stamping Techniques, Card Making, Heat Embossing, Clean & Simple| 133
12 Days of Anita Jerams Christmas Part 3
09/12/2023| Posted in Copic Colouring| 166
Banner & Bough
13/12/2023| Posted in Die Cutting, Ink Blending, Card Making, Stamp Layering, Stamping, Stencilled backgrounds| 165
Last Minute Christmas Cards
11/12/2023| Posted in Die Cutting, Card Making| 141
All Is Calm
20/12/2023| Posted in Die Cutting, Card Making, Fancy Folds, Clean & Simple, Clean and Simple (CAS)| 221
12 Days of Anita Jerams Christmas Part 4
16/12/2023| Posted in Copic Colouring, Fussy Cutting| 258
Elegant Christmas Gift Tags
18/12/2023| Posted in Die Cutting, Card Making| 200
2024 Part Three
21/12/2023| Posted in Ink Blending, Stamping Techniques, Stamp Layering, Stencilling, turnabouts, Gift Making, Masking, mixed media, Wreath Building| 207

Sweater Season
17/01/2024| Posted in Die Cutting, Card Making| 123
Related Products


Controversial Santas
28/08/2022

Birthday Forecast
14/02/2022

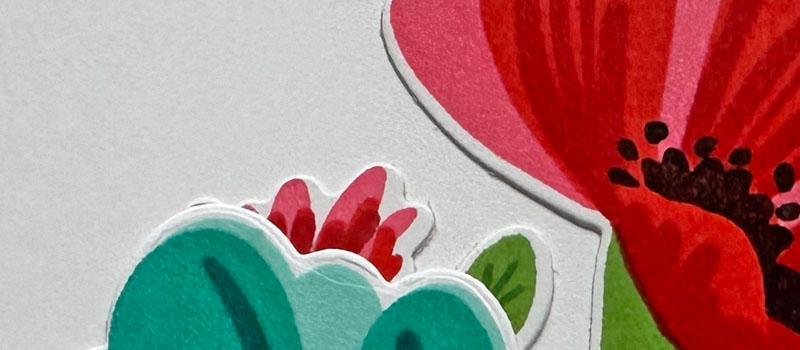
Encouraging Leaves
15/03/2021

Framed Snowdrops
22/02/2021

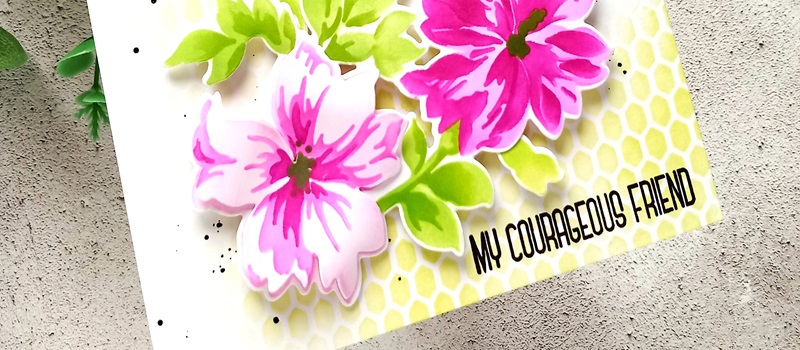
Birthday Blossoms
25/04/2024
Paper Bouquet Take 2
24/04/2024
How to add dimension to your projects!
23/04/2024
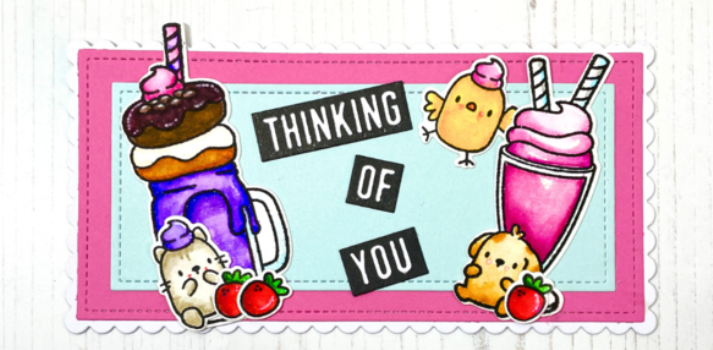
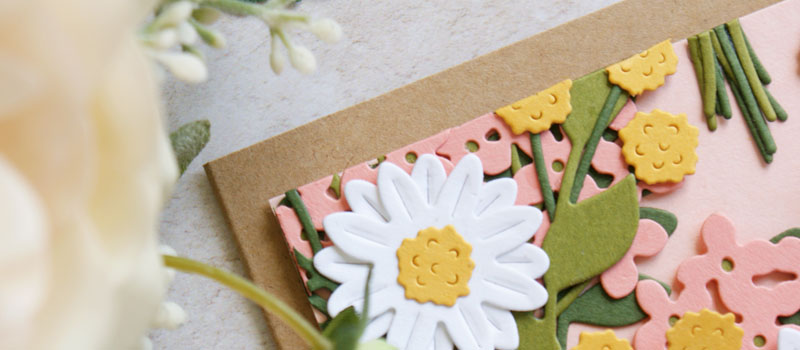
Cute Milkshake Card
22/04/2024